
Hair Care
How to Revive an Overfertilized Plant: 13 Steps
Jul
Note: This guide focuses mainly on houseplants and container plants. A badly affected in-ground plant may need a soil test and advice from a local Extension office, especially if it is an edible crop.
Your plant was supposed to get a snack, not a five-course buffet with a fireworks finale. Yet overfertilizing happens to almost everyone who keeps plants long enough. A little extra liquid feed, a forgotten slow-release pellet, or a well-meaning “it looks hungry” moment can leave a plant with brown leaf edges, drooping stems, crusty soil, and a deeply offended expression.
The good news is that an overfertilized plant is often recoverable. The key is to act calmly, stop adding nutrients, remove excess fertilizer salts, and give the roots time to regain their footing. This 13-step rescue plan explains how to identify fertilizer burn, flush excess salts safely, decide when repotting is necessary, and prevent the same leafy drama from happening again.
Why Overfertilization Damages Plants
Most fertilizers contain mineral salts. In reasonable amounts, those nutrients help plants make leaves, roots, flowers, and fruit. In excessive amounts, however, salts build up in the potting mix and change how water moves around the roots.
Instead of roots easily absorbing moisture, the salty growing medium can pull water away from root tissues. That is why a plant may look thirsty even when the soil is wet. The plant is surrounded by water but cannot use it properly, which is roughly the botanical version of standing in front of a refrigerator while wearing mittens.
Fast-release fertilizers can cause sudden problems because they dissolve quickly. Slow-release pellets may create a slower, sneakier problem because they keep feeding the plant every time you water. Organic products can also contribute to excess nutrients, especially when compost, manure, worm castings, fish emulsion, or several fertilizers are layered together without a clear plan.
How to Tell Whether Your Plant Is Overfertilized
Fertilizer burn can resemble underwatering, overwatering, poor drainage, pests, root rot, or a plant simply having a difficult week. Look for several symptoms together rather than blaming fertilizer after one brown leaf tip.
- Brown, dry, or crispy leaf tips and margins
- Yellowing leaves, especially older lower leaves
- Wilting even though the potting mix feels moist
- Slow growth, leaf drop, or stunted new leaves
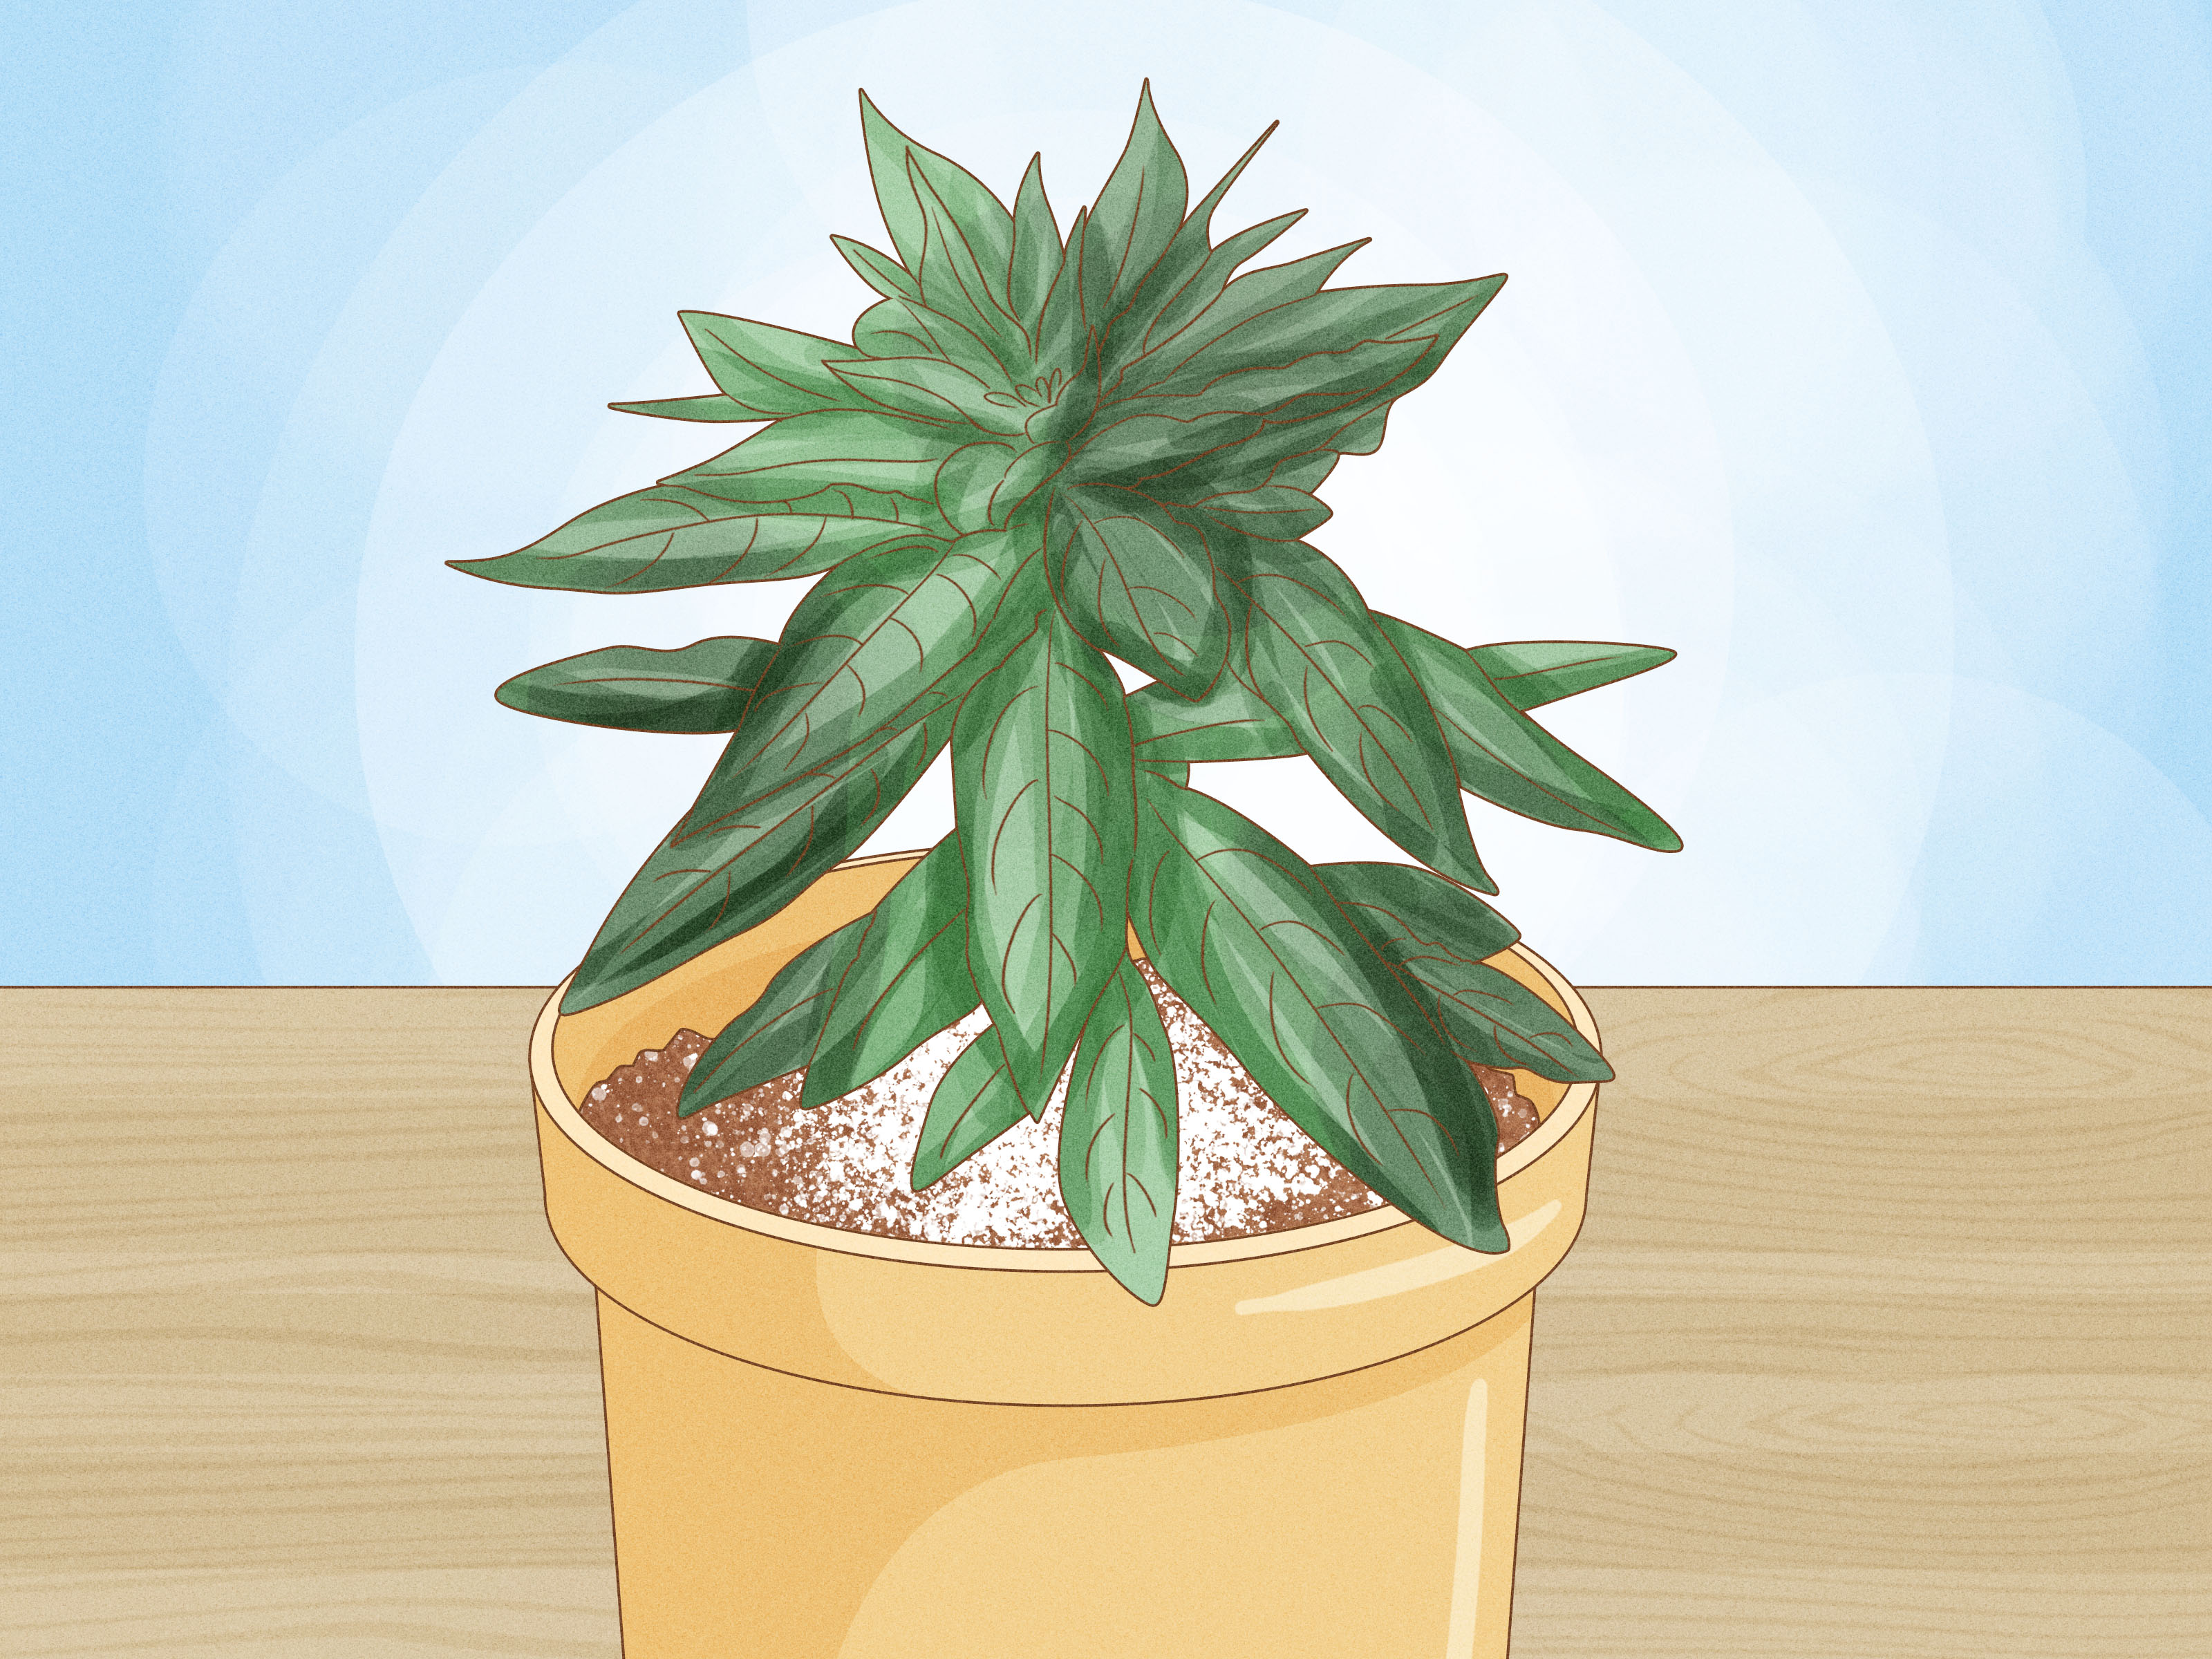
- A white, tan, or yellowish crust on the soil surface or pot rim
- Fertilizer pellets visible in the potting mix
- Dark green growth followed by scorched leaf edges
- Roots that look brown, dry, weak, or damaged rather than pale and firm
Before launching a rescue mission, think back. Did you recently double-dose liquid fertilizer, fertilize a dry plant, add spikes or pellets, refresh the soil with heavily amended compost, or fertilize during a low-light winter period? Those clues matter.
How to Revive an Overfertilized Plant in 13 Steps
1. Stop Fertilizing Immediately
Put every fertilizer product away for now: liquid feed, granules, spikes, slow-release pellets, compost tea, fish emulsion, and mystery plant tonics with names that sound like energy drinks. Do not try to “balance” excess fertilizer by adding another fertilizer. The plant needs less chemistry, not a rematch.
2. Move the Plant Into Stable, Gentle Light
Place the plant in bright indirect light or the normal light level recommended for its species. Do not move a stressed plant into hot direct sun in hopes that it will “grow out of it.” Intense sun increases water loss and can make leaf scorch worse. Keep temperatures steady and avoid drafts from heaters or air conditioners.
3. Check the Pot for Drainage Holes
A plant cannot recover from fertilizer buildup efficiently if water has nowhere to go. Make sure the container has at least one open drainage hole. Decorative cachepots, foil wrappers, deep saucers, and tightly fitted covers can trap runoff around the roots. Remove the nursery pot from its cover before flushing.
4. Empty the Saucer and Remove Standing Water
After watering or flushing, never let the pot sit in a pool of runoff. The purpose of flushing is to carry dissolved salts out of the root zone. If the pot reabsorbs that runoff, the salts can travel right back into the mix like an unwanted sequel. Empty saucers, trays, and outer pots promptly.
5. Remove Visible Fertilizer Pellets and Surface Crust
Gently pick out slow-release pellets, fertilizer spikes, or concentrated granules that are sitting near the plant’s base. If a thick crust has formed on top of the soil, carefully scrape away the upper layer without digging aggressively into roots. Replace only that removed surface with fresh, unfertilized potting mix.
6. Brush Fertilizer Off Leaves and Stems
Granules or fertilizer residue on foliage can burn plant tissue, especially after watering. Use a soft brush, dry cloth, or gentle stream of plain water to remove particles from leaves and stems. Be extra careful with fuzzy-leaved plants, succulents, and plants with delicate crowns, where trapped moisture can cause separate problems.
7. Flush the Potting Mix With Plain Water
For a plant in a pot with good drainage, slowly pour room-temperature plain water over the soil until it runs freely from the drainage holes. A useful rescue target is at least two to three times the volume of the pot. For example, a one-gallon container may need two to three gallons of water applied gradually.
Do this in a sink, bathtub, shower, or outdoors where the water can drain away. The goal is not to drown the plant. The goal is to dissolve and move excess salts downward and out of the container.
8. Let the Pot Drain Completely
After flushing, allow the pot to drain thoroughly. Set it on a rack, upside-down saucer, or surface where the drainage hole is not blocked. Do not water again on a schedule just because Tuesday has arrived. Wait until the potting mix reaches the moisture level appropriate for that specific plant.
9. Inspect the Roots if Symptoms Are Severe
If the plant is collapsing, the pot smells sour, growth has stopped, or the soil is packed with pellets, slide the root ball out gently. Healthy roots are generally firm and pale, tan, or light brown depending on the species. Dead or badly damaged roots may be dark, brittle, mushy, hollow, or slimy.
Trim only clearly dead roots with clean scissors. Do not perform a dramatic root haircut just because you are holding scissors and feeling motivated. Plants need as many functioning roots as possible during recovery.
10. Repot When Flushing Is Not Enough
Repotting is the best option when the potting mix is saturated with fertilizer pellets, the salt crust returns quickly, drainage is poor, roots are damaged, or the plant has been overfed repeatedly. Choose a clean pot with drainage holes and fresh, lightly moistened potting mix suited to the plant type.
Shake away only loose contaminated soil. Avoid washing every speck of soil from fragile roots unless the situation is truly severe. The aim is to reduce the salt load while causing as little additional root stress as possible.
11. Remove Only Dead Leaves and Stems
Brown tissue will not turn green again, but healthy green tissue still helps the plant make energy. Remove leaves that are completely dead, crispy, yellow, or diseased-looking. Leave partially green leaves in place unless they are badly damaged. A stressed plant does not need an accidental makeover that leaves it with three lonely leaves and a trust issue.
12. Monitor Recovery for Two to Six Weeks
Recovery is usually measured by new growth, not by old damaged leaves magically healing. Watch for firm stems, stable moisture use, healthy new leaves, and a gradual return of normal growth. Keep notes on watering dates, light conditions, and changes in the plant’s appearance. This makes it easier to spot whether the problem is improving or whether root rot, pests, or poor light are also involved.
13. Restart Fertilizer Slowly and Only During Active Growth
Wait until the plant produces healthy new growth before fertilizing again. For many common houseplants, that may mean waiting at least four to six weeks after a mild incident and longer after repotting or major root damage. When feeding resumes, use a diluted product at one-quarter to one-half of the label rate unless the plant’s species-specific care instructions say otherwise.
Fertilize only when the plant is actively growing and the soil is already slightly moist. Never fertilize a bone-dry, severely stressed, dormant, or freshly repotted plant just because the fertilizer bottle is feeling neglected.
What Not to Do After Fertilizer Burn
Do not add vinegar, baking soda, Epsom salt, sugar water, hydrogen peroxide, or another fertilizer to “fix” the imbalance. These popular internet remedies can create new problems with pH, salts, or root damage. Skip aggressive pruning, repeated flushing every day, and instant repotting unless the plant clearly needs it.
Also avoid assuming every yellow leaf means a nutrient deficiency. Overfertilization can cause yellowing too. Adding more fertilizer to a plant already suffering from salt stress is like giving a sunburned person a second beach vacation and calling it skincare.
How to Prevent Overfertilization in the Future
Prevention is much easier than emergency root rehabilitation. Use a fertilizer designed for the type of plant you grow, follow the label, and remember that indoor plants usually grow more slowly in lower light. During fall and winter, many houseplants need little fertilizer or none at all.
Choose one main fertilizer strategy rather than stacking liquid feed, spikes, compost, worm castings, and slow-release pellets in the same pot. Water from the top occasionally so salts can move through the pot, and flush containers with plain water periodically if your plant care routine or water source encourages mineral buildup.
When in doubt, feed less often and at a lower concentration. Plants can recover from being slightly underfed much more easily than they can recover from being turned into tiny chemical experiments.
Real-World Recovery Lessons: What Plant Rescue Usually Looks Like
In everyday plant care, the hardest part of recovering an overfertilized plant is accepting that the fix is not dramatic. Gardeners often want a rescue product, a magic spray, or a heroic midnight repotting session involving three bags of soil and a kitchen floor covered in perlite. In reality, the most successful recovery usually begins with restraint.
A pothos with brown tips after a strong liquid fertilizer dose may improve quickly after one careful flush and a few weeks of steady care. The damaged leaf edges will remain brown, but new leaves can emerge normally. That is a win. Plants do not need to look perfect immediately; they need to show that the roots are functioning again.
Succulents and cacti can be trickier. Their potting mixes often dry quickly, but their roots can still be sensitive to concentrated fertilizer. A succulent that receives too much food may look soft, oddly stretched, or suddenly unhappy after watering. Flushing is useful only when the container drains freely and the mix is fast-draining. Leaving a cactus in wet soil for days to “rinse it out” can trade fertilizer burn for rot, which is a fairly terrible bargain.
Herbs are another common cautionary tale. Basil, mint, parsley, and other edible plants can grow quickly, so people tend to feed them enthusiastically. Then the leaves develop burnt margins, growth stalls, or the soil gets crusty. With container herbs, replacing heavily fertilized soil is often easier than repeatedly flushing it, especially when the pot is small and the roots are already crowded. Start fresh, use a light feeding schedule, and let sunlight do more of the heavy lifting.
Slow-release fertilizer is the most frequent source of surprise. A gardener may think, “I only fertilized once,” which is technically true but botanically misleading. Pellets can continue releasing nutrients for weeks or months. If you find many pellets in the mix and the plant is declining, removing the visible ones and repotting may be more effective than flushing alone.
Another useful lesson is that recovery does not always move in a straight line. A plant may drop a few stressed leaves after repotting, then pause, then finally produce one tiny new leaf that looks suspiciously small. That first new leaf is often the beginning of a turnaround. Avoid interpreting every imperfect leaf as a new emergency. Continue providing correct light, sensible watering, and a fertilizer-free recovery period.
The best plant rescuers are not the people who never make mistakes. They are the people who notice a problem, stop making it worse, and give the plant time to respond. Your plant may not send a thank-you card, but healthy new growth is a pretty convincing form of forgiveness.
Conclusion
Learning how to revive an overfertilized plant comes down to three priorities: stop feeding, remove excess salts, and protect the roots while the plant recovers. Flush healthy, well-drained containers with plain water, repot plants with severe buildup or ongoing slow-release fertilizer exposure, and do not restart feeding until new growth proves the plant is back on track.
A fertilizer mistake does not automatically mean a plant funeral. With patience, drainage, and a lighter hand the next time around, many stressed houseplants can return to healthy growth.

