
Hair Care
How to Set Up an AVID Binder
Jul
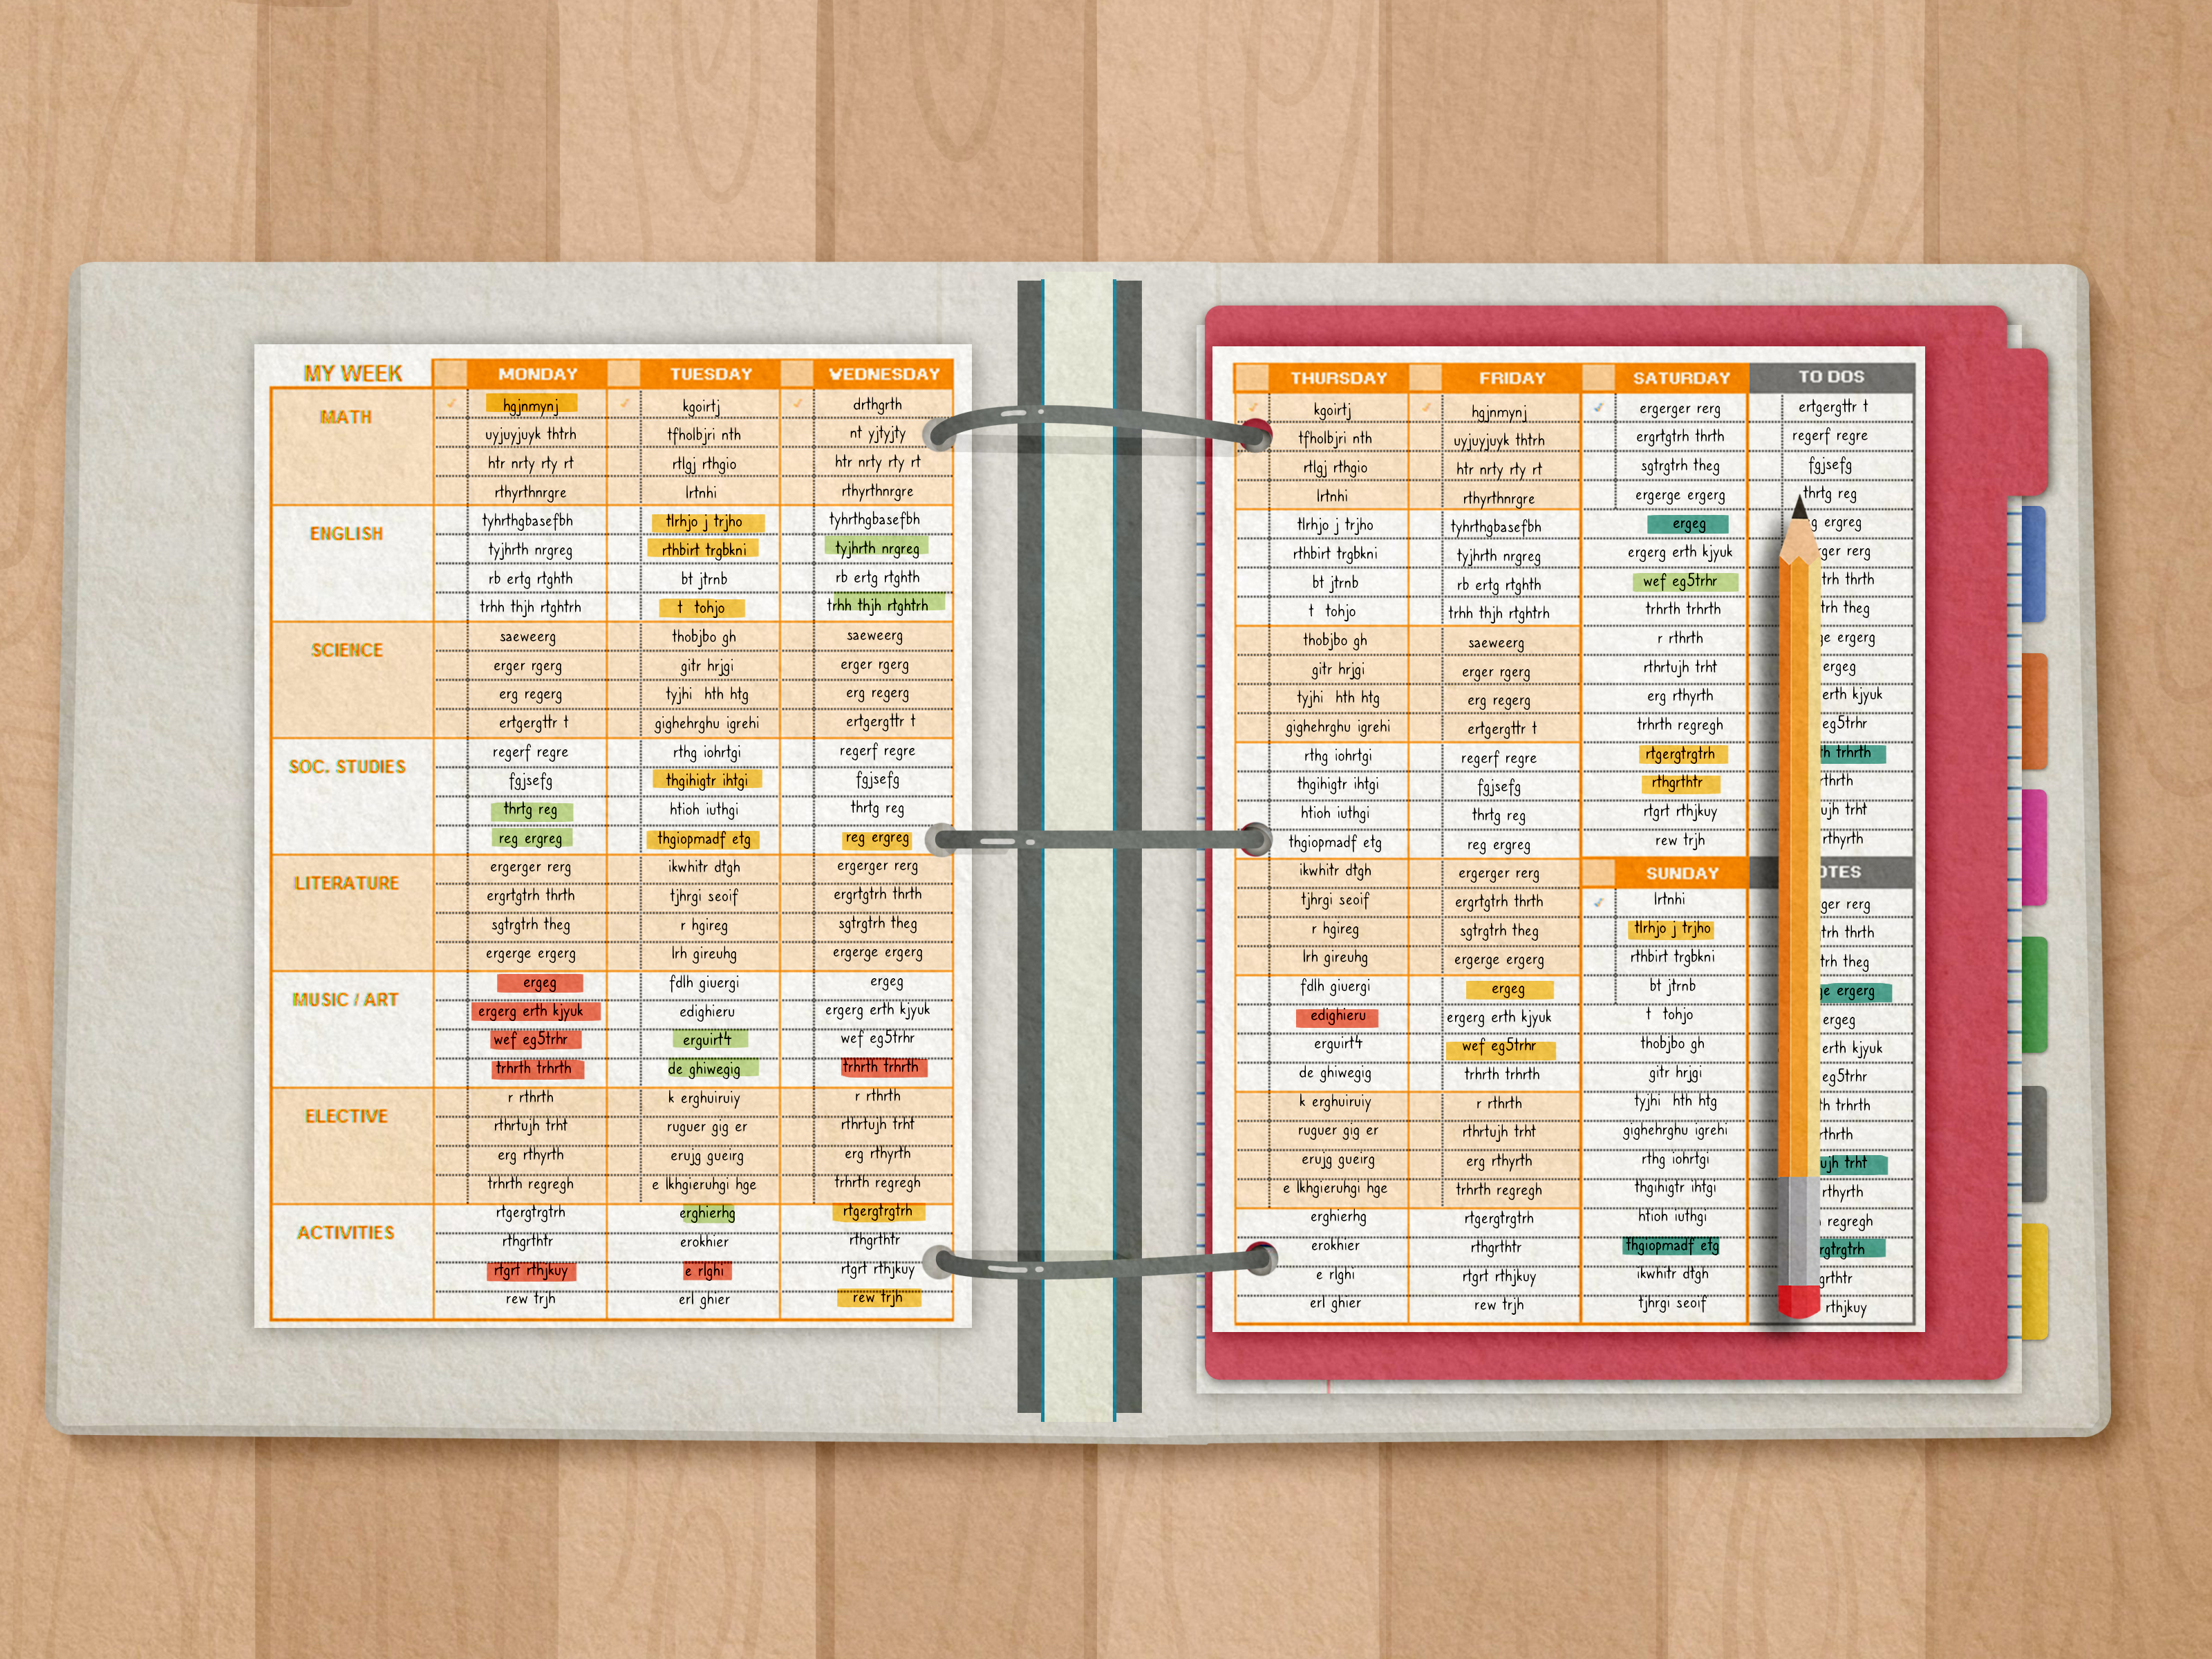
An AVID binder is not merely a three-ring container with an impressive ability to become heavier every Monday. It is a practical organization system designed to keep class notes, assignments, study materials, and school supplies in one dependable place.
AVID, which stands for Advancement Via Individual Determination, emphasizes college and career readiness through academic skills such as writing, inquiry, collaboration, organization, and reading. The binder supports the organization part of that approach by giving students a repeatable system for collecting information, finding it later, and using it to learn.
The exact AVID binder requirements can vary by school, teacher, and grade level. However, most programs use the same basic ingredients: a sturdy binder, subject dividers, a planner, loose-leaf paper, a supply pouch, and clearly organized academic work. This guide explains how to assemble those materials, arrange every section, manage incoming papers, and keep the binder functional after the back-to-school enthusiasm wears off.
What Is an AVID Binder?
An AVID binder is a centralized academic organization tool. Instead of carrying a separate folder filled with mysterious crumpled papers for every class, a student uses one main binder divided into labeled subject sections.
Many AVID schools describe the binder as a place for maintaining notes and schoolwork together. Common expectations include keeping papers behind the correct dividers, carrying necessary writing supplies, updating a planner, and removing clutter regularly. Some schools also conduct binder checks to evaluate organization, completeness, and readiness.
The binder is valuable because organization is treated as an academic skill rather than a personality trait. Students do not need to be naturally tidy. They need a system simple enough to follow on a busy Wednesday when a science worksheet, a permission slip, and half a granola-bar wrapper are all competing for backpack territory.
Supplies Needed to Set Up an AVID Binder
Before assembling the binder, collect everything in one place. A dining table, desk, or clean section of the floor works well. The middle of a crowded school hallway does not.
A Sturdy Three-Ring Binder
Choose a durable binder large enough to hold materials from several classes. Many AVID programs recommend a binder approximately two to three inches wide. The ideal size depends on the number of subjects and how often old papers will be removed.
A binder that is too small will become difficult to close. A binder that is excessively large may be uncomfortable to carry and will encourage students to preserve every paper they have touched since kindergarten. Look for reinforced edges, rings that close evenly, and interior pockets for temporary storage.
Subject Dividers
Use one tabbed divider for each academic subject, including the AVID elective when applicable. Five or six colored dividers are common, although students with additional classes may need more. Color coding makes each section easier to locate quickly.
Write the class name clearly on every tab. Avoid vague labels such as “Stuff,” “Other Stuff,” and “Probably Math.” Use specific names such as:
- AVID
- English Language Arts
- Mathematics
- Science
- Social Studies
- World Language
A Pencil Pouch
Select a zippered pouch with holes that fit directly onto the binder rings. It should contain the basic tools needed during class:
- At least two sharpened pencils or mechanical pencils
- At least two pens
- One or two highlighters
- An eraser
- Spare pencil lead, when needed
Some teachers may request colored pens, sticky notes, index cards, or a small ruler. Keep only frequently used items in the pouch. Twelve dried-out markers and a fossilized glue stick do not improve preparedness.
A Planner or Agenda
A paper planner, school-issued agenda, or teacher-approved digital planner should be easy to access. Students can use it to record assignments, tests, project deadlines, tutoring sessions, extracurricular activities, and personal study goals.
Several AVID resources treat planning as part of the organization process, and AVID’s digital eBinder examples also incorporate weekly planning and reflection. The format can be physical or digital, but the important habit is recording information consistently and reviewing it every day.
Loose-Leaf Paper
Add a reasonable supply of college-ruled or wide-ruled notebook paper. Place it behind a general paper tab or distribute several sheets behind each class divider.
Students who regularly use Cornell notes may also add preprinted Cornell note paper. Standard paper can work just as well when students draw the cue column, note-taking area, and summary section themselves.
A Homework Folder
A two-pocket folder provides temporary storage for papers that must travel between school and home. Some AVID schools specifically recommend a homework folder within the binder.
Label one pocket “To Do” and the other “Completed” or “Turn In.” This simple distinction prevents finished homework from vanishing into the same pocket as unfinished work, where both may spend the weekend blaming each other.
Optional but Helpful Supplies
- A small three-hole punch that fits inside the binder
- Paper reinforcement rings
- Sticky notes or page flags
- A transparent document sleeve
- Graph paper for math or science
- A binder identification page
A portable hole punch is particularly useful because teachers do not always distribute pre-punched handouts. Without one, loose pages tend to gather in binder pockets until they develop their own government.
How to Set Up an AVID Binder Step by Step
Step 1: Add an Identification Page
Place a cover sheet inside the transparent front pocket or at the beginning of the binder. Include the student’s name, grade, school, and a safe method of contact approved by the family or school.
The cover can also include a class schedule. Avoid displaying private information such as a home address, personal password, or detailed daily transportation plan.
Step 2: Insert the Pencil Pouch First
Place the supply pouch at the front so writing tools are available immediately. Students should not need to dig through seven subject sections merely to locate a pencil while the teacher waits with the expression of someone reconsidering every career choice.
Test the zipper while the pouch is attached to the rings. Overfilled pouches can block the binder from closing or cause the zipper to open unexpectedly.
Step 3: Add the Planner
Position the planner near the front, immediately after the pouch. If the planner is too small for the rings, place it in an interior pocket or a transparent sleeve.
Write assignments with enough detail to make sense later. “Science” is not an assignment. “Complete science lab questions 1–8, due Thursday” is useful. Include due dates, required materials, and the next action.
Step 4: Install and Label the Dividers
Arrange dividers in the order of the daily class schedule. A student who attends math first should not place math behind six unrelated sections unless opening a binder is intended to become a morning endurance event.
Use consistent, readable labels. Color coding may also be coordinated with notebooks, digital folders, and calendar entries. For example, science can be green everywhere, while mathematics can be blue.
Step 5: Organize Each Subject Section
Behind every divider, arrange materials in a predictable order. One effective structure is:
- Current unit overview or learning targets
- Recent Cornell notes
- Class handouts and worksheets
- Returned assignments
- Quizzes and tests
- Reference materials
Place the newest material at the front of each category unless the teacher requests chronological order from oldest to newest. Either method works when it is applied consistently.
AVID binder expectations commonly include organized notes, handouts, classwork, and returned materials. The goal is not to create a museum-quality archive. The goal is to make the correct paper retrievable before the teacher finishes saying, “Take out yesterday’s notes.”
Step 6: Create the Homework Workflow
Insert the homework folder near the front or immediately after the planner. Assign one pocket to unfinished work and the other to completed work.
When a teacher distributes an assignment, the student should do one of two things immediately:
- File it behind the correct subject divider.
- Place it in the “To Do” pocket when it must be completed soon.
Loose paper should never be placed randomly between sections. “I will organize it later” is a famous sentence usually followed by “I know it was in here yesterday.”
Step 7: Add Note-Taking Paper
Place several sheets of loose-leaf or Cornell note paper behind each divider. Do not carry an entire unopened package when 20 to 30 sheets will be sufficient until the next refill.
For every set of notes, include a heading with the student’s name, class, date, and topic. Numbering pages can help students identify missing notes and prepare for assessments.
Step 8: Build a Temporary Paper Zone
Use one binder pocket or document sleeve as a short-term inbox for papers that cannot be filed immediately. This is a temporary landing zone, not a permanent paper swamp.
Empty the inbox at the end of each school day. File academic work, send family documents home, recycle unnecessary pages, and move assignments into the homework folder.
Step 9: Perform a Practice Binder Check
Close the binder, place it in the backpack, and then reopen it as though preparing for class. Confirm that:
- The rings close completely.
- Each divider is visible.
- The planner is accessible.
- The pencil pouch contains working supplies.
- Loose papers have a designated location.
- The binder is light enough to carry safely.
Many AVID classrooms use regular organization checks to reinforce accountability. A five-minute home inspection can prevent an unpleasant discovery during the official check.
How to Use the AVID Binder Every Day
Record Assignments Before Leaving Class
Write the assignment in the planner as soon as it is announced. Waiting until the end of the day increases the likelihood that “Read pages 42–51 and answer questions” will be remembered as “Something about a book, probably.”
File Every Paper Immediately
Use the correct divider or homework pocket before moving to the next class. Filing a worksheet requires only a few seconds. Recovering it from the bottom of a backpack can require a search team and protective gloves.
Review Notes Regularly
Organization becomes useful when students revisit what they have collected. Review recent notes, add questions to cue columns, highlight essential vocabulary, and write short summaries.
AVID’s eBinder framework similarly emphasizes collecting learning materials, reflecting on them, and using organizational cues to recall and apply information. A physical binder can support the same cycle when students do more than simply store pages.
Complete a Daily Two-Minute Reset
At the end of the school day, spend two minutes checking the binder:
- Move unfinished assignments into the “To Do” pocket.
- Place completed work in the “Turn In” pocket.
- File loose handouts.
- Check the next day’s deadlines.
- Replace missing supplies.
This small routine is more effective than waiting until the binder becomes an emergency excavation site.
How to Maintain an AVID Binder Each Week
Schedule a Weekly Cleanout
Choose a regular time, such as Friday afternoon or Sunday evening. Remove trash, duplicate handouts, outdated announcements, and papers the teacher has approved for archiving.
Do not automatically discard tests, major assignments, rubrics, or useful reference sheets. These materials may support exam preparation, progress reviews, conferences, and future projects.
Archive Completed Units
When a unit ends, transfer older materials to a subject-specific folder, file box, or home binder. Label the archive with the class, unit, and grading period.
Archiving keeps the everyday binder manageable while preserving material that may appear on cumulative exams. It also reduces stress on the rings, which are hardworking pieces of metal but should not be expected to carry the entire educational system.
Restock the Supply Pouch
Test pens, sharpen pencils, replace broken lead, and discard empty highlighters. Extra supplies can remain at home or in a locker rather than turning the pouch into a portable office-supply warehouse.
Review the Planner
Check upcoming tests, project milestones, activities, and appointments. Break large assignments into smaller tasks and assign each task a date.
For example, replace “History project due May 20” with a sequence:
- May 10: Choose topic
- May 11: Find three reliable sources
- May 13: Complete outline
- May 16: Finish draft
- May 18: Revise and create visuals
- May 19: Final review
This approach turns a distant deadline into visible, manageable actions.
Common AVID Binder Mistakes
Using Pockets as Permanent Storage
Binder pockets are useful for temporary papers, but they should be emptied daily. Once a pocket contains 40 sheets, locating one assignment becomes a game show with no prize.
Keeping Every Paper Forever
An AVID binder should be complete, not overcrowded. Archive old units and remove materials that are no longer needed, following teacher instructions.
Failing to Label Papers
Every page should include a name, date, class, and topic. Proper headings make loose papers easier to return and notes easier to organize.
Ignoring the Planner
Owning a planner does not create organization through proximity. It must be updated and reviewed consistently.
Creating an Overcomplicated System
A successful binder system should be easy to maintain during a normal school day. Too many tabs, symbols, folders, and decorative categories may look impressive but create unnecessary decisions.
Start with one divider per class, one homework folder, one supply pouch, and one weekly maintenance routine. Add complexity only when it solves a real problem.
Physical AVID Binder vs. Digital eBinder
Some schools now use AVID eBinders or combine digital organization with a physical binder. AVID describes eBinders as systems that help students collect, organize, reflect on, and retrieve learning using digital tools.
A physical binder remains useful for handwritten notes, printed assignments, worksheets, and classrooms where paper is common. A digital eBinder can simplify searching, sharing, collaboration, and multimedia storage.
Students using both should create matching structures. If the physical binder uses sections for English, math, science, and history, digital folders should use the same names and colors. Consistency reduces the mental effort required to decide where information belongs.
Experience-Based Lessons From Setting Up an AVID Binder
The following realistic student experiences illustrate what often happens after the binder is assembled and everyday school life begins.
Experience 1: The Perfect Binder That Lasted Four Days
A middle school student spent an entire Sunday creating an immaculate binder. Every divider matched. Every tab was written in careful block letters. The pencil pouch contained enough supplies to open a small stationery store.
By Thursday, however, three worksheets were loose in the backpack, the planner had not been updated, and the science section contained a math quiz. The setup was not the problem. The missing piece was a daily routine.
The student began using a simple rule: no paper entered the backpack unless it had a specific destination. Assignments went into the homework folder, notes went behind the correct divider, and family forms went into the front pocket. A two-minute reset before leaving school kept the binder organized more effectively than the original two-hour decorating session.
The lesson was clear: a modest system maintained daily is better than a beautiful system maintained once.
Experience 2: The Binder That Became Too Heavy
Another student interpreted “keep your schoolwork” as “preserve every document indefinitely.” By the middle of the semester, the binder included completed units, duplicate study guides, expired announcements, old lunch menus, and a worksheet from a class the student did not even take.
The rings stopped closing properly, and pages began tearing around the holes. Carrying the binder also became uncomfortable.
The solution was a Friday archiving routine. Completed units moved into labeled folders at home. Important tests, rubrics, and reference sheets stayed in the archive, while unnecessary pages were recycled. The everyday binder became lighter, easier to search, and less likely to explode when opened.
This experience showed that organization requires both keeping and removing. A useful binder is a working tool, not a historical landfill.
Experience 3: The Missing Homework Problem
One student regularly completed assignments but still received late-work reminders. The work was usually somewhere in the binder, but “somewhere” covered hundreds of possible locations.
Adding a two-pocket homework folder solved the problem. The left pocket held unfinished work, and the right pocket held completed assignments ready to submit. Before leaving home each morning, the student reviewed the completed pocket. Before leaving school, the student checked the unfinished side.
The improvement did not come from working harder or buying sophisticated equipment. It came from giving papers a clear status. Every assignment was either unfinished, completed, filed for reference, or submitted. There was no fifth category called “floating around and hoping for the best.”
Experience 4: The Planner That Was Never Opened
A high school student faithfully carried a planner but rarely wrote in it. Deadlines were instead stored in memory, on sticky notes, in classroom apps, and occasionally in photographs of the whiteboard.
The student began opening the planner at the start and end of every class. Assignments were recorded with an action verb, required materials, and a due date. Large projects were divided into smaller steps.
Within several weeks, the planner became the control center for the binder. The student no longer had to search through multiple platforms to determine what was due. The lesson was that an organization tool becomes valuable only when it is connected to a repeated behavior.
Experience 5: Finding a System That Fits the Student
Not every student organizes information in exactly the same way. One student may prefer newest papers first, while another understands a unit better when pages run chronologically. Some students benefit from color coding; others prefer simple black labels with minimal visual distraction.
The most effective AVID binder is therefore not necessarily the fanciest one. It is the binder a student can navigate quickly, maintain independently, and use for studying.
A good test is simple: Can the student find a current assignment, recent notes, and an upcoming deadline in less than 30 seconds? When the answer is yes, the system is doing its job.
Final Thoughts on Setting Up an AVID Binder
Learning how to set up an AVID binder begins with the right supplies, but success depends on daily habits. Start with a durable binder, clearly labeled subject dividers, a pencil pouch, a planner, loose-leaf paper, and a homework folder. File papers immediately, record assignments before leaving class, and complete a short reset every day.
Once a week, clean out unnecessary papers, archive completed units, restock supplies, and review upcoming deadlines. These routines keep the binder light enough to carry and organized enough to support studying.
The purpose is not to produce a binder so attractive that it deserves its own social media account. The purpose is to build a reliable academic system. When students know where their information is, they can spend less time searching for paper and more time understanding what is written on it.
Note: Individual AVID binder requirements may differ by school, grade level, or teacher. Students should compare this guide with their school’s official supply list and binder-check rubric.

