
Hair Care
How to Find Planets In The Night Sky: 9 Steps
Jul
Finding planets in the night sky sounds like something that requires a PhD, a telescope the size of a cannon, and perhaps a dramatic orchestral soundtrack. Thankfully, none of that is required. Planet spotting is one of the easiest ways to get into astronomy because the brightest planets practically beg to be noticed. They are brighter than many stars, they follow a predictable path, and once you know what clues to watch for, the sky starts feeling a lot less like random glitter and a lot more like a map.
If you have ever looked up and wondered whether that bright point was a star, a planet, or your neighbor’s suspiciously ambitious drone, this guide is for you. Below are nine simple steps that turn casual sky-glancing into confident planet finding. By the end, you will know where to look, when to look, what to expect, and how to avoid common beginner mistakes that make people declare, “I swear it was here five minutes ago.”
Step 1: Learn Which Planets You Can Actually See
Before you head outside, it helps to know which worlds are realistic targets. The five classic naked-eye planets are Mercury, Venus, Mars, Jupiter, and Saturn. These are the planets most beginners spot first, and for good reason: they can shine brightly enough to be seen without a telescope.
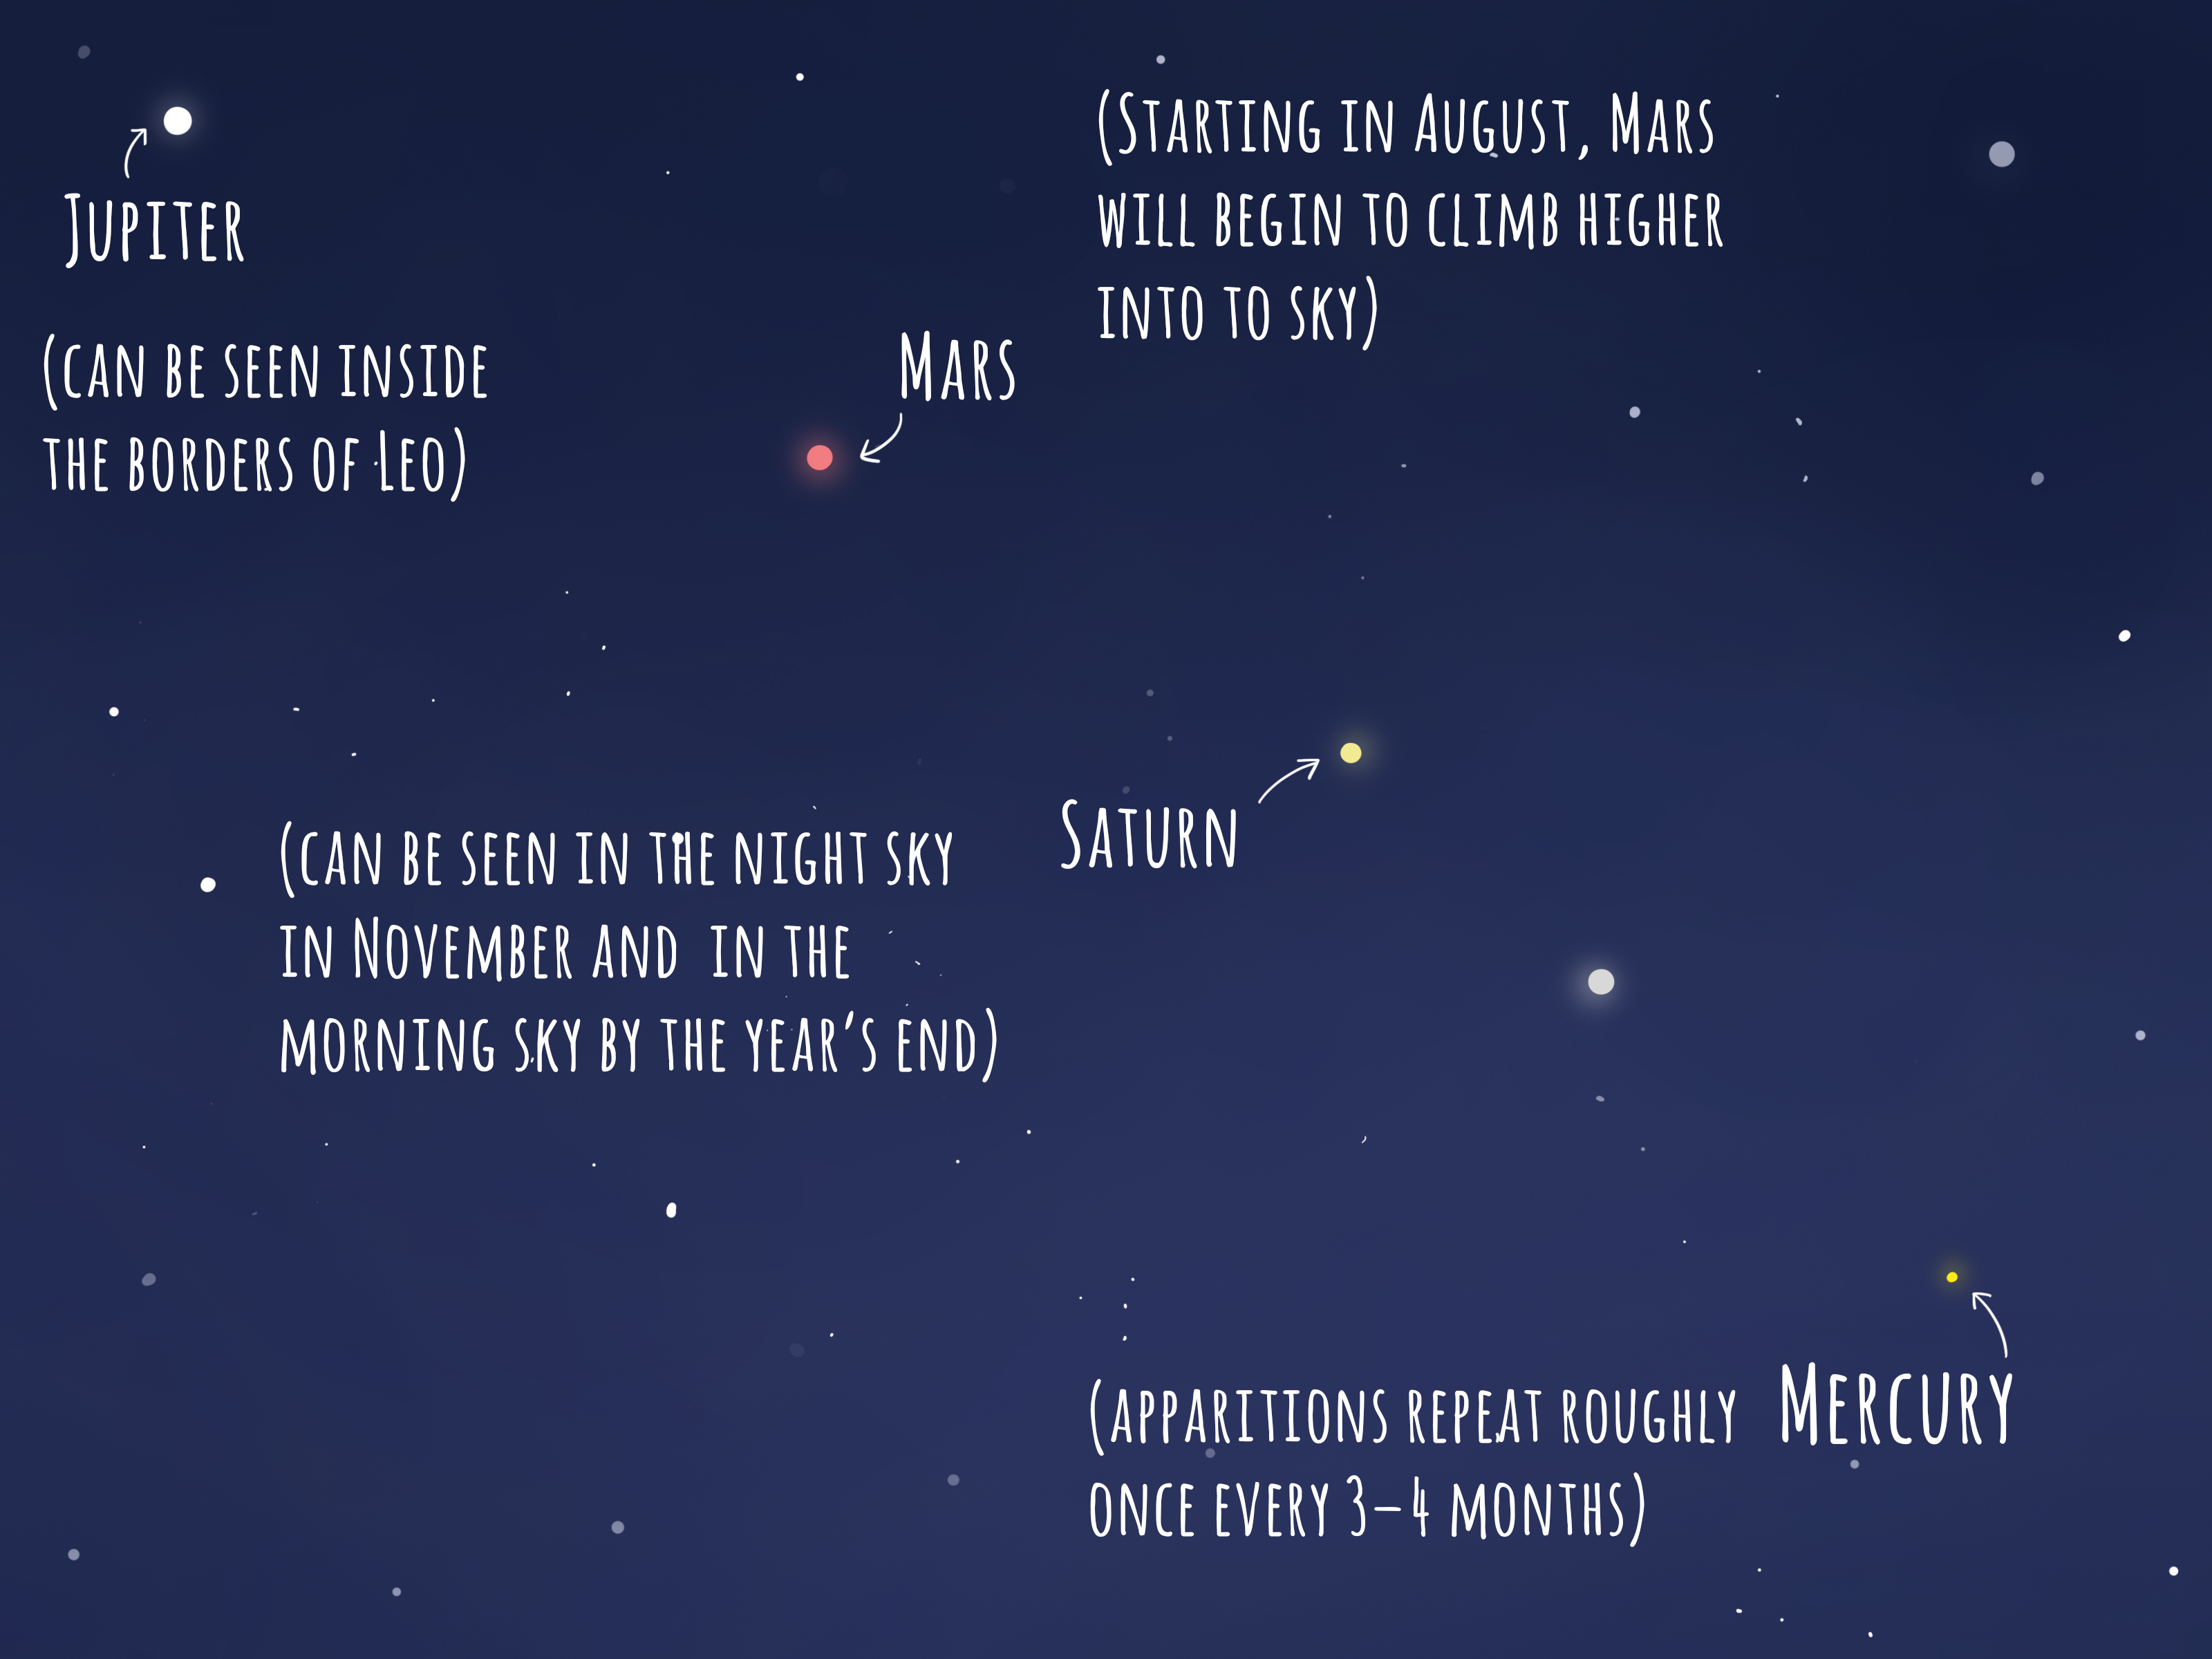
Venus is usually the show-off of the group. It often appears as a brilliant white beacon in twilight and can be so bright that it looks almost suspicious. Jupiter is another easy win, looking bright and steady rather than sparkly. Mars is often recognizable by its warm, reddish color. Saturn is usually less flashy but still bright enough to spot under decent skies. Mercury is the trickiest of the naked-eye bunch because it stays low near the horizon and tends to hide in twilight like a shy celebrity avoiding paparazzi.
Uranus can sometimes be seen without optical aid under very dark skies if you know exactly where to look, but for most people it is much easier with binoculars. Neptune is a binocular-or-telescope object for ordinary observers. So if your goal is to start strong, focus first on the big five.
Step 2: Know the Best Time to Look
Planet hunting is not just about where you look. It is also about when. Different planets show up at different times because their positions change relative to Earth and the Sun.
Inner planets
Mercury and Venus are called inner planets because they orbit closer to the Sun than Earth does. That means they never wander far from the Sun in our sky. You will usually find them either shortly after sunset in the western sky or before sunrise in the eastern sky. If you go looking for Venus at midnight, you are likely to come home with nothing but mosquito bites and disappointment.
Outer planets
Mars, Jupiter, and Saturn can appear much farther from the Sun in the sky. They can be visible in the evening, late at night, or before dawn depending on the time of year. The best time to see an outer planet is often around opposition, when Earth passes between that planet and the Sun. Around opposition, the planet rises around sunset, stays up most of the night, and appears especially bright.
For Mercury and Venus, a useful term is greatest elongation. That is when they appear farthest from the Sun in our sky, making them easier to spot above the horizon. In plain English: if you want Mercury without tears, pay attention to its best viewing windows.
Step 3: Follow the Ecliptic Like It Is the Sky’s VIP Rope Line
Here is one of the best planet-finding secrets: planets tend to appear along the ecliptic, the apparent path the Sun follows across the sky. Since the planets orbit the Sun in roughly the same plane, they line up near that same track.
This means planets are not scattered randomly across the heavens. If you imagine a broad arc stretching across the sky where the Sun, Moon, and zodiac constellations travel, that is your planet zone. Once you start watching the ecliptic, bright “stars” near that path become immediate suspects.
That one idea saves beginners a huge amount of frustration. Instead of searching the whole sky like you lost your keys in a cosmic parking lot, you can narrow your attention to the band where planets usually live. The sky becomes less “Where do I even start?” and more “Aha, you are definitely up to something.”
Step 4: Learn How a Planet Looks Different From a Star
This is the part that feels like a superpower once you learn it. A bright planet often shines with a steadier light than a star. Stars tend to twinkle because Earth’s atmosphere distorts their pinpoint light. Planets, being closer and appearing as tiny disks rather than perfect points, usually twinkle less and glow more steadily.
That does not mean planets never shimmer. If they are very low on the horizon, the atmosphere can make them wobble and flicker too. But in general, if you see a bright object with a calm, steady glow, that is a strong clue you are looking at a planet.
Color helps too. Mars often has a rusty or orange-red tint. Venus and Jupiter usually look bright white or silvery. Saturn can appear pale yellow. This is not a hard rule, because sky conditions matter, but color is another useful clue when paired with brightness and steadiness.
A good beginner habit is to compare. Pick one bright object you suspect is a planet and then look at a nearby bright star. If one looks sparkly and sharp while the other looks steadier and more composed, you are probably onto something.
Step 5: Use a Sky Map or Stargazing App Before You Step Outside
You do not need to memorize the solar system like a human planetarium. Smart observers use tools. A monthly sky map, planisphere, or stargazing app can tell you which planets are visible from your location and exactly where to look.
This step is what separates “pleasant evening outside” from “accidentally staring at Capella for twenty minutes.” A good sky chart lets you check the direction, height above the horizon, and approximate time a planet will be visible. Many digital tools also let you hold your phone toward the sky and identify planets in real time.
That said, do not let the app become the entire hobby. The goal is not to stare at your screen while the sky does all the hard work overhead. Use the chart first, get your bearings, then put the phone away and look up. The universe has excellent resolution already.
Step 6: Pick the Right Viewing Spot and Let Your Eyes Adapt
Location matters more than beginners expect. You do not need the top of a remote mountain, but you do need a clear view of the horizon in the direction you are observing. This is especially important for Mercury and Venus, which often appear low in bright twilight.
Try to avoid bright porch lights, parking lots, or the kind of yard floodlight that makes your home look ready for an emergency runway landing. Light pollution reduces contrast, making fainter planets and surrounding stars harder to see.
Once you are outside, give your eyes time to adapt. Dark adaptation improves what you can see, and white light ruins it fast. If you need a flashlight, use a dim red one. After a few minutes, the sky starts revealing more detail, and the planets seem easier to separate from the background.
This step may sound simple, but it is one of the most effective. Better sky, better view, less muttering.
Step 7: Start With the Easy Targets First
If you are new to skywatching, do yourself a favor and begin with the planets most likely to reward your effort quickly. That usually means Venus and Jupiter. They are bright, obvious, and excellent confidence builders.
After that, move on to Mars when it is well placed, especially if it has a distinct reddish hue. Saturn is often subtler, but still findable with a little practice. Leave Mercury for when you are ready to work the horizon like a detective in a trench coat.
The reason this matters is psychological as much as practical. Once you find one or two planets successfully, your brain begins recognizing patterns. The ecliptic makes more sense. Brightness comparisons become easier. You stop guessing and start identifying. Astronomy becomes more fun when it includes occasional victory instead of pure confusion.
Step 8: Use Binoculars the Smart Way
Binoculars are one of the best beginner astronomy tools because they are easy to use, affordable, and much less intimidating than a telescope. They can help you confirm Uranus, improve views of Mercury in twilight, and show Jupiter near background stars more clearly.
They are especially useful when a planet is low on the horizon or when you are trying to separate it from bright twilight. A typical pair of 10×50 binoculars is often recommended as a great starting point.
But here is the important safety rule: never sweep binoculars or a telescope anywhere near the Sun unless you have proper front-mounted solar filters designed for that purpose. This matters most when observing Mercury or Venus close to sunrise or sunset. Wait until the Sun is safely below the horizon, or make sure it is blocked by a solid obstruction before scanning nearby sky.
Used correctly, binoculars are a game changer. Used carelessly around the Sun, they are a terrible idea. The universe is amazing, but your retinas are not replaceable.
Step 9: Keep Watching Over Several Nights
The final step is the one that transforms a beginner into a real observer: watch repeatedly. Planets are called “wanderers” for a reason. Unlike the fixed star patterns, they shift position from night to night against the background constellations.
That motion is one of the coolest parts of planet watching. On one evening, Jupiter may sit near a certain star. A week later, it has noticeably moved. Mars may creep from one part of a constellation toward another. If you keep a simple observing log, even just a notebook with dates, times, and quick sketches, you start to notice the solar system in motion rather than as a static picture.
This is where astronomy becomes personal. You are not just being told that planets orbit the Sun. You are watching the evidence unfold with your own eyes. And that is a very satisfying upgrade from reading facts on a screen while wearing pajama pants indoors.
Common Mistakes to Avoid
- Looking too early or too late for the planet’s viewing window.
- Ignoring the horizon and trying to search the whole sky at once.
- Confusing a bright star with a planet because no chart was checked first.
- Giving up after one cloudy or hazy night.
- Using binoculars too close to the Sun.
- Expecting all planets to be equally bright and easy.
If planet finding feels tricky at first, that is normal. Even experienced observers occasionally mistake one bright object for another, especially in twilight. The difference is that experienced observers know how to recover fast: check the time, check the chart, check the ecliptic, and try again.
Why Planet Watching Never Gets Old
There is something delightfully humbling about stepping outside, glancing up, and realizing that the bright point over the trees is not just a “light in the sky.” It is Jupiter, or Mars, or Venus, shining across millions of miles and casually ignoring your to-do list.
Planet watching is beginner-friendly, budget-friendly, and weirdly addictive. One successful sighting leads to another. Then you start recognizing constellations. Then you learn why Saturn is low this month, why Venus changes from evening star to morning star, and why Mercury keeps playing hard to get. Before long, you are the person at family gatherings pointing at the sky and saying, “That’s not a star,” which is either charming or mildly dangerous depending on your audience.
Planet-Hunting Experiences: What It Actually Feels Like
The first time many people find a planet on purpose, the experience is surprisingly emotional. It is not dramatic in a movie sense. Nobody faints. Nobody drops a coffee mug in slow motion. But there is a very real jolt of recognition that happens when a bright point in the sky stops being anonymous. The moment you realize, “That is Venus,” the sky feels less distant and more understandable.
A common early experience is starting with confidence, then immediately doubting everything. You walk outside with a chart, find the western horizon, spot one brilliant object, and think, “Got it.” Then a second bright object appears higher up and suddenly your brain begins negotiating against itself. This is normal. Planet hunting often begins as a mix of excitement, uncertainty, and mild suspicion directed at every bright thing overhead.
Then comes the breakthrough. You compare the object’s steady shine with a nearby twinkling star. You notice the object sits right along the ecliptic. You check your chart one more time. Everything lines up. That is the moment the hobby clicks. It feels less like guessing and more like reading.
Another memorable experience is how much easier the sky becomes after a few sessions. On night one, it can feel like visual chaos. On night five, you start recognizing patterns without effort. Jupiter looks familiar. Mars stands out with its warmer color. Venus becomes the unmistakable bright torch of twilight. Your eyes and brain begin working together in a new way, and the night sky changes from a flat backdrop into a place with structure.
There is also a special satisfaction in watching planets over time. Seeing Jupiter in one location is fun. Seeing it again a week later, slightly shifted against the stars, is better. That slow movement makes the solar system feel alive. It reminds you that you are not looking at fixed decorations. You are watching worlds in motion.
Many observers also remember the setting as much as the planet itself: a cold driveway, a quiet backyard, a park after sunset, the sound of crickets, a neighbor wondering why you are staring above the garage. Planet finding has a way of attaching itself to ordinary moments and making them feel bigger. You do not need perfect conditions for that. You just need enough patience to keep looking up.
And perhaps the best experience of all is sharing it. Once you learn to spot a planet, showing someone else becomes incredibly rewarding. A child, a friend, or a skeptical relative looks up, sees the object, and asks, “That’s really Saturn?” Suddenly the sky becomes a conversation. The learning stops being private and becomes contagious in the best possible way.
That is why planet watching sticks with people. It combines science, routine, wonder, and a little detective work. It gives you repeatable wins. It makes you more aware of seasons, horizons, weather, and darkness. And every so often, it gives you a perfect moment where a tiny bright dot over the rooftops becomes a place, a planet, a real world. That is a pretty good return for simply stepping outside and paying attention.
Conclusion
If you want to find planets in the night sky, you do not need elite gear or expert status. You need a few reliable habits: know which planets are visible, learn their best viewing times, follow the ecliptic, compare their steady glow to twinkling stars, use a sky map, choose a better observing spot, start with easy targets, use binoculars safely, and keep watching over time. Those nine steps turn the sky from a mystery into a guidebook.
The best part is that every clear night offers another chance to practice. The planets are not going anywhere fast, even if Mercury likes to act busy. So step outside, look up, and let the solar system introduce itself properly.

