
Hair Care
How To Make a DIY Framed Mirror
Jun
A plain mirror is practical, honest, and about as exciting as a slice of dry toast. But add a custom frame, and suddenly that same mirror looks like it has a designer, a backstory, and maybe even a tiny trust fund. The good news? You do not need to be a master carpenter, own a luxury workshop, or speak fluent “miter saw” to make a DIY framed mirror look polished.
Learning how to make a DIY framed mirror is one of the easiest ways to upgrade a bathroom, entryway, bedroom, hallway, or vanity area without tearing into walls or spending a fortune. A simple wood mirror frame can turn a builder-grade bathroom mirror into a finished focal point. It can also rescue a thrift-store mirror, dress up a basic rectangle, or help a room feel larger and brighter.
This guide walks through the full process: planning the design, choosing materials, measuring correctly, cutting trim, painting or staining, attaching the frame safely, and finishing the details. We will also cover common mistakes, budget-friendly ideas, renter-friendly options, and real-world experience from projects where the mirror was large, the wall was not straight, and the caulk had to work overtime like a very small superhero.
Why Build a DIY Framed Mirror?
A framed mirror does more than reflect your face while you wonder why one eyebrow is behaving independently. It adds structure, color, texture, and visual balance to a room. In bathrooms especially, large frameless mirrors often look unfinished because they are installed for function rather than style. A frame gives the mirror an intentional look and helps connect it with the vanity, fixtures, flooring, and wall color.
DIY framed mirrors are popular because they are affordable, customizable, and beginner-friendly. You can build a rustic farmhouse mirror with stained pine, a modern black mirror with simple square boards, a coastal mirror with whitewashed trim, or a traditional mirror with decorative molding. Unlike buying a new framed mirror, making your own lets you control the size, finish, and personality.
Another advantage is that many projects can be completed without removing the mirror from the wall. That matters because large bathroom mirrors are often attached with clips, mastic, or adhesive. Removing them can be risky, messy, and occasionally dramatic in a way nobody asked for. Framing the mirror in place is usually simpler and safer, as long as the existing mirror is firmly mounted.
Tools and Materials You Will Need
Before starting, gather everything you need so you do not find yourself holding a half-painted board while searching for painter’s tape with the urgency of a detective in a renovation mystery.
Basic Tools
- Tape measure
- Pencil
- Level
- Miter saw, miter box, or fine-tooth hand saw
- Sandpaper or sanding block
- Caulk gun
- Painter’s tape
- Clamps, if building a freestanding frame
- Safety glasses
Materials
- Wood boards, MDF trim, baseboard molding, casing, or reclaimed trim
- Mirror-safe adhesive or construction adhesive approved for glass and mirrors
- Wood glue for frame joints
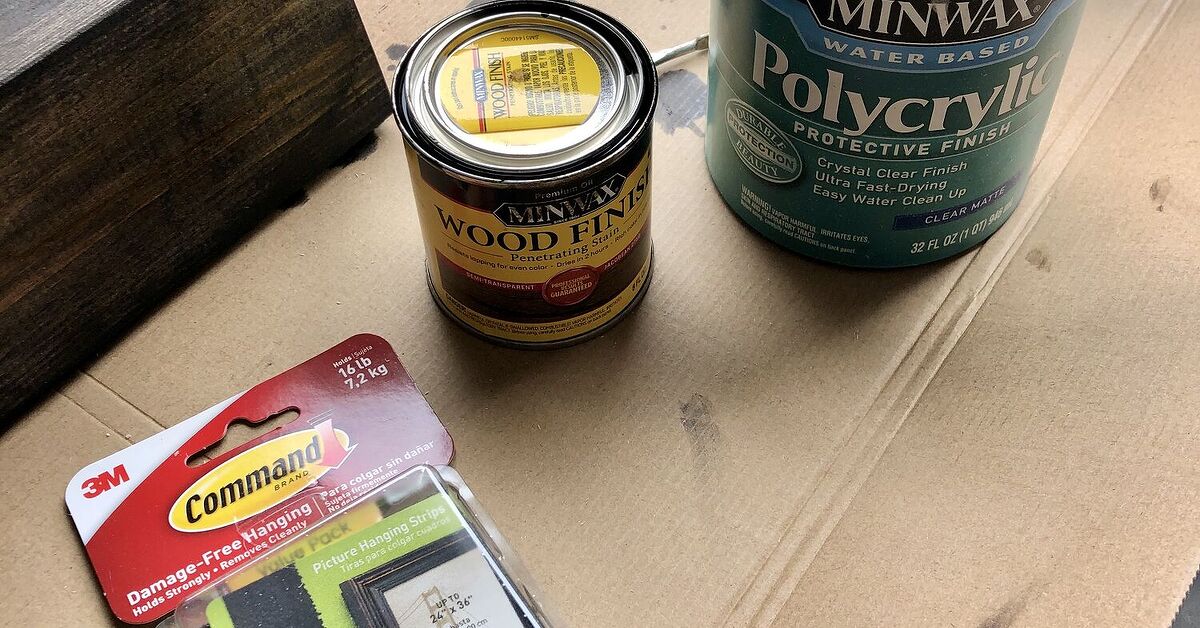
- Primer, paint, stain, or polyurethane
- Paintable caulk
- Wood filler
- Painter’s tape or temporary supports
- Optional: decorative corner blocks, ledge board, hooks, or trim accents
For bathrooms, choose moisture-resistant materials and finishes. PVC trim, sealed wood, primed MDF, and properly painted molding can all work. If you use real wood, seal every side before installation, including the back. Bathrooms are basically tiny humidity factories, and unfinished wood will notice.
Step 1: Decide What Kind of Framed Mirror You Want
Start with style. A DIY mirror frame should match the room, not look like it wandered in from a different house. For a modern bathroom, simple straight boards painted black, white, or warm taupe look clean and timeless. For a farmhouse or cottage look, stained wood, reclaimed boards, or lightly distressed trim add charm. For a traditional room, use decorative casing or crown-style molding.
Think about frame width, too. A narrow one-inch frame gives subtle definition. A three- or four-inch frame makes the mirror feel more substantial. If your bathroom has a large plate-glass mirror, a wider frame can help it look less like a rental-apartment afterthought and more like a planned design feature.
Also check the space around the mirror. Make sure there is enough room between the mirror and nearby outlets, light fixtures, medicine cabinets, tile edges, or faucets. A frame that crashes into a light fixture is not “custom.” It is a geometry problem wearing paint.
Step 2: Measure the Mirror Carefully
Measure the width and height of the mirror. Then measure again. Then, because DIY has a sense of humor, measure one more time. Write the numbers down clearly.
If you are attaching trim directly to the face of a mirror, decide how much the frame will overlap the mirror. Many DIY mirror frames overlap the glass by about half an inch to one inch. This hides rough edges, clips, and tiny gaps while giving the frame more surface area for adhesive.
If your mirror has plastic clips, you have a few options. You can notch the back of the frame so it fits over the clips. You can replace bulky clips with flatter mirror clips if appropriate. Or you can use a slightly thicker trim profile that clears the clips. Never remove clips unless the mirror is also supported by adhesive or another secure mounting method. Gravity is not forgiving, and it does not care that the frame looked cute on Pinterest.
Step 3: Choose the Best Wood or Trim
For beginners, flat pine boards or pre-primed MDF boards are easy to use. They cut cleanly, paint well, and create a simple modern frame. Decorative door casing, baseboard, or chair rail molding creates a more detailed frame. Reclaimed wood adds texture, but it may be warped, uneven, or stubborn, much like a cat near bathwater.
Here are a few practical choices:
- Pine boards: Affordable, easy to stain, and great for rustic or warm wood looks.
- Poplar: Smooth, stable, and excellent for painted frames.
- MDF trim: Budget-friendly and smooth, best for painted indoor frames.
- PVC trim: Moisture-resistant and useful for bathrooms.
- Reclaimed trim: Full of character, but often needs extra sanding and sealing.
If the mirror is in a bathroom, avoid raw, unsealed wood. Even if the room has good ventilation, steam can sneak into unfinished edges and cause swelling or discoloration over time.
Step 4: Cut the Frame Pieces
There are two common ways to build a mirror frame: mitered corners or straight butt joints.
Mitered Corners
Mitered corners are cut at 45-degree angles so the pieces meet like a picture frame. This style looks clean and professional, especially with decorative molding. It does require accurate cutting. If one board is slightly off, the corner may open up and stare at you forever. Wood filler and caulk can help, but precision makes the finish much better.
Butt Joints
Butt joints are simpler. The top and bottom boards run across the mirror, and the side boards fit between them, or vice versa. This method works well for square-edge boards and modern designs. It avoids tricky angle cuts and is friendly to beginners who do not want to negotiate with a miter saw before lunch.
After cutting, dry-fit the pieces around the mirror. Check the corners, confirm the frame is level, and make sure the frame does not block outlets, lights, or faucet movement. Dry-fitting catches problems while they are still easy to fix.
Step 5: Sand, Prime, Paint, or Stain Before Installation
Finish the boards before attaching them to the mirror. This is much easier than trying to paint neatly against glass, walls, tile, and your own rising regret. Sand rough edges and corners first. If painting, apply primer if needed, then use a durable interior paint. Satin, semi-gloss, and enamel finishes work well in bathrooms because they wipe clean more easily.
If staining, apply stain evenly and let it dry fully. Seal the wood with polyurethane or a water-resistant topcoat, especially in humid areas. Do not forget the back and ends of the boards. Moisture loves exposed end grain, and it will absolutely find it.
Let the finish cure before installation. Paint that feels dry to the touch may still be soft underneath. If you tape it too soon, the tape may pull off the finish, which is a deeply annoying plot twist.
Step 6: Attach the Frame to the Mirror
Use a mirror-safe adhesive or construction adhesive approved for bonding wood to glass. Read the label carefully. Some adhesives can damage mirror backing, discolor the reflective surface, or fail in humid spaces. For a frame attached to the front of the mirror, apply adhesive to the back of the trim where it will contact glass, keeping it away from edges where squeeze-out would show.
Press each piece into place and use painter’s tape to hold it while the adhesive cures. Check with a level immediately. Adhesive gives you only a short window to adjust the trim before it begins to set. This is the part where calm energy helps. Also, having a second person nearby is useful, even if their official job is saying, “A little left. No, my left.”
If the frame is heavy, add temporary support from below, such as blocks resting on the countertop, while the adhesive cures. Follow the adhesive manufacturer’s cure time exactly. Some products need 24 to 48 hours or longer before they reach full strength.
Step 7: Caulk the Gaps and Touch Up the Finish
Once the adhesive has cured, remove the tape and inspect the frame. Small gaps at the corners can be filled with wood filler. Gaps between the frame and wall can be finished with paintable caulk. Use a thin bead and smooth it with a damp finger or caulk tool.
Touch up paint or stain as needed. A small artist brush works well for corners and edges. Clean any adhesive smudges from the mirror carefully using a glass-safe cleaner and a soft cloth. Avoid scraping with anything that could scratch the glass.
This final step is where a DIY framed mirror goes from “I made this” to “Yes, obviously this has always been here.” Caulk and touch-up paint are the quiet heroes of home improvement. They do not ask for applause, but they deserve snacks.
Design Ideas for a DIY Framed Mirror
Classic White Bathroom Mirror
Use pre-primed MDF or poplar trim painted white. This look is clean, bright, and easy to match with most vanities. It is ideal for small bathrooms because it keeps the space feeling open.
Modern Black Frame
Flat boards painted matte or satin black create a modern mirror that works with black faucets, cabinet pulls, or shower hardware. The result feels crisp and updated without replacing the entire vanity area.
Rustic Wood Mirror
Use pine, cedar, or reclaimed wood with a medium stain. Seal it well. Rustic frames look great in farmhouse bathrooms, cabins, laundry rooms, and entryways.
Gold or Brass-Inspired Frame
Paint decorative molding with metallic gold or warm brass paint for a vintage-inspired mirror. This works beautifully with traditional vanities, wallpaper, or moody wall colors.
Mirror Frame With a Ledge
Add a narrow shelf or ledge along the bottom of the frame. It can hold small decor, a tiny plant, or everyday items. Just do not overload it. A mirror ledge should display style, not become a parking garage for toothpaste.
Common Mistakes to Avoid
The biggest mistake is using the wrong adhesive. Always choose an adhesive appropriate for mirrors, glass, and the frame material. Another common mistake is skipping the dry fit. Boards that seem perfect on the garage floor may behave differently when placed against a wall that has its own opinions.
Do not paint after installing unless you absolutely must. Painting beforehand gives a cleaner finish and reduces the chance of paint on the glass. Also, avoid making the frame too thick if your mirror sits close to a faucet, light fixture, outlet, or medicine cabinet.
Finally, do not rely on small adhesive hooks or temporary strips to hang a heavy mirror. If you are creating a separate framed mirror to hang on the wall, use proper hardware, anchors, cleats, or studs based on the mirror’s weight. Mirrors are breakable, heavy, and not the right place for “eh, good enough.”
Budget Breakdown
A basic DIY bathroom mirror frame can cost as little as $25 to $75, depending on the size of the mirror and the trim you choose. Paint-grade pine and MDF are usually the most affordable. Decorative molding, hardwood, specialty finishes, and reclaimed architectural trim can raise the cost.
Here is a realistic budget range:
- Basic painted frame: $25 to $50
- Stained wood frame: $40 to $90
- Decorative molding frame: $60 to $150
- Large custom-style mirror frame: $100 to $250
Even at the higher end, a DIY framed mirror often costs less than buying a large custom framed mirror. It also gives you bragging rights, which are technically free but emotionally priceless.
Can Renters Make a DIY Framed Mirror?
Renters can still upgrade a mirror, but the project needs to be reversible. Instead of permanent adhesive, consider a lightweight removable frame that rests around the mirror and is secured in a way that does not damage the wall or glass. Some renters use removable trim, magnetic solutions where appropriate, or a freestanding frame built to fit snugly around the mirror.
Always check your lease before making changes. If the mirror belongs to the property, avoid permanent glue unless you have written permission. A removable frame may not be as seamless as a glued-on frame, but it can still make a basic mirror look much better.
Extra Experience: What I Learned From Making DIY Framed Mirrors
The first thing you learn when making a DIY framed mirror is that walls are rarely straight. They may look straight. They may pretend to be straight. But once you place a perfectly cut board against them, the truth comes out. In one bathroom project, the mirror was square, the trim was square, but the wall bowed slightly near the corner. The solution was not panic. The solution was a careful dry fit, a thinner bead of adhesive in one area, painter’s tape, and a tiny line of caulk after curing. From a normal standing distance, it looked perfect.
The second lesson is that paint color matters more than expected. A plain white frame can look clean, but the wrong white may clash with tile, walls, or the vanity. Warm white next to cool white can make one of them look dingy. Black is usually safer for a modern look, but it shows dust and water spots more easily. Stained wood brings warmth, but the stain should connect with something else in the room, such as shelves, flooring, baskets, or cabinet hardware.
The third lesson is to finish the boards before installation. It sounds obvious until you are trying to paint the underside of a frame already attached above a sink. Paint drips love sinks. Stain loves grout. Caulk loves sleeves. Pre-finishing the boards on a worktable is cleaner, faster, and much less likely to make you question your life choices.
Another practical experience: painter’s tape is helpful, but it is not a substitute for support on heavy trim. If the boards are thick or the mirror is large, support the bottom pieces with blocks, shims, or a temporary ledge while the adhesive cures. Tape keeps things aligned; support keeps gravity from entering the chat.
It is also worth buying one extra piece of trim. Mistakes happen. Boards split. Cuts are made backward. A 45-degree cut can become a tiny wooden tragedy in seconds. Having extra material prevents a mid-project store run, which always seems to happen when you are wearing paint clothes and have adhesive on one hand.
Finally, the best DIY framed mirrors look intentional because the small details are handled well. The corners are filled, the caulk line is neat, the paint is touched up, and the frame relates to the rest of the room. You do not need perfection. You need patience, clean measurements, and a willingness to let caulk do its quiet little magic.
Conclusion
A DIY framed mirror is one of the smartest home upgrades because it delivers a big visual change with simple materials and beginner-friendly steps. Whether you are updating a bathroom mirror, refreshing an entryway, or giving a thrifted mirror a second life, the process is straightforward: choose a style, measure carefully, cut accurately, finish the trim, attach it safely, and clean up the details.
The project is affordable, flexible, and satisfying. It can make a basic mirror look custom, help a room feel more finished, and add character without requiring a full remodel. Best of all, every time you walk past it, you get to enjoy the reflection of both your face and your excellent decision-making.
Note: For best results, follow the adhesive manufacturer’s instructions, allow the full cure time, and use proper mounting hardware if you are hanging a separate heavy framed mirror.
