
Makeup
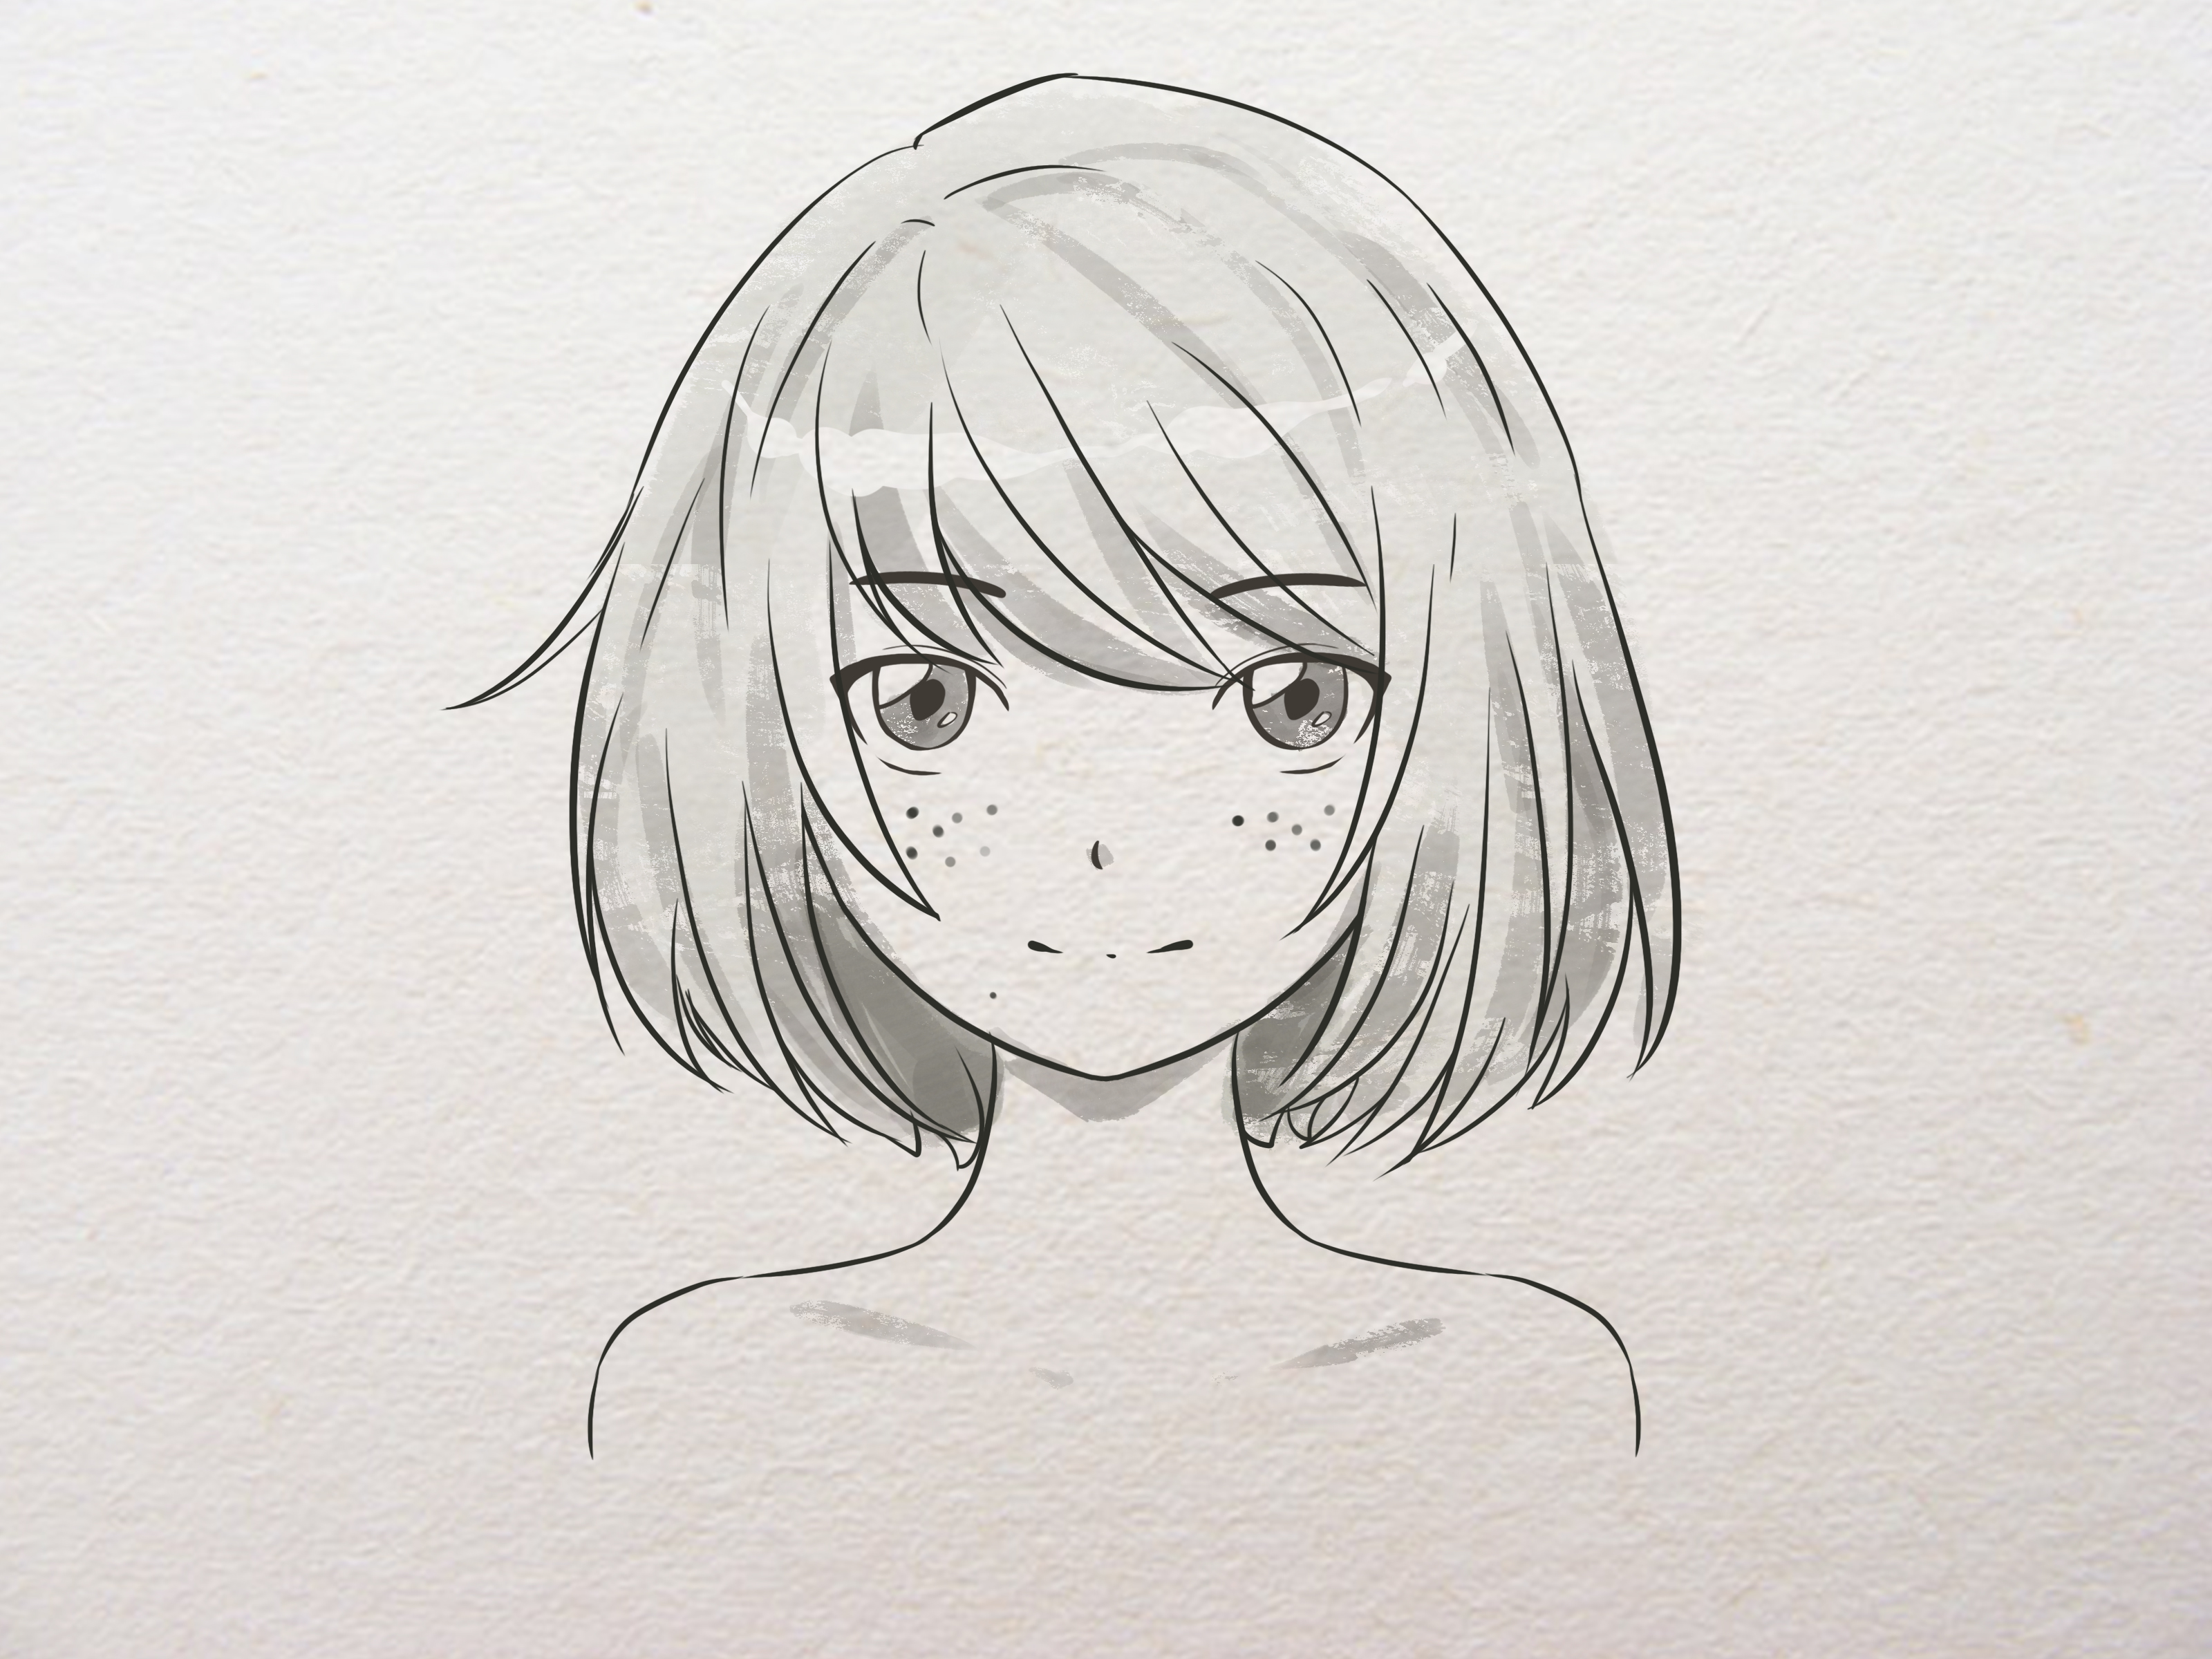
How to Draw Anime or Manga Faces: 15 Steps
Aug
Drawing an anime or manga face can look deceptively simple. There may be fewer lines than in a realistic portrait, yet every line carries a suspicious amount of responsibility. Move an eye a few millimeters too high, and your heroic protagonist suddenly looks permanently surprised. Shrink the chin too much, and you may accidentally create a toddler who has already seen the end of the universe.
The good news is that anime face drawing is not a mysterious talent delivered by a dramatic lightning strike. It is a repeatable process built on head construction, facial proportions, three-dimensional thinking, observation, and deliberate exaggeration. Anime and manga artists simplify real anatomy rather than ignoring it completely. Large eyes, small noses, compact mouths, sharp jawlines, and gravity-defying hair work best when they are attached to a believable underlying head.
This beginner-friendly guide explains how to draw anime or manga faces in 15 practical steps. You can follow the process with pencil and paper or adapt it to a digital drawing program. The goal is not to copy one “correct” anime style. It is to understand the structure well enough to create faces that remain expressive and consistent from character to character.
Research support:
What You Need Before Drawing
Traditional artists need only a pencil, an eraser, smooth paper, and an optional fineliner. A softer pencil such as a 2B is useful for loose sketches, while an HB pencil provides lighter construction lines. Digital artists can use nearly any drawing application that supports layers, brush stabilization, opacity controls, and pressure-sensitive strokes.
Keep one or two reference images nearby. A front-facing photograph can help with basic proportions, while three-quarter and profile references reveal how facial features wrap around the skull. References are learning tools, not artistic training wheels that must be thrown away dramatically after three sketches. Professional artists use them because memory is useful but spectacularly unreliable.
Research support:
How to Draw an Anime or Manga Face Step by Step
Step 1: Decide the Character’s Basic Design
Before making detailed marks, decide who you are drawing. Consider the character’s approximate age, personality, role, and overall visual style. A cheerful child may have a round head, wide eyes, soft cheeks, and a tiny chin. A serious adult might have narrower eyes, a longer face, lower eyebrows, and a stronger jaw.
Choose the viewing angle as well. Beginners should start with a front view because symmetry is easier to check. Once that feels comfortable, move to a three-quarter view, which creates more depth and is commonly used in manga panels and character illustrations.
Step 2: Draw a Circle for the Cranium
Lightly sketch a circle to represent the upper part of the skull. It does not need to be mathematically perfect. In fact, spending ten minutes repairing a circle is an excellent way to avoid drawing the rest of the face forever.
Think of the circle as a sphere rather than a flat symbol. Anime faces may be stylized, but the head still occupies three-dimensional space. When the character turns, the visible width of each side changes, and construction lines must curve around the spherical form.
Research support:
Step 3: Add the Centerline and Jaw
Draw a vertical centerline through the circle. For a front-facing character, this line remains nearly straight. In a three-quarter view, curve it toward the side the face is turning. The curve helps show the direction of the head and prevents the features from looking pasted onto a flat oval.
From the lower sides of the circle, extend two lines downward to form the cheeks and jaw. Join them at the chin. Younger or cuter characters generally have shorter, rounder lower faces. Mature characters can have longer jaws and more defined angles. Avoid making both sides of the jaw perfectly straight; a subtle inward curve usually looks more natural.
Step 4: Place the Eye Guideline
Draw a horizontal guideline across the head, usually near the vertical midpoint of the complete skull. Depending on your chosen anime style, the eyes may sit directly on this line or slightly below it. Characters designed to look young often have lower eye placement because the upper cranium appears proportionally larger.
The guideline must follow the head’s perspective. In a three-quarter view, it should curve around the face like a band wrapped around a ball. When the character looks up or down, tilt the eye line accordingly instead of leaving it stubbornly horizontal.
Research support:
Step 5: Sketch the Basic Eye Shapes
Draw the upper eyelids first using confident curved lines. The upper lid is usually darker and thicker than the lower lid because it represents both the eyelid and the visual weight of the lashes. Add a lighter lower curve, leaving small gaps if your style favors simplified linework.
Anime eyes can be large, but they should still feel connected to the skull. Leave enough room between them for approximately one eye width, then adjust according to the character design. A gentle character may have round, open eyes. A suspicious rival can have narrow eyes angled downward toward the center. Apparently, eyebrow geometry is not the only route to villainy.
Step 6: Add the Irises, Pupils, and Highlights
Place the irises partly beneath the upper eyelids rather than drawing complete circles floating in the eye whites. This creates a more natural, focused expression. Large irises tend to make a character look youthful, warm, or innocent, while smaller irises can suggest intensity, fear, anger, or emotional distance.
Add pupils and highlights after checking that both eyes look in the same direction. The highlights should usually occupy corresponding positions in each eye because they represent a shared light source. You can add a darker shadow across the top of each iris and a lighter region near the bottom to produce the glossy depth associated with many anime styles.
Research support:
Step 7: Draw the Eyebrows
Place the eyebrows above the eyes, following the curve of the brow area. Do not treat them as decorative stickers. Their angle, height, thickness, and distance from the eyes significantly affect the expression.
Raised eyebrows can communicate surprise or concern. Brows slanting downward toward the center suggest determination or anger. Soft, curved eyebrows create a friendly appearance, while flatter brows may make a character seem calm, mature, or unimpressed by everyone’s dramatic monologue.
Step 8: Simplify the Nose
Place the nose between the eye line and chin. Many anime styles represent it with a short line, a small wedge, a dot, or a delicate shadow. Even when the visible mark is tiny, imagine the nose as a three-dimensional form projecting from the face.
In a front view, the bridge may be omitted entirely. In a three-quarter or profile view, show more of the bridge, tip, and underside because the silhouette becomes important. The farther the head turns, the less effective a symbolic dot becomes.
Step 9: Position the Mouth
Draw the mouth below the nose and above the chin. Start with a short line indicating the separation between the lips. Many manga faces omit the full lip outline unless the character is wearing makeup, speaking in close-up, or designed in a more realistic style.
For a smile, curve the line upward and subtly lift the cheeks. For sadness, reverse the curve and soften the eyes. When drawing an open mouth, construct the opening as a shape rather than two unrelated lines. Remember that the lower jaw moves when the mouth opens, so an extreme shout may lengthen the lower portion of the face.
Research support:
Step 10: Add the Ears
Place the ears on the sides of the head, commonly between the eyebrow area and the base of the nose. Their exact height changes when the head tilts. You do not need to reproduce every fold of realistic ear anatomy, but a simple outer curve and one or two interior lines will prevent them from resembling handles attached to a teacup.
In a three-quarter view, the nearer ear may appear larger, while the far ear can be partly hidden by the skull or hair. In profile, the ear sits behind the vertical midpoint of the head rather than directly beside the eye.
Step 11: Establish the Hairline and Hair Mass
Mark the hairline lightly before drawing bangs or dramatic locks. Then sketch the outer mass of the hairstyle above and around the skull. Hair has volume, so it should not cling directly to the cranium like wet plastic wrap unless that is a very specific plot point.
Divide the hairstyle into large sections: bangs, side locks, crown, and back mass. Draw these sections as ribbons or clumps that follow a shared flow. Add individual strands only after the main silhouette works. This approach creates cleaner, more readable anime hair and keeps you from drawing six hundred disconnected noodles.
Research support:
Step 12: Draw the Neck and Shoulders
Extend two lines downward from beneath the jaw to form the neck. Do not attach them directly to the outermost corners of the face. The neck connects behind the jaw and below the ears. A slender neck may suit a delicate character, while a thicker neck helps communicate strength, age, or a heavier build.
Add the upper slope of the shoulders so the head does not float in empty space like a mildly judgmental balloon. Even in a face-focused drawing, the neck and shoulders establish posture and provide clues about the character’s attitude.
Step 13: Refine the Face Shape and Character Identity
Now compare the features with your original character idea. Adjust the jaw width, eye spacing, brow thickness, nose length, cheek shape, and hair silhouette. Small structural changes can make two faces feel completely different even when they share the same general anime style.
To avoid “same-face syndrome,” vary more than hairstyles and eye colors. Study people of different ages and backgrounds. Observe how skull shapes, eyelids, noses, lips, cheekbones, and jawlines differ. Stylization becomes more convincing when it is based on real variation rather than a single memorized template.
Research support:
Step 14: Create Clean Line Art and Simple Shading
Erase unnecessary construction marks or reduce the sketch layer’s opacity. Draw the final lines with deliberate strokes. Vary line weight by making overlaps, upper eyelids, hair roots, and shadowed areas slightly thicker. Use thinner lines for delicate interior details.
For simple cel-style shading, choose one light direction and add clear shadow shapes under the hair, beneath the chin, beside the nose, and around the upper eye area. Keep the shadow edges consistent. Digital artists can place the sketch, line art, flat colors, and shadows on separate layers to make corrections easier.
Research support:
Step 15: Check the Drawing and Practice New Angles
Flip the canvas horizontally or hold the paper up to a mirror. This instantly exposes crooked eyes, leaning chins, uneven jaws, and other problems your brain has politely stopped mentioning. Check the silhouette at a small size as well. A strong face should remain readable without relying on tiny details.
Finally, redraw the same character in profile, three-quarter view, looking up, and looking down. Keep the distances between major landmarks consistent while allowing perspective to compress or expand visible forms. Character consistency comes from understanding the head as a solid object, not from perfectly repeating a collection of symbols.
Research support:
Common Anime Face Drawing Mistakes
One common mistake is drawing detailed eyes before establishing the head. Beautiful eyes cannot rescue a jaw that belongs to a different perspective. Build the cranium, centerline, jaw, and guidelines first.
Another problem is making both eyes identical in a three-quarter view. The farther eye is usually narrower because it turns away from the viewer. The nose and mouth also shift with the centerline rather than staying centered on the visible outline of the head.
Beginners also tend to draw hair strand by strand. Start with the overall mass and flow instead. Finally, avoid pressing too hard during the construction stage. Light lines are easier to correct, and corrections are not evidence of failure. They are the drawing process doing its job.
Experience-Based Lessons From Practicing Anime Faces
One of the most useful experiences when learning how to draw anime faces is discovering that improvement rarely feels dramatic while it is happening. The tenth face in a sketchbook may seem only slightly better than the first. However, place the first and fiftieth drawings side by side, and the difference often looks as though two entirely different people held the pencil.
Early practice sessions tend to focus almost entirely on the eyes. This makes sense because anime eyes are expressive and fun to draw. Unfortunately, spending twenty minutes polishing the irises before checking the head shape often produces a beautifully rendered pair of eyes trapped inside a structurally confused potato. A better routine is to limit the initial construction to a few minutes. Draw the circle, jaw, centerline, eye line, and rough features before refining anything.
Another valuable lesson is that symmetry is a useful checkpoint, not an absolute requirement. Perfectly mirrored faces can look mechanical. Real faces contain subtle differences, and expressive manga drawings often exaggerate them. The goal is controlled asymmetry. The eyes should appear to belong to the same person, but they do not need to look as though one was duplicated by a photocopier.
Practicing with a timer can also reduce perfectionism. Try drawing ten heads in ten minutes using only circles, jawlines, and cross-contour guides. Next, spend three to five minutes on each face and add simplified features. These quick studies train decision-making and make mistakes less emotionally expensive. Ruining a two-minute sketch feels educational. Ruining a four-hour masterpiece feels like receiving a personal complaint from the universe.
Reference studies work best when they have a specific purpose. During one session, study only jaw shapes. During another, observe how the far eye changes in three-quarter views. You can examine eyebrow movement, mouth shapes, hair volume, or the relationship between the ear and jaw. Narrow goals make it easier to recognize progress.
It is also helpful to alternate between observation and imagination. Draw a head from a photograph, close the reference, and redraw the same angle from memory. Then reopen the image and compare the two versions. This reveals what you genuinely understand and what your brain replaced with a convenient symbol.
Digital tools can speed up corrections, but they can also encourage endless adjustments. Flipping the canvas, transforming features, and using stabilization are helpful, yet they should support drawing skills rather than replace them. Sometimes the best solution is not another liquify edit. It is a fresh sketch built on a stronger foundation.
Most importantly, develop a personal style through repeated choices rather than forced originality. Study several artists, realistic faces, animation stills, and photographs. Notice what you enjoy: sharp chins, soft cheeks, heavy upper lashes, angular hair, minimal noses, or graphic shadows. Combine those preferences with structural knowledge. Over time, your style will appear naturally, usually while you are busy worrying that you do not have one.
Conclusion
Learning how to draw anime or manga faces becomes much easier when you stop treating the face as a collection of isolated symbols. Begin with a three-dimensional cranium, use curved guidelines, attach the jaw, and place every feature according to the head’s direction. Once the construction works, you can exaggerate eye size, simplify the nose, reshape the jaw, invent spectacular hair, and push expressions without losing consistency.
Practice the 15 steps with different ages, face shapes, emotions, and viewing angles. Your first attempts may look awkward, but awkward drawings are not wasted drawings. They are tiny employees working overtime to improve the next one.
Note: Artistic proportions are flexible rather than universal. Use these steps as a construction framework, then adjust them intentionally to fit your character, genre, and personal drawing style.
SEO Tags

