
Beauty Tools & Accessories
How to Style Bangs: 12 Amazing Looks
Jun
Bangs have an impressive talent for changing your entire appearance while involving only a few inches of hair. They can t you woke up looking polishedeven when the rest of your hair is quietly negotiating with gravity.
The catch is that fringe lives directly above your eyebrows, where every cowlick, oily skincare product, gust of wind, and questionable blow-drying decision becomes highly visible. Learning how to style bangs is therefore less about owning a suitcase of tools and more about controlling the roots, choosing the right technique, and knowing when to stop adding product.
Whether you have curtain bangs, blunt fringe, natural curls, wispy pieces, or bangs that are currently growing into cheekbone-length question marks, these 12 looks offer practical ways to shape them. Each style includes simple instructions, useful product tips, and solutions for common problems such as separation, flatness, frizz, and unwanted puffiness.
What You Need Before Styling Bangs
A complicated routine is unnecessary, but a few dependable tools make styling much easier. Keep a blow-dryer with a concentrator nozzle, a fine-tooth comb, a paddle brush, and one or two round brushes nearby. A small round brush creates a stronger curve, while a medium or large brush produces a looser bend.
Heat protectant is essential whenever you use a dryer, curling iron, or flat iron. Other helpful products include lightweight mousse for volume, curl cream for textured fringe, dry shampoo for oily roots, texture spray for separation, and flexible-hold hairspray for movement. Heavy oils, thick creams, and generous handfuls of gel can make bangs look greasy before breakfast has finished introducing itself.
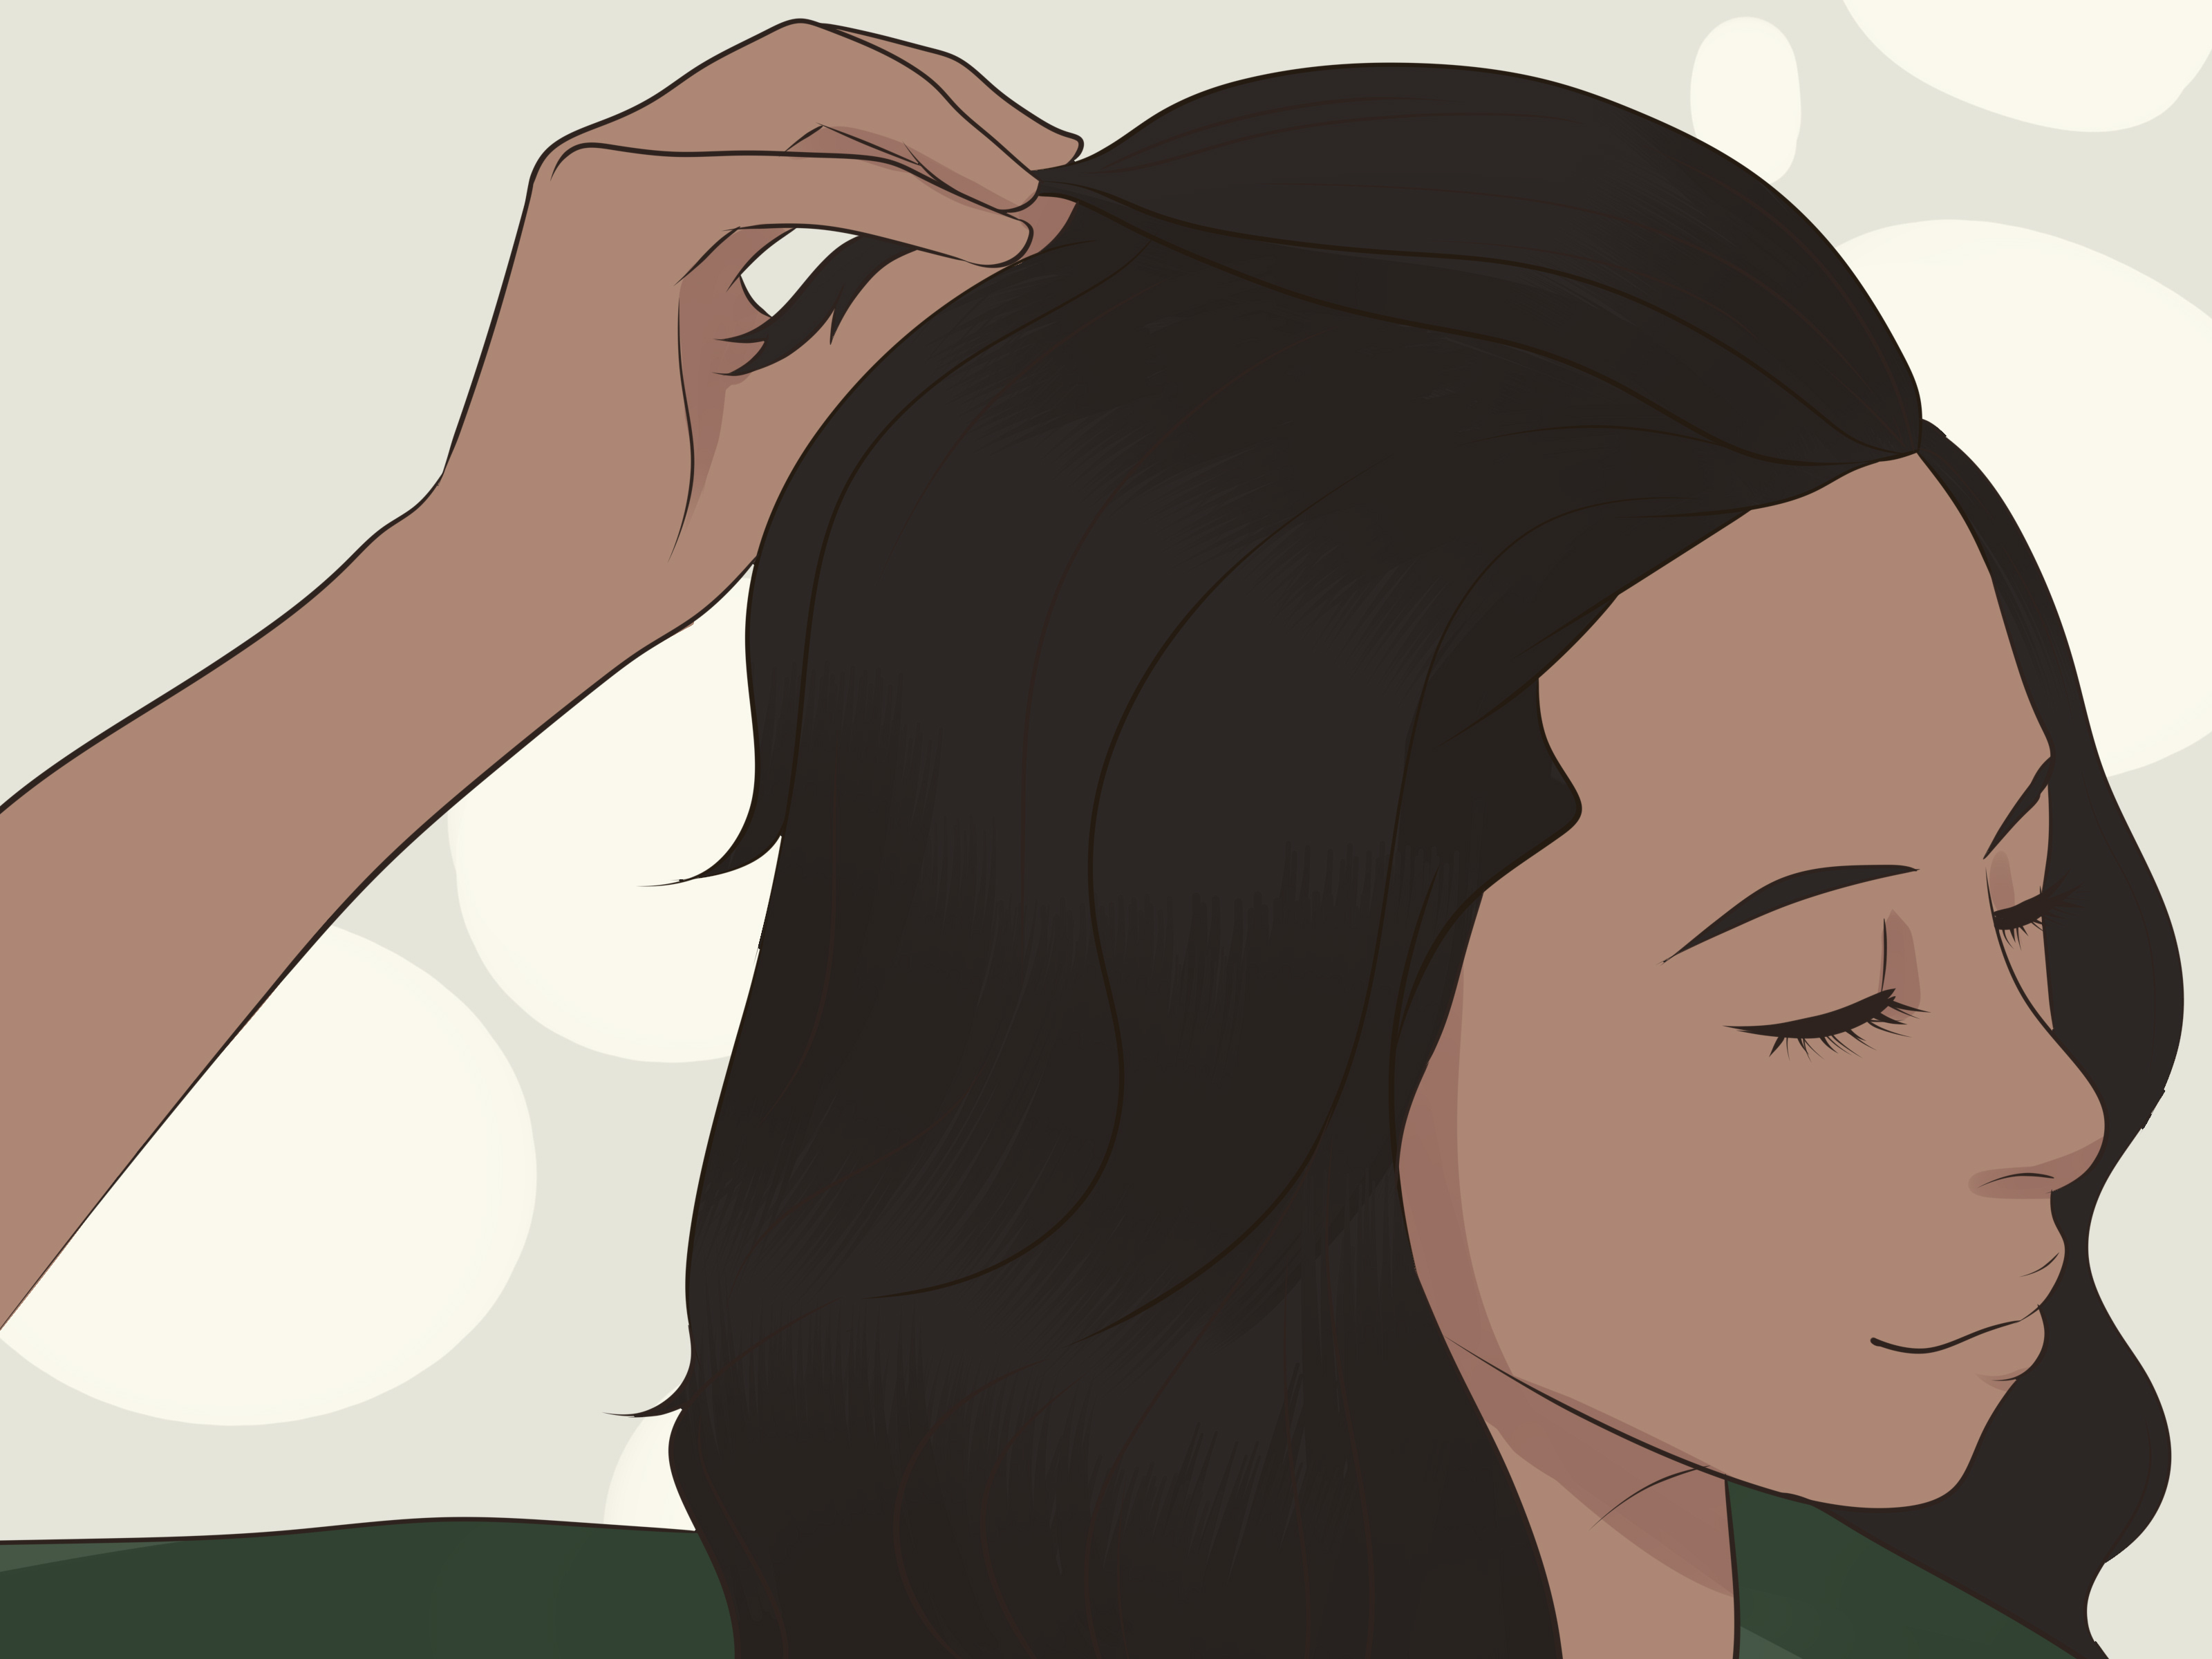
Start at the Roots
Bangs should usually be styled while they are damp, especially when you are dealing with a cowlick or stubborn natural part. Hair begins setting into position as it dries. If your fringe air-dries upward, sideways, or into two unrelated neighborhoods, reshaping it later requires more heat and patience.
Direct the blow-dryer down the hair shaft rather than blasting upward. This smooths the cuticle and reduces frizz. For cowlick control, brush the roots from left to right, then right to left, before directing the bangs into their final position.
12 Amazing Ways to Style Bangs
1. Classic Straight-Across Bangs
Straight-across bangs create a clean, graphic frame around the eyes. The look works particularly well with sleek bobs, polished ponytails, and long straight hair, but the technique must avoid the dreaded “rolled-under helmet” effect.
Begin with damp fringe and separate it from the rest of your hair. Use a paddle brush or flat brush to blow-dry the bangs from side to side. Keep the dryer pointed downward and hold the hair fairly close to the forehead. Once the roots are smooth, brush the fringe straight down.
For extra polish, pass a mini flat iron over small sections using low or medium heat. Do not clamp at the roots or curve the iron dramatically. A slight bend at the ends is enough. Finish with a fine mist of flexible hairspray applied to the brush rather than directly onto your forehead.
2. Soft Curtain Bangs
Curtain bangs are shorter near the center and gradually lengthen toward the cheekbones. Their face-framing shape makes them one of the most versatile options for layered cuts, shags, bobs, waves, and updos.
Apply heat protectant and a small amount of volumizing mousse to damp bangs. Blow-dry the entire fringe forward first to neutralize the natural part. Divide it in the center, place a medium round brush behind one side, and direct the hair forward before rolling the brush up and away from the face.
Repeat on the other side. Let the hair cool before separating it with your fingers. Cooling matters because it helps preserve the bend. The final result should sweep away from the face instead of curling into two perfect tubes worthy of a historical reenactment.
3. Polished Side-Swept Bangs
Side-swept bangs create a diagonal line that can soften angular features, add definition to rounder faces, and blend gracefully into layered hair. They are also excellent for disguising fringe that is overdue for a trim.
Create a side part while the hair is damp. Blow-dry the roots in the opposite direction from where you want the bangs to sit. This creates lift without producing a large bump. Then sweep the fringe across the forehead and dry it in its final direction using a round brush.
Keep the movement low and relaxed. Pulling the brush too far forward can create an exaggerated wave. Finish with lightweight hairspray or tuck the ends behind your ear while they cool for a softer shape.
4. Airy Wispy Bangs
Wispy bangs are light, feathered, and intentionally separated. Unlike dense blunt fringe, they allow a little forehead to show through and usually blend easily as they grow.
Use very little product. A pea-sized amount of light mousse or styling cream is often enough for the entire section. Blow-dry the bangs forward with a flat brush, then use your fingers to separate the ends. For extra movement, bend random pieces gently with a small round brush.
A tiny amount of texture spray can emphasize the piecey finish. Spray it onto your fingertips and pinch a few sections instead of soaking the fringe. Wispy bangs should look breezy, not as though they lost an argument with a jar of pomade.
5. Natural Curly Bangs
Curly bangs look playful, modern, and full of movement when their natural pattern is respected. The goal is definition rather than forcing every curl to behave identically.
Style curly fringe when it is wet or thoroughly damp. Work a small amount of leave-in conditioner and curl cream through the section. Finger-coil any curls that need additional definition, twisting them in their natural direction.
Let the bangs air-dry or use a diffuser on low heat and low airflow. Avoid repeatedly touching the hair as it dries because that can disrupt curl clumps and create frizz. Once completely dry, gently separate selected curls at the roots for volume. Remember that curls shrink, so fringe should be evaluated in its dry, styled state before trimming.
6. Textured Wavy Fringe
Wavy bangs suit shag haircuts, layered lobs, and relaxed shoulder-length styles. They offer structure without looking overly controlled.
Apply a lightweight wave cream or mousse to damp hair. Scrunch the fringe gently, then diffuse it or allow it to air-dry. If individual pieces fall flat, wrap them loosely around a small curling iron for only a moment, alternating the direction of the bends.
Break up the waves with your fingers and add dry texture spray near the roots. Avoid brushing the finished fringe, which can turn relaxed waves into a triangular cloud with trust issues.
7. Bold Micro Bangs
Micro bangs, also called baby bangs, sit noticeably above the eyebrows. They can be blunt and futuristic, choppy and rebellious, or softly textured for a less severe finish.
Because the hairs are short, precision matters. Smooth damp bangs downward with a small brush while blow-drying on low heat. A mini flat iron can refine the shape, but use quick passes and avoid holding the plates in one spot.
For sleek micro bangs, finish with a trace of smoothing serum. For choppy fringe, apply texture paste to the very ends using your fingertips. Micro bangs reveal their cutting line clearly, so regular professional trims are helpful.
8. Piecey French-Girl Bangs
This style sits somewhere between wispy, blunt, and casually grown out. The result is intentionally imperfect, with soft gaps, uneven movement, and an effortless finish that may secretly involve seven carefully planned minutes.
Blow-dry the fringe mostly forward, directing longer side pieces toward the cheekbones. Use a medium round brush to add a subtle bend, then shake the hair loose with your fingers.
Rub a drop of lightweight oil or styling cream between your fingertips and touch only the mid-lengths and ends. Select a few pieces to emphasize rather than coating every strand. Pair the bangs with a loose bun, textured bob, or relaxed waves.
9. Retro Feathered Bangs
Feathered bangs bring a modern version of 1970s volume to layered hair. They curve away from the face and work especially well with long curtain fringe or cheekbone-length pieces.
Divide damp bangs into two sides. Place a medium or large round brush underneath one section, lift at the roots, and roll the hair backward while blow-drying. Direct the ends away from the face and repeat on the opposite side.
For longer-lasting bounce, roll each warm section around a Velcro roller and leave it in place until cool. Remove the rollers and comb through with your fingers. Flexible hairspray will preserve the movement without freezing it into a wind-resistant monument.
10. Sleek Wet-Look Bangs
A wet-look fringe turns bangs into a deliberate evening statement. It pairs well with slick buns, low ponytails, pixie cuts, and short bobs.
Begin with damp hair and create the desired part. Mix a small amount of gel with a touch of leave-in conditioner to prevent an overly stiff finish. Comb the bangs straight down, sweep them sideways, or shape them into soft curves across the forehead.
Use the pointed end of a comb for detailed placement. Let the style set without repeatedly touching it. Keep the rest of the hairstyle polished so the fringe looks editorial rather than like you recently encountered unexpected rain.
11. Bangs with a High Ponytail or Bun
Bangs can soften a high ponytail or bun while placing the eyes and cheekbones at center stage. This combination works with blunt, curly, curtain, and wispy fringe.
Style the bangs before putting up the rest of your hair. Once the fringe is shaped, gather the lengths without pulling excessively at the hairline. Leave a few longer face-framing pieces loose near the temples.
For a polished result, smooth the ponytail with a brush. For a casual look, loosen the crown slightly and add texture. If your bangs separate during the day, massage a little dry shampoo into the roots and reshape them with your fingers.
12. Hidden or Pinned-Back Bangs
Some days, the most satisfying way to style bangs is to temporarily make them disappear. This is especially useful during workouts, humid weather, or the awkward growing-out stage.
Create a deep side part and sweep the fringe across the forehead, securing it above the ear with a decorative clip. For a softer option, twist the bangs backward and pin them near the temple. A braided front section can incorporate shorter pieces while adding detail.
You can also slick grown-out bangs into a ponytail or bun with gel and a fine-tooth comb. Use no-crease clips while the product sets, then remove them before leaving home. Accessories such as headbands, scarves, and barrettes turn practical control into part of the outfit.
How to Refresh Bangs Without Washing All Your Hair
Bangs often become oily faster than the rest of the hair because they touch the forehead and absorb skincare products. Fortunately, washing your entire head is not mandatory every time your fringe loses its enthusiasm.
Clip the rest of your hair back and wash only the bangs over the sink using a small amount of shampoo. Rinse thoroughly, blot gently with a towel, and restyle immediately. For a faster refresh, apply dry shampoo beneath the fringe at the roots, wait briefly, and massage it in before brushing.
Keep rich moisturizers, facial oils, and sunscreen from transferring directly onto the hairline. Allow skincare products to absorb before lowering your bangs. A clean forehead and clean styling brush can make a surprisingly large difference.
Common Bang-Styling Mistakes
Using too much product is the most common mistake. Bangs are a small section of hair, so a normal handful intended for full lengths is wildly excessive. Begin with less than you think you need and add more only when necessary.
Another mistake is waiting until fringe is completely dry before correcting the roots. Re-wet the bang area instead of attacking it repeatedly with hotter tools. Also avoid using a round brush that is too small for long curtain bangs, since it can create tight curls instead of a soft sweep.
Finally, do not treat every texture the same way. Straight fringe may benefit from controlled brushing, while curls usually respond better to scrunching, finger-coiling, and minimal disturbance.
Real-World Experiences: What Styling Bangs Actually Teaches You
The first practical lesson of living with bangs is that they have their own schedule. The rest of your hair may look perfectly acceptable after sleeping, but fringe can wake up shaped like a tiny awning. Trying to flatten it with dry hands rarely works. A quick mist of water at the roots, followed by one minute of directional blow-drying, is usually more effective than ten minutes of frustrated brushing.
Another useful discovery is that the first styling attempt is not always the best one. Curtain bangs, for example, can look comically round immediately after leaving the brush. Once they cool and are separated with fingers, the shape relaxes into something much more natural. Allowing the hair to settle before applying more heat prevents overstyling.
Product experimentation also changes the routine. Heavy smoothing creams may work beautifully on long ends but overwhelm fringe. Lightweight mousse, dry shampoo, and flexible hairspray tend to offer better control. Applying products indirectlyfirst onto fingertips, a comb, or a brushprovides far more precision.
Weather quickly becomes part of the equation. On humid days, perfectly ironed bangs may begin curling before the front door closes. Working with natural texture is often more successful than insisting on a glass-straight finish. Wavy fringe can be encouraged with a little cream, while curly bangs can be refreshed with water and finger-coiling. The result usually lasts longer because the hairstyle is cooperating with the hair rather than issuing unrealistic demands.
Cowlicks provide perhaps the greatest education. A cowlick is rarely defeated by flattening the ends; the correction must happen at the root. Moving damp bangs firmly from side to side with a brush helps neutralize the growth pattern. After that foundation is established, the hair can be directed forward, sideways, or into a center part.
Growing out bangs reveals their versatility. Brow-length fringe becomes side-swept bangs, then curtain pieces, and eventually face-framing layers. Clips, twists, braids, headbands, and high ponytails make the transition feel like a sequence of new styles rather than one extended awkward phase.
It also becomes clear that photographs are extremely useful at the salon. Labels such as “wispy,” “curtain,” or “French” can mean different things to different people. Showing examples with a similar hair texture, density, and face shape gives the stylist much better information than presenting one heavily edited celebrity image and whispering, “Exactly this, please.”
Most importantly, bangs teach flexibility. Some mornings they look polished and dramatic; on others they need to be pinned back and politely ignored. Both outcomes are legitimate styling choices. The best routine is not the one that creates identical fringe every day. It is the one that offers several reliable options without requiring a minor emotional summit in front of the bathroom mirror.
Conclusion
Learning how to style bangs begins with understanding your fringe type, natural growth pattern, and preferred level of maintenance. Straight-across bangs need controlled root direction, curtain bangs benefit from lift and an outward bend, and curly fringe looks best when its natural shape is defined rather than flattened.
Use lightweight products, moderate heat, and small amounts of tension. Style damp roots first, allow heated hair to cool before adjusting it, and keep a few no-heat alternatives available. With 12 distinct looks to rotate through, bangs can function less like a daily obligation and more like the most versatile accessory in your haircut.
Editorial note: Frequent high heat can weaken hair over time. Use heat protectant, select the lowest effective temperature, avoid repeated passes, and consult a professional stylist for major fringe reshaping or precision trimming.
