
Beauty Tools & Accessories
6 Ways to Sand a Car for Repainting
Jun
“`
Sanding a car for repainting is not glamorous. Nobody posts dramatic slow-motion viin the background. Yet sanding is the part of an automotive paint job that determines whether the finished car looks smooth and professional or resembles a refrigerator painted during a windstorm.
Fresh paint cannot hide poor preparation. In fact, glossy paint often magnifies scratches, low spots, chipped edges, peeling coatings, and careless bodywork. The right sanding method creates a level surface, removes unstable material, and gives primer or paint a uniform scratch pattern to grip.
There is no single sandpaper grit or tool that works for every stage. Removing rust requires a very different approach from scuffing sound factory paint. Sanding body filler is not the same as refining primer, and wet sanding cured paint belongs in an entirely different category. This guide explains six practical ways to sand a car for repainting, when to use each one, and how to avoid turning a manageable project into an expensive collection of swirl marks.
Before You Begin: Inspect, Clean, and Protect
Do not start sanding the moment the car enters the garage. First, inspect every panel under strong lighting. Look for peeling clear coat, cracking, bubbling rust, old repairs, dents, stone chips, and areas where previous paint appears unusually thick. Mark problem spots with masking tape or a washable marker.
Wash the vehicle thoroughly before removing trim or touching it with sandpaper. Road grime, silicone dressings, wax, grease, and oily residue can become embedded in sanding scratches. That contamination may later cause adhesion problems or paint defects such as fisheyes.
After washing and drying, use an automotive wax-and-grease remover according to its instructions. Use clean, lint-free towels and replace them frequently instead of redistributing contamination around the panel like butter on toast.
Basic sanding equipment
- Automotive-grade sandpaper in several grits
- Dual-action or random-orbital sander
- Rigid, flexible, and long sanding blocks
- Sanding sponges and nonwoven scuff pads
- Spray bottle or bucket for wet sanding
- Dry guide coat
- Vacuum or dust-extraction system
- Bright inspection light
- Masking tape and protective sheeting
Wear eye protection, gloves, hearing protection when using power tools, and respiratory protection suitable for the dust and coating materials involved. Old or unknown automotive coatings may contain hazardous substances. Work in a well-ventilated area, use dust extraction whenever possible, and consult product safety data sheets. Sanding dust is not decorative seasoning for your lungs.
1. Hand Sanding With a Block
Hand sanding with a block is one of the oldest automotive refinishing methods, and it remains one of the most useful. The block distributes pressure across a larger area, helping the abrasive cut high spots instead of merely following every dip and wave in the panel.
This method is especially valuable for body filler, primer-surfacer, small repairs, body lines, and areas where a power sander would be too aggressive. It also gives the operator excellent feedback. As you sand, you can feel changes in resistance that may reveal soft filler, rough edges, or uneven material.
How to hand-sand correctly
Wrap the abrasive tightly around a sanding block appropriate for the panel. Use a firm block for flat doors, hoods, roofs, and quarter panels. Choose a flexible block for gently curved surfaces.
Move the block in overlapping diagonal strokes rather than repeatedly sanding in one straight line. A crosshatch pattern helps keep the surface level and makes it easier to recognize scratches from the previous grit. Avoid pressing hard. Excessive pressure can flex the panel, clog the paper, create deep scratches, and tire your arms long before the job is finished.
For rough body filler, technicians commonly begin with a relatively coarse abrasive, such as P80 or P120, depending on the filler and repair stage. The surface is then refined through progressively finer grits, often P180 and beyond, before primer is applied. The exact sequence should match the filler and primer manufacturers’ instructions.
Never jump directly from very coarse paper to a fine finishing grit. Fine paper may polish the tops of coarse scratches without removing their full depth. Those hidden scratches can reappear after primer or paint cures and shrinks.
2. Dry Sanding With a Dual-Action Sander
A dual-action sander, commonly called a DA sander, is the practical choice for preparing large areas. Its pad rotates and oscillates at the same time, producing a less obvious scratch pattern than a basic rotary tool. Used correctly, it can quickly remove clear coat, feather damaged paint, refine primer, and scuff sound finishes.
Dry sanding also makes progress easy to inspect. There is no water hiding the scratch pattern or temporarily making the surface look glossy. Modern abrasive discs paired with vacuum extraction can keep the work area significantly cleaner and reduce clogging.
Best uses for a DA sander
- Removing damaged or failed paint from broad areas
- Feathering chipped paint around a repair
- Scuffing sound existing paint before refinishing
- Refining primer-surfacer
- Creating a consistent final scratch pattern
Keep the sanding pad flat against the panel. Tilting the tool concentrates pressure on the pad’s edge and can dig crescent-shaped grooves into primer or expose bare metal. Let the abrasive do the cutting, use overlapping passes, and keep the machine moving.
For a basic repaint over stable factory paint, the surface may be scuff-sanded with approximately P400 to P600, depending on the coating system and whether the next product is primer, sealer, or base coat. Repair areas may begin much coarser and progress through several steps. Always check the technical data sheet for the exact refinishing products being used because one paint system’s ideal preparation may be another system’s adhesion problem.
Edges, ridges, and sharp body lines contain less material than broad panel centers. Reduce pressure near them and finish those areas by hand. A DA sander can expose bare metal on an edge faster than you can say, “That probably needs more primer.”
3. Long-Board Sanding for Straight Panels
A long sanding board is the truth detector of automotive bodywork. It spans a larger section of the panel than a small hand block, cutting across high spots while bridging low areas. This makes it extremely effective for straightening broad panels after filler and high-build primer have been applied.
Long-board sanding is commonly used on doors, quarter panels, fenders, hoods, and classic-car bodies where panel straightness matters as much as paint adhesion. A small sander can make a wavy panel feel smooth because it follows the waves. A long board exposes them.
Use a guide coat
Apply a contrasting dry guide coat over cured primer before sanding. As the long board passes over the surface, the guide coat disappears from high areas while remaining in pinholes, scratches, and low spots. Continue sanding only until the panel is level within the safe thickness of the primer.
If guide coat remains in a broad low area while surrounding primer is already disappearing, stop sanding. More abrasion will not magically raise the dent. The panel may need additional filler, glaze, metal correction, or another application of primer-surfacer.
Move the board in long diagonal strokes, changing direction frequently. Sanding lengthwise along the panel can create grooves and reinforce existing waves. A crosshatch motion cuts more evenly and provides a clearer picture of panel shape.
Long-board sanding requires patience, but it is often the difference between a straight reflection and one that makes nearby telephone poles appear to dance.
4. Wet Sanding Cured Primer
Wet sanding uses water to lubricate the surface, carry away residue, and reduce abrasive loading. It can produce a very fine, uniform finish on compatible cured primer and is useful before applying certain sealers or topcoats.
Before wet sanding, confirm that the primer is designed for it and has cured completely. Some porous products, including certain polyester materials, can absorb moisture. Trapped water beneath a coating may contribute to blistering, corrosion, or adhesion failure later.
Wet-sanding procedure
Soak wet-or-dry automotive sandpaper if required by the manufacturer. Keep the surface clean and evenly wet with a spray bottle or clean water. A small amount of suitable soap may be used as a lubricant when permitted by the coating manufacturer, but excessive soap can leave residue.
Wrap the paper around a soft or medium block and sand with light, overlapping strokes. Frequently wipe the panel dry and inspect it under bright light. Water can temporarily fill scratches and make an unfinished surface appear deceptively perfect.
Depending on the paint system, final primer sanding may fall somewhere in the P400-to-P800 range. Solid colors, metallics, pearls, sealers, and different base-coat systems may require different scratch patterns. Follow the paint manufacturer’s data sheet rather than relying on a universal grit chart taped to someone’s garage refrigerator.
After wet sanding, rinse or wipe away all slurry, dry seams and crevices thoroughly, and allow adequate time for moisture to evaporate before masking and painting. Pay special attention to moldings, panel gaps, holes, and folded edges where water likes to hide until the spray gun appears.
5. Sanding Curves, Edges, and Tight Areas With Sponges or Scuff Pads
Cars contain plenty of shapes that a flat sanding block cannot reach: door-handle recesses, bumper contours, grille openings, wheel arches, mirror housings, jambs, and the narrow valleys around body lines. Sanding sponges and nonwoven scuff pads conform to these shapes while creating a more consistent finish than loose sandpaper folded into a tired little square.
Use these abrasives to dull glossy paint, prepare blend areas, refine curves, and reach locations missed by machine sanding. They are especially helpful on plastic bumper covers, where excessive pressure or aggressive paper can gouge the material.
Technique matters in hard-to-reach areas
Scuff every surface that will receive primer, paint, or clear coat. Glossy islands around handles, trim edges, and panel seams are common starting points for peeling. Change viewing angles and use a strong light to locate untouched shiny areas.
Choose the scuff-pad grade recommended for the coating system. A pad that is too coarse may leave scratches visible beneath thin metallic base coat, while one that is too fine may not provide enough mechanical adhesion.
Use gentle pressure on sharp edges. Sanding through the factory coating exposes metal and creates additional priming work. On plastic parts, follow the refinishing system’s requirements for cleaning, anti-static treatment, adhesion promoter, flexible repair products, and compatible primer.
6. Spot Sanding and Stripping Damaged Areas to Bare Metal
Not every repaint requires stripping the entire car. If most of the factory finish is firmly bonded, localized defects can often be repaired by spot sanding. However, peeling paint, corrosion, deep cracking, thick unknown coatings, and failed previous repairs should be removed until a stable foundation is reached.
Use a small DA sander, mini orbital tool, sanding disc, or hand block to remove damaged material. Coarse grits such as P80 or P120 may be appropriate for initial paint removal and metal preparation, but they must not be treated as final paint-prep grits.
Create a smooth featheredge
As sound paint is reached, taper each coating layer outward so there is no hard ridge between bare metal, primer, color, and clear coat. This gradual transition is called a featheredge. Run clean fingertips across the repair. If you can feel a step, the finished coating may reveal it.
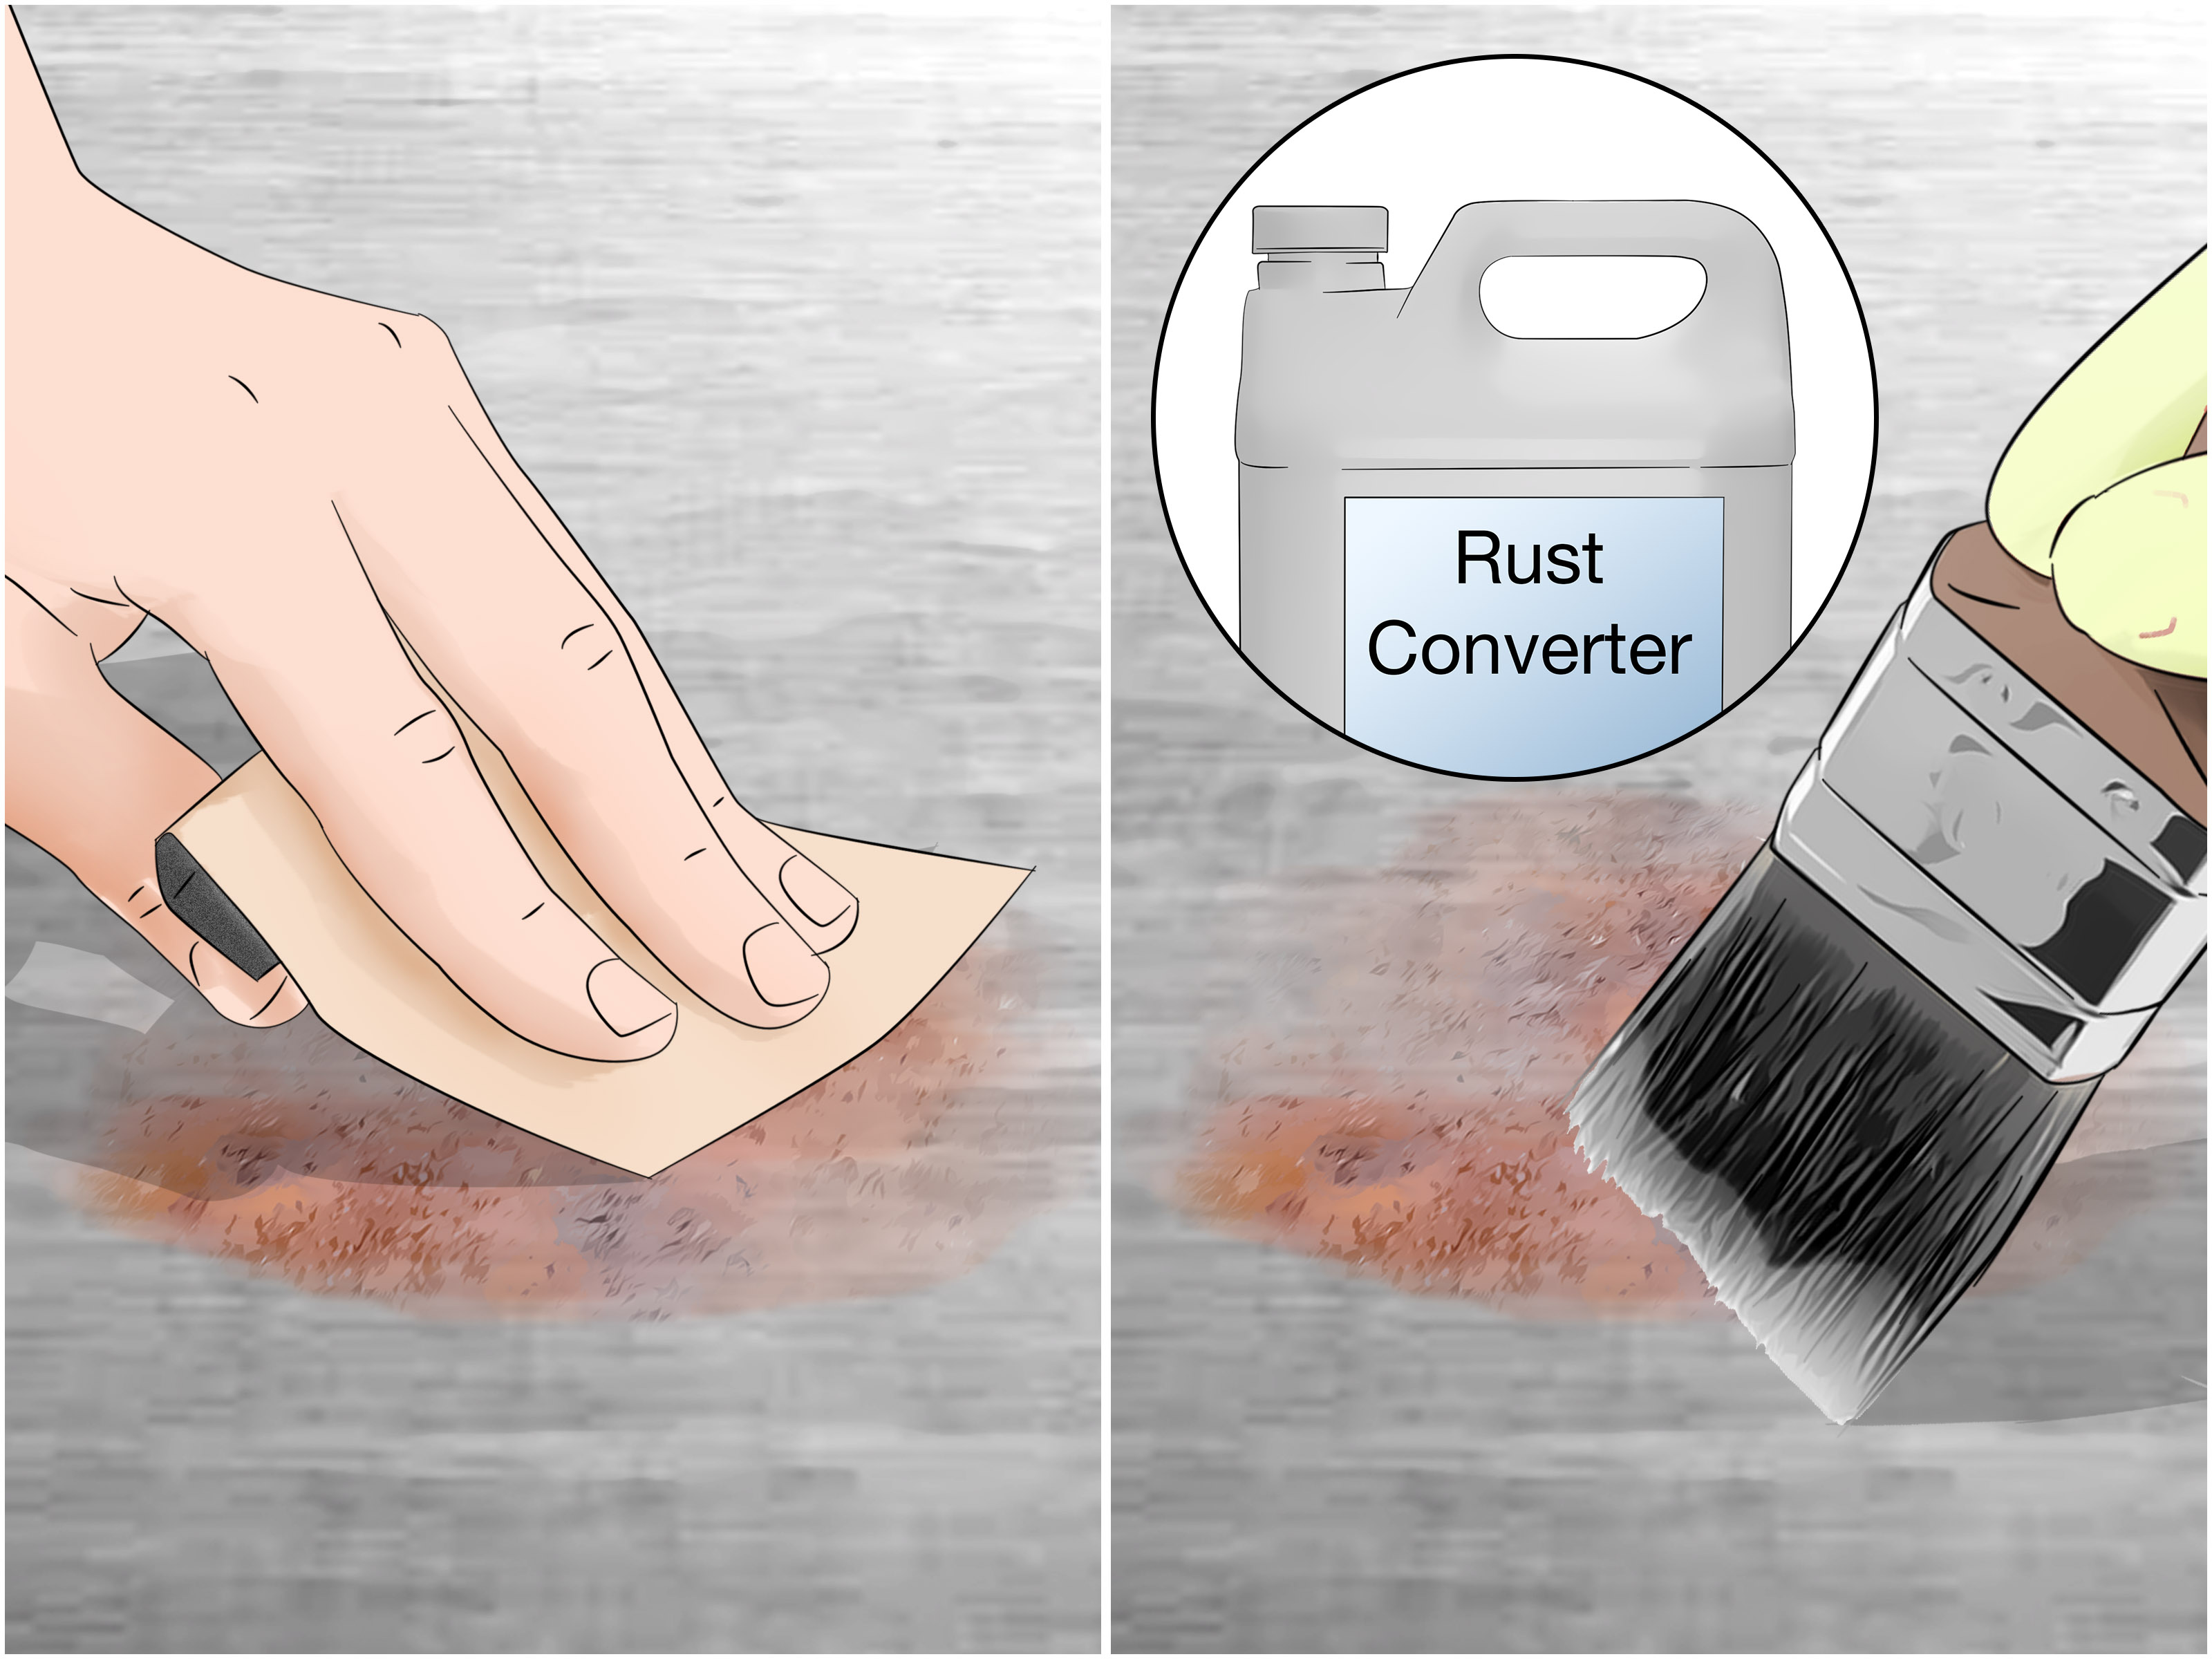
Refine the coarse scratches with progressively finer abrasives. Remove rust completely rather than simply polishing the top of it. Deep corrosion, perforation, stretched metal, or structural damage may require cutting, welding, panel replacement, or professional repair.
Once bare steel is clean and properly prepared, protect it promptly with the primer specified by the refinishing system. Bare metal can develop flash rust surprisingly quickly in humid conditions. Avoid touching prepared steel with bare hands because skin oils and moisture can contaminate it.
A Practical Grit Progression
Grit selection depends on the substrate, coating condition, repair materials, and products being applied. The following ranges are general examples, not substitutes for technical data sheets:
- P80-P120: Removing failed paint, shaping rough body filler, and cleaning localized damage
- P150-P180: Refining filler and removing deeper coarse scratches
- P220-P320: Feathering repair edges and preparing many surfaces for primer
- P400-P600: Refining cured primer or scuffing sound paint for many repaint systems
- P600-P800: Fine preparation where specified for sensitive colors or coating systems
- P1000 and finer: Primarily correcting cured topcoat defects rather than preparing a car for ordinary repainting
The goal of each step is to eliminate the scratches created by the previous grit. Do not move on merely because the panel feels smooth. Clean the area, inspect the scratch pattern, and reapply guide coat when appropriate.
Common Car-Sanding Mistakes
Sanding a dirty vehicle
Dirt and grease contaminate abrasives and can grind unwanted material into the surface. Clean before sanding and again before applying coatings.
Using fingertips without a block
Fingers create uneven pressure and grooves. Use a suitable block whenever the panel shape allows it.
Skipping too many grits
A large grit jump leaves deep scratches beneath a deceptively smooth surface. Progress gradually and inspect between stages.
Tilting the power sander
Running on the pad’s edge cuts grooves and burns through coatings. Keep the pad flat and moving.
Ignoring edges and recessed areas
Paint may peel wherever the original glossy finish was not scuffed. Hand-sand edges, jambs, recesses, and contours carefully.
Continuing after the primer is gone
If guide coat exposes a low spot but surrounding primer is nearly gone, stop. Correct the panel instead of digging a crater around the defect.
Final Cleaning Before Primer or Paint
When sanding is complete, remove dust with a vacuum and clean, lint-free materials. Avoid blowing dust around the shop unless an appropriate controlled system is being used. Dust that leaves the panel and lands on the ceiling may return during painting with impeccable comic timing.
Inspect the surface under multiple lighting angles. Check for shiny spots, coarse scratches, pinholes, exposed edges, sanding swirls, and poorly feathered transitions. Wipe the surface with the cleaner specified by the paint manufacturer, using separate towels for applying and removing the cleaner.
Mask the car only after the surface is clean and dry. Keep bare hands off prepared panels. From this point forward, treat the surface as though touching it will summon a paint defectbecause sometimes it will.
Workshop Experience: Lessons Learned While Sanding Cars for Repainting
One of the most useful lessons from hands-on sanding is that speed during the first hour can create extra work during the next two days. A coarse disc on a powerful sander feels wonderfully productive. Old paint disappears, dust flies, and the project appears to be moving forward. Then the primer goes on and reveals deep arcs, uneven featheredges, and several body lines that have become suspiciously rounded.
A better approach is to test the complete sanding sequence on one repair area before attacking the entire vehicle. Start with a small section, move through the planned grits, apply guide coat, and inspect the result. This trial area confirms whether the abrasive is cutting efficiently and whether the final scratch pattern suits the primer or paint system.
Another practical lesson is to organize used sanding discs instead of throwing them away immediately. A partially worn disc may no longer cut efficiently on a large panel, but it can still be useful for gently refining an edge or knocking down a minor imperfection. Clearly separate grits so a P180 disc does not accidentally join a stack of P400 discs and introduce itself to a nearly finished hood.
Lighting also matters more than many beginners expect. Overhead garage lights can make a panel look flat while hiding waves and scratches. A portable inspection light held at a low angle creates shadows that reveal defects. Moving the light is often more informative than staring harder at the same reflection.
Cleanliness should be treated as part of sanding, not as a final chore. Dust builds up in panel gaps, air vents, wheel wells, clothing, and tool cases. Vacuuming between stages prevents coarse particles from returning during fine sanding. Using separate towels and work areas for dirty stripping and final preparation also reduces accidental scratching.
It is equally important to know when to stop. Beginners often assume every defect can be corrected by more sanding. A low spot cannot be sanded upward. A rust hole cannot be transformed into solid steel through optimism and P80 paper. If a panel requires metalwork, additional filler, or more primer, continuing to sand only removes useful material around the real problem.
Edges deserve deliberate attention. The center of a hood may tolerate several sanding passes, but a crease or door edge can expose metal after only a few careless strokes. Experienced refinishers reduce machine pressure near these areas and finish them by hand. Masking a sharp edge during aggressive block sanding can provide temporary protection until the final refinement stage.
Guide coat is another inexpensive habit that produces expensive-looking results. Without it, the operator tends to sand until the surface feels smooth. With it, scratches, pinholes, low areas, and uneven primer become visible. The guide coat turns guesswork into evidence and saves time that would otherwise be spent repairing defects after paint.
Finally, successful car sanding is less about owning the most powerful tool and more about maintaining control. Use the largest block that matches the panel, the least aggressive grit that performs the required task, and enough inspection steps to catch mistakes early. The process may feel slower, but the paint booth is a terrible place to discover that “close enough” was not actually close.
Conclusion
The best way to sand a car for repainting depends on what the surface needs. Hand blocks and long boards straighten panels. Dual-action sanders prepare large areas efficiently. Wet sanding refines compatible cured primer. Sponges and scuff pads reach curves and recesses. Spot sanding removes localized failure without stripping sound paint unnecessarily.
Whichever method you choose, the fundamentals remain the same: clean first, use the correct abrasive, progress through grits logically, inspect with guide coat and strong lighting, protect edges, remove every unstable coating, and follow the refinishing product manufacturer’s instructions. A beautiful paint job begins long before the spray gun is loaded. It begins when the first piece of sandpaper touches a properly cleaned panel.
