
Body Care
How to Remove Paint from Light Fixtures: 13 Steps
Aug
A light fixture can survive decades of decorating trends, questionable wallpaper, and at least one homeowner who believed the ceiling and everything attached to it should be painted the exact same shade of beige. The result? A perfectly good fixture buried beneath splatters, overspray, brush marks, or several stubborn layers of paint.
Fortunately, learning how to remove paint from light fixtures is usually more about patience than brute force. The safest approach is to disconnect the electricity, identify what the fixture is made of, start with the gentlest removal technique, and escalate only when necessary. Electrical-safety guidance recommends turning off the circuit at the breaker and verifying that power is off before servicing a fixture.
This 13-step guide covers painted metal light fixtures, ceiling lights, sconces, pendants, vintage hardware, and removable decorative components. It also explains when chemical paint remover makes sense, when scraping is safer, and when the smartest DIY move is to stop before your charming vintage fixture becomes an expensive pile of parts.
Before You Remove Paint from a Light Fixture
There is no universal paint-removal method for every fixture. Brass, steel, aluminum, plated metal, powder-coated metal, plastic, resin, wood, and glass can react very differently to solvents, heat, abrasives, and chemical strippers.
Fixture manufacturers commonly recommend avoiding abrasive cleaners and harsh chemicals because they can scratch, discolor, or permanently damage decorative finishes. That matters because the “gold metal” beneath your paint may not be solid brass. It could be a thin decorative plating that disappears approximately three seconds after you enthusiastically attack it with steel wool.
Tools and Supplies You May Need
- Non-contact voltage tester
- Screwdrivers
- Painter’s tape and small labels
- Drop cloth or plastic sheeting
- Soft microfiber cloths
- Plastic scraper or old plastic card
- Wooden toothpicks or bamboo skewers
- Soft nylon toothbrush
- Mild dish soap
- Warm water
- Paint remover suitable for the fixture material
- Disposable chip brush
- Chemical-resistant gloves as recommended by the stripper manufacturer
- Eye protection
- Containers or bags for screws and small parts
Important safety note: If the fixture is connected to household wiring, switching the wall switch off is not enough. Turn off the correct breaker and verify the circuit is de-energized before disconnecting anything. If you cannot positively identify the circuit, do not understand the wiring, or discover scorched insulation, damaged conductors, loose connections, or other electrical problems, use a qualified electrician.
How to Remove Paint from Light Fixtures in 13 Steps
Step 1: Identify the Fixture Material and Original Finish
Before reaching for a scraper, determine what is underneath the unwanted paint. Check the fixture label, manufacturer’s documentation, unfinished areas behind mounting plates, and concealed surfaces.
A solid steel mounting plate can tolerate methods that would destroy a thin plated brass finish. Plastic shades and decorative resin components can also soften, discolor, or crack when exposed to incompatible solvents.
If you are uncertain, assume the finish is delicate. The goal is to remove the unwanted house paint, not conduct an archaeological excavation all the way down to raw metal.
Step 2: Turn Off Electricity at the Breaker
Locate the circuit breaker controlling the light and switch it off. Tell everyone in the house what you are doing so nobody helpfully restores power while you are holding wires.
Verify the fixture is de-energized with an appropriate voltage tester according to the tester manufacturer’s instructions. Non-contact voltage testers are specifically designed to detect voltage around wiring, switches, circuit breakers, and lighting fixtures.
If you have any doubt about the electrical portion of the project, call an electrician. Removing paint is optional. Avoiding electrical shock is considerably less optional.
Step 3: Let the Fixture Cool and Remove the Bulbs
Allow bulbs and the fixture body to cool completely. Remove conventional bulbs and place them somewhere safe.
Integrated LED fixtures require additional caution because the light source, driver, wiring, and fixture body may form one assembly. Do not pour solvents, water, or chemical stripper into an integrated LED housing.
If the fixture has glass shades, globes, crystals, or removable diffusers, carefully take them off before beginning paint removal.
Step 4: Photograph and Label Everything Before Disassembly
Take several photos of the fixture before disconnecting or dismantling it. Photograph the mounting orientation, screws, brackets, decorative pieces, and wiring arrangement.
Put screws and small components into labeled bags. If multiple screws look almost identical, keep them separated by location.
This sounds excessively organized until three hours later when you are staring at four screws and wondering why one is mysteriously shorter. Future-you will appreciate present-you’s photography habit.
Step 5: Remove the Fixture or Detachable Painted Parts
Whenever practical, paint removal is easier with the fixture safely removed from the ceiling or wall. Working on a stable horizontal surface gives you better control and prevents chemicals, paint chips, and dirty water from reaching the electrical box.
If paint has sealed the fixture canopy to the ceiling, carefully score the paint boundary before gently separating the fixture. A similar technique is commonly used when removing painted-over architectural hardware because scoring reduces accidental damage to the surrounding painted surface.
Never yank a fixture free. Paint may be stronger than expected, but electrical wires should not be participating in a tug-of-war.
Step 6: Protect Sockets, Wiring, Labels, and Electronics
Separate removable metal trim from sockets, wires, LED drivers, transformers, and electronic components whenever the fixture design allows it.
Do not soak an assembled electrical fixture in water or paint remover. Keep liquids and chemical products away from sockets, wire connections, insulation, identification labels, and electrical components.
This distinction is important because some paint-removal advice for ordinary metal hardware recommends soaking or simmering small metal pieces. That technique can work for plain removable hardware, but a wired light fixture is not a drawer pull with ambitions.
Step 7: Start With the Gentlest Paint-Removal Method
For small latex paint splatters, begin with warm water and mild dish soap on a soft cloth. Hold the damp cloth against the paint briefly to soften it, taking care not to wet electrical components.
Then try lifting the edge with your fingernail, a plastic scraper, or an old plastic card. Fresh latex overspray may peel away surprisingly easily from smooth factory finishes.
Starting gently matters because manufacturers often recommend soft cloths and nonabrasive cleaning methods for decorative fixture finishes.
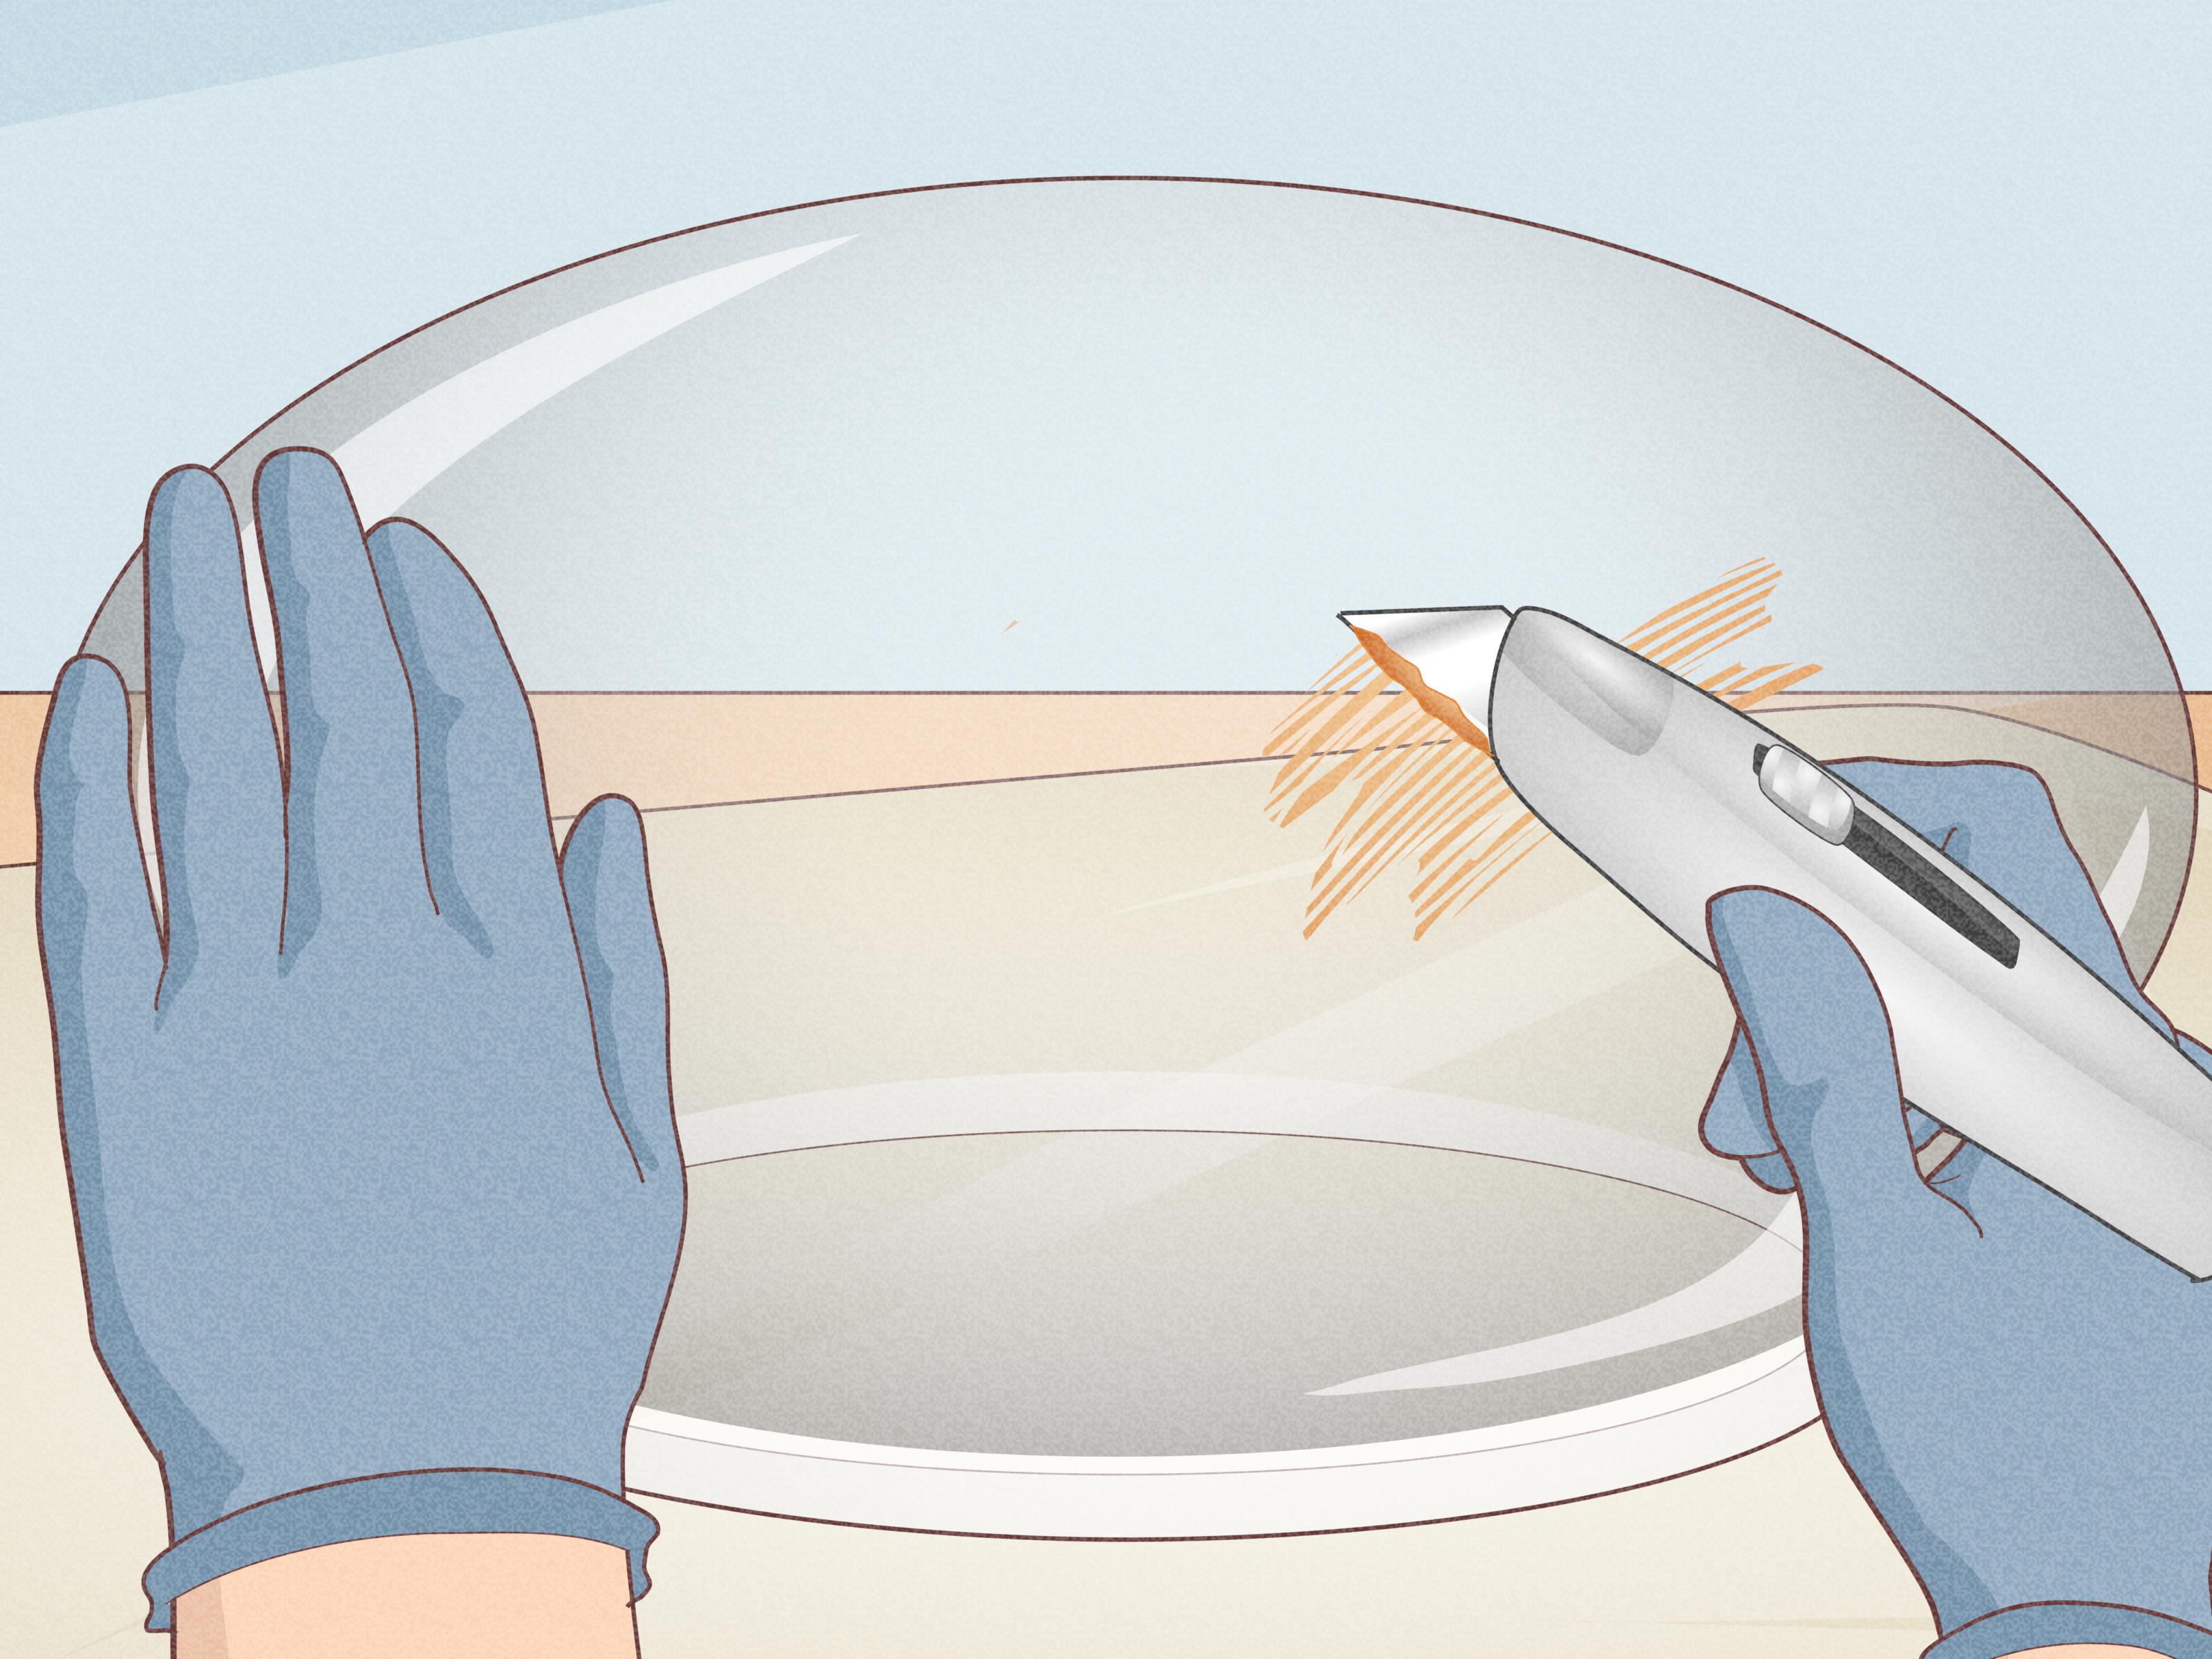
Step 8: Carefully Scrape Loosened Paint
When paint begins lifting, use a plastic scraper held at a shallow angle. Work slowly rather than digging under the coating.
A wooden toothpick or bamboo skewer is useful around decorative grooves, screw heads, embossed details, and seams. A soft nylon toothbrush can loosen flakes from textured metal.
Avoid immediately reaching for razor blades, wire brushes, coarse sandpaper, steel wool, or aggressive abrasive pads. They can quickly scratch plated, polished, painted, or powder-coated surfaces.
Step 9: Test a Compatible Paint Remover in a Hidden Area
If soap, water, and gentle scraping cannot remove the paint, a chemical paint remover may be appropriate. Choose one whose label specifically permits use on the material you are treating. Paint removers are available for metal and other substrates, but compatibility varies significantly between products.
Perform a small patch test on a hidden portion of the fixture. Wait the full recommended period and inspect the original finish carefully.
If the underlying coating becomes cloudy, soft, sticky, faded, or discolored, stop. That is the fixture telling youin the only language available to a light fixturethat this particular chemical relationship is not working out.
Step 10: Apply Paint Remover Only Where Needed
Follow the product label exactly. Wear the protective equipment specified by the manufacturer and provide the required ventilation.
Apply a controlled layer with a small disposable brush rather than flooding the fixture. Keep remover away from wires, sockets, electrical insulation, adhesives, plastic components, identification labels, and electronics.
Some chemical paint strippers can irritate or damage skin and may create serious inhalation hazards, depending on their ingredients. OSHA specifically identifies certain stripping chemicals, including methylene chloride, as hazardous.
More stripper is not automatically better. You are restoring a lamp, not marinating it.
Step 11: Let the Paint Soften, Then Remove It in Layers
Give the product the dwell time listed on its label. Paint may wrinkle, swell, bubble, or soften when the remover begins working.
Lift the softened coating with a plastic scraper and place the residue on disposable material. Complex fixtures may require multiple controlled applications rather than one heroic chemical bath.
For stubborn recesses, use a soft toothbrush or wooden pick after the coating has softened. Do not force paint out of detailed areas if doing so begins scratching the underlying finish.
Step 12: Clean the Surface and Let Everything Dry Completely
Follow the stripper manufacturer’s instructions for cleanup or neutralization. Different products require different procedures, so improvising with random solvents is a poor strategy.
Once the unwanted coating is gone, clean compatible removable components gently and dry them thoroughly with a lint-free cloth. Lighting manufacturers commonly emphasize complete drying and gentle cleaning to protect fixture finishes.
Never reassemble an electrical fixture while components are damp. Moisture and energized wiring make terrible roommates.
Step 13: Inspect, Reassemble, and Restore Power
Inspect the fixture before installation. Look for damaged wires, brittle insulation, loose sockets, corrosion, burn marks, cracked components, and missing hardware.
Reassemble the fixture using your photographs and labels as references. Install appropriate bulbs that comply with the fixture’s specified type and wattage limits. Electrical-safety guidance warns against using bulbs with wattages exceeding the fixture’s recommendation.
After everything is securely installed, restore power at the breaker and test the light.
If the breaker trips, the fixture buzzes unexpectedly, connections become hot, or something smells burned, turn the circuit off and have the installation inspected instead of repeatedly flipping the switch and hoping electricity changes its mind.
What If the Light Fixture Has Old Paint?
Old fixtures deserve special caution when the paint may date from before 1978. EPA guidance notes that homes built before 1978 may contain lead-based paint and that scraping, sanding, or heating painted surfaces can generate hazardous lead-contaminated dust.
If you suspect lead paint, avoid casual dry sanding, power grinding, or uncontrolled scraping. Determine whether lead may be present and follow lead-safe work practices. When significant old coatings are involved, professional restoration can make more sense than turning your kitchen into a miniature hazardous-materials experiment.
Can You Use a Heat Gun on a Painted Light Fixture?
Heat can soften many coatings, and heat guns are commonly used for paint removal on suitable surfaces. However, a light fixture may contain delicate plating, soldered joints, plastic insulation, adhesives, sockets, electronic drivers, or old coatings that make high heat a poor choice.
Heat is particularly concerning when lead paint could be present because disturbing older lead-based coatings through sanding or heating can create contamination hazards.
For most decorative light fixtures, controlled chemical or gentle mechanical removal is easier to manage than aggressive heating. If you cannot separate a plain metal component from the fixture’s electrical parts, skip the heat gun.
Common Mistakes When Removing Paint from Light Fixtures
Using the Strongest Solvent First
Stronger does not mean smarter. A solvent may remove both the accidental wall paint and the attractive factory finish underneath it.
Using Steel Wool on Decorative Finishes
Steel wool and abrasive pads can permanently change polished or plated finishes. Several lighting manufacturers specifically advise against abrasive cleaning products.
Leaving the Fixture Energized
The wall switch is not your electrical safety plan. Shut down the circuit at the breaker and verify that power is off.
Soaking Electrical Components
Methods designed for cabinet hinges and door hardware should not automatically be applied to assembled lighting. Only plain, fully detached components should ever be considered for soaking.
Trying to Make Every Vintage Fixture Look Brand-New
Old brass, bronze, and plated fixtures may have natural patina. Removing every darkened spot can erase the character that made the piece attractive in the first place.
Experience-Based Lessons From Realistic Light-Fixture Restoration Situations
The difference between a satisfying restoration and a DIY tragedy usually appears during the first ten minutes. Consider a common situation: a brass-colored ceiling canopy has several rings of white latex paint around its edge because previous painters never removed the fixture. The instinct is to grab a powerful solvent. The better experience-driven approach is to try warm water first.
Latex paint sitting on a smooth metal finish does not always bond strongly. After controlled softening, the edge may lift with a plastic card and peel away in strips. What looked like an afternoon project can become a 20-minute cleanup simply because nobody started by declaring chemical warfare.
Another common scenario involves an older chandelier with several generations of paint. Here, patience becomes more important. Ornate surfaces contain tiny grooves where mechanical scraping is frustrating and dangerous to the finish. A compatible gel remover applied selectively to a detachable metal piece can soften the upper layers enough that a wooden pick and toothbrush do most of the detailed work.
The lesson is simple: intricate fixtures reward repeated gentle passes. Trying to strip everything in one attempt encourages harder scraping, and harder scraping creates scratches that no amount of polishing can magically un-scratch.
A third situation is the fixture that turns out to be plated rather than solid brass. The hidden backside looks dull gray while the visible surface is shiny gold. That discovery changes the entire strategy. Abrasive polishing could quickly wear through the thin decorative finish. Gentle removal suddenly becomes more important than achieving absolute perfection.
There is also a practical lesson in organization. During disassembly, decorative nuts, retaining rings, washers, screws, shade holders, and mounting hardware can multiply on the workbench like tiny metallic rabbits. Taking photos and using separate labeled containers prevents the classic final-stage mystery of having one washer left over and absolutely no idea whether it is essential or merely judging you.
Paint removal also reveals problems that paint had been hiding. Once a canopy or sconce is removed, you may discover brittle insulation, corrosion, a loose socket, or overheated wiring. That changes the project from cosmetic restoration to electrical maintenance. At that point, stopping and bringing in a qualified electrician is not giving up; it is correctly recognizing that the project has changed categories.
Vintage fixtures provide another useful lesson: perfection is not always the goal. A small amount of aged patina around grooves can look more authentic than aggressively polished metal. A restored fixture should still look like a fixture, not necessarily like it has just emerged from a jewelry store.
Finally, testing products on hidden areas is one of those boring recommendations people tend to skip exactly once. A remover that works beautifully on steel can discolor lacquer, soften a painted factory coating, or damage plastic. Spending a few minutes on a patch test can save hours of trying to repair a finish that was perfectly fine underneath the unwanted paint.
The most successful approach is therefore surprisingly uneventful: disconnect the power, identify the material, test a gentle method, work slowly, protect the original finish, clean thoroughly, and reassemble carefully. DIY television may prefer dramatic transformations involving clouds of dust and orchestral music. Your light fixture would strongly prefer less drama.
Final Thoughts
Knowing how to remove paint from light fixtures can rescue an attractive fixture that might otherwise end up in the trash. Start with electrical safety, determine the material beneath the paint, and choose the least aggressive technique capable of doing the job.
Small latex splatters may require little more than gentle softening and a plastic scraper. Thick or stubborn coatings may justify a compatible paint remover, while delicate plated or vintage fixtures deserve especially cautious treatment. And if old paint may contain lead, use lead-safe practices rather than aggressively sanding or scraping it.
The golden rule is simple: you can always move to a stronger method later. You cannot easily put a scratched antique finish back on after an enthusiastic wire brush has introduced itself.
Note: This guide covers cosmetic paint removal and general DIY precautions. Electrical repairs, questionable wiring, damaged fixtures, and uncertain electrical connections should be evaluated by a qualified electrician. Always follow the instructions supplied with the fixture, voltage tester, cleaning product, and paint remover you use.

