
Beauty Tools & Accessories
How to Paint a DIY Hand Painted Wall Mural
Jul
Blank walls are fine. They hold up the ceiling, they mind their business, and they rarely complain. But a hand-painted wall mural? That is a wall with main-character energy. It can turn a forgettable bedroom, hallway, nursery, office, or living room into a space that feels custom, creative, and wildly more expensive than it actually was. Better yet, you do not need to be a trained artist to pull it off. You just need a good plan, the right materials, a little patience, and the emotional strength to survive the moment when your half-finished mural looks weird before it looks amazing.
If you have been wondering how to paint a DIY hand painted wall mural without turning your room into a cautionary tale, this guide walks you through the whole process. We will cover how to choose a mural design, prep the wall, transfer the artwork, paint clean lines, pick the best paint finish, avoid beginner mistakes, and actually enjoy the project. Because yes, painting a mural is work. But it is also a ridiculously satisfying kind of work, like frosting a giant cake that you get to stare at for years.
Why a DIY hand-painted wall mural is worth it
A mural does more than add color. It changes how a room feels. A soft abstract mural can make a bedroom feel calm and custom. A bold geometric design can add structure to a plain office. A landscape, botanical pattern, arch, wave, or oversized stripe can create a focal point without needing extra furniture, frames, or decor clutter. In design terms, it is wall art and architecture having a fun little collaboration.
Another big advantage is flexibility. Unlike wallpaper, a hand-painted wall mural can be scaled to fit awkward corners, work around windows, avoid outlets, and match your exact color palette. You can go subtle, dramatic, playful, moody, minimalist, or full “I saw one paint swatch and now I am an artist.” That freedom is what makes mural painting such a smart DIY upgrade.
Before you start: choose the right wall and the right design
Pick a wall that deserves the spotlight
The best mural wall is usually one that is easy to see and not heavily interrupted by doors, giant shelving, or too many switches and vents. Accent walls work beautifully, especially behind a bed, sofa, desk, dining nook, or entry bench. If the wall has texture, damage, or patches, that does not always ruin the plan, but it does mean your design should be forgiving. Organic shapes, loose florals, cloud forms, painterly stripes, and abstract landscapes are far more forgiving than ultra-precise line art.
Choose a design that matches your skill level
This is where a lot of mural dreams get into trouble. If you have never painted anything larger than a pumpkin in October, maybe do not begin with a Renaissance ceiling situation. Start with something scalable and friendly. Great beginner mural ideas include arches, stripes, color blocks, rolling hills, checkerboards, sunbursts, waves, daisy chains, simple florals, mountains, and loose botanical silhouettes.
Complicated murals are possible, but they demand more planning. If your design includes faces, animals, lettering, or detailed scenery, use a projector or grid method so you are not winging proportions at midnight with a trembling pencil and misplaced confidence.
Test your color palette first
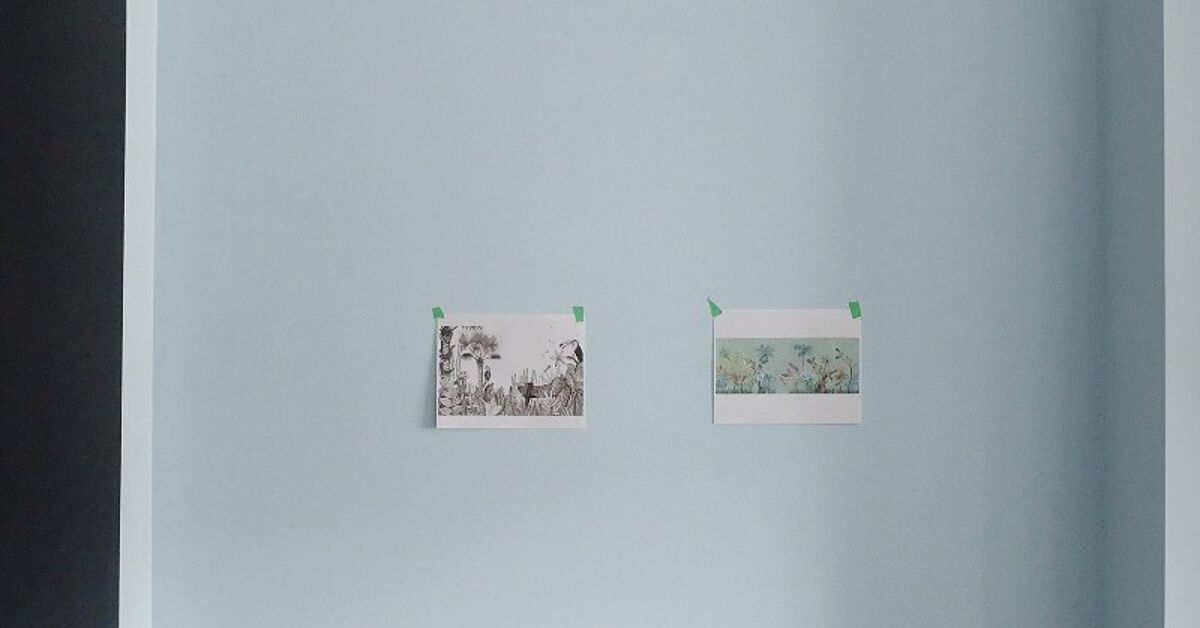
Paint colors behave differently on a real wall than they do on a tiny swatch. Tape up sample areas and look at them in daylight, lamplight, and the strange lighting that happens when the sun is setting and your room suddenly looks like a haunted peach. Murals often look best with a limited palette of three to five colors. That keeps the design cohesive and saves you from a paint tray army taking over the floor.
Tools and materials you will need
- Interior wall paint in your chosen colors
- Primer
- Painter’s tape
- Drop cloths
- Spackle or wall repair compound
- Sandpaper or sanding block
- Damp cloth or tack cloth
- Pencil and eraser
- Level, ruler, and measuring tape
- Paint tray and liners
- Small detail brushes
- Angled brush for edges
- Roller and roller cover
- Mini roller or foam roller for medium-size sections
- Step ladder
- Optional: projector, graph paper, stencil, artist palette knives, sponge, sealant
How to paint a DIY hand painted wall mural: step by step
Step 1: Clear the room and protect everything
Move furniture away from the wall or out of the room if possible. Remove outlet covers and switch plates. Tape off trim, vents, and anything else that should not be wearing your mural. Lay down drop cloths and do not skip this step unless you enjoy tiny mystery paint dots on hardwood forever.
Step 2: Clean, patch, and sand the wall
A mural is only as good as the surface under it. Clean the wall so dust, grease, and grime do not interfere with paint adhesion. Patch nail holes, dents, and cracks. Once repairs dry, sand the wall smooth and wipe away the dust. If the old paint is glossy, scuff-sanding helps the new paint grab better. If you are disturbing very old paint, check for lead before sanding and follow safe renovation practices.
This is not the glamorous part of mural painting, but it is the part that prevents future regret. Every shortcut you take here has a way of reappearing later, usually under a spotlight of natural afternoon sun.
Step 3: Prime the wall
Primer helps create an even base, improves adhesion, and gives you truer color on top. If you are painting over patches, a dark color, or an uneven surface, primer is especially important. For murals with deep tones, a tinted primer can make coverage easier. Use an angled brush to cut in around the edges, then roll the rest of the wall. Let it dry fully before moving on.
Step 4: Plan the layout
This is the difference between a mural and a series of increasingly bold guesses. First, decide where the mural begins and ends. Measure the wall and mark the center point if the design needs balance. Then choose one of these transfer methods:
- Freehand: Best for loose, organic shapes and confident DIYers.
- Grid method: Draw a simple grid on your sketch and a matching larger grid on the wall. Great for scaling artwork accurately.
- Projector: Best for detailed designs, lettering, and exact placement.
- Stencil: Great for repeating motifs and wallpaper-style murals.
Sketch lightly with pencil. Lightly means lightly. You are mapping, not engraving a family crest into drywall.
Step 5: Tape off shapes if needed
Painter’s tape is your friend for arches, blocks, stripes, clean borders, and geometric patterns. Press the edges down well. For extra-crisp lines, paint a thin layer of the background color over the tape first. That seals the edge so your mural color is less likely to bleed underneath. It is one of those sneaky pro tricks that makes people think you are naturally gifted instead of merely well-informed.
Step 6: Paint the background and biggest shapes first
Start with the largest color fields and background sections. Use a roller for big areas, a mini roller for medium sections, and a brush for edges. This helps establish the structure of the mural and gives you a visual foundation before you start fussing over details. If your mural has layered elements, let each section dry enough that colors do not smear together unless a blended look is part of the design.
Work in thin, even coats. Two lighter coats usually look better than one thick, gloopy coat that dries with ridges and attitude.
Step 7: Add details and refine the design
Once the big shapes are in place, switch to smaller brushes for outlines, curves, leaves, petals, highlights, and corrections. This is where the mural gains personality. Step back often. Seriously, back away from the wall every so often. A line that looks crooked from six inches away might look perfectly intentional from across the room. Mural painting is not just about brushwork. It is about perspective.
If you want extra texture, subtle sponge work or palette-knife effects can add movement. If you want a flatter, cleaner look, keep edges controlled and brush strokes consistent.
Step 8: Remove tape carefully and touch up
Peel painter’s tape slowly and at an angle. Then inspect the mural in natural light. Touch up any wobbly edges, thin spots, or tiny bleeds with a detail brush. If you discover a drip or ridge after it dries, sand it lightly, wipe it clean, and repaint the area.
Step 9: Let it cure and decide whether to seal it
Some murals are fine left as-is, especially in lower-traffic spaces. But if the mural is in a hallway, kids’ room, playroom, or other high-contact area, a clear protective finish can help. A matte water-based sealant keeps the mural protected without adding too much shine. Just make sure the paint is dry first, and test the finish in a small area if you are nervous about changing the look.
Best paint types and finishes for a wall mural
For most DIY wall murals, interior latex paint is a practical choice because it is workable, blends more easily than super-fast-drying formulas, and is designed for interior wall surfaces. Many DIYers also use small amounts of water-based acrylic craft paint for details and accents over latex wall paint. That combination can be especially useful for outlines, tiny motifs, and color pops.
As for finish, flatter sheens are often the most forgiving. Matte and eggshell finishes hide minor imperfections better and keep the focus on the design instead of light reflecting off the wall. Satin is a strong option if the mural is in a bathroom, kitchen, or another area that sees more moisture or wear. In general, the shinier the finish, the more every little bump and brushstroke likes to introduce itself.
Common DIY mural mistakes to avoid
Skipping prep
Dirty walls, rough patches, and glossy old paint can sabotage an otherwise beautiful mural. Prep is not optional. It is the invisible hero.
Choosing a design that is too complex
There is no prize for making this harder than necessary. A simple mural done well beats a complicated mural that looks like you argued with it for three weekends.
Using too many colors
More colors mean more mixing, more supplies, more touch-ups, and more chances for the whole thing to feel chaotic. A tighter palette usually looks more polished.
Not stepping back
When you are too close to the wall, everything starts to feel wrong. Step back, squint a little, and look at the overall composition before making every tiny correction.
Rushing the coats
Wet paint does not care about your timeline. Let layers dry enough before taping over them or painting adjacent shapes.
Easy mural ideas for beginners
- Painted arch behind a bed or console table
- Layered hills in soft neutral tones
- Sunrise or sunset bands
- Checkerboard corner feature
- Loose daisy or leaf pattern
- Scalloped border in a kid’s room
- Abstract wave mural in a hallway
- Simple mountain range in a nursery or office
These ideas are beginner-friendly because they are forgiving. They do not require perfect realism, and they still make a huge visual impact.
What painting a mural is really like: the hands-on experience
Painting a DIY hand-painted wall mural is funny because the experience is never just about paint. It starts as a design decision, quickly becomes a logistics problem, turns into a small upper-body workout, and somehow ends as an emotional journey. One minute you are confidently taping off an arch and feeling like the host of your own home show. The next minute you are standing on a step ladder, brush in hand, wondering why circles suddenly became a deeply personal challenge.
The first thing most people notice is how different the wall feels once you begin. A blank wall can seem huge in a boring way. A mural wall feels huge in a dramatic way. Every measurement matters more. Every line looks bigger. Tiny pencil marks suddenly have consequences. But that is also what makes the project exciting. A mural forces you to pay attention to the room. You start noticing where the light hits in the morning, which corner has a shadow, how the bed or sofa lines up with the design, and whether the room wants a soft color story or something bolder.
Then there is the rhythm of the actual painting. Large shapes go on fast, and that part is satisfying. It is the visual equivalent of making your bed and fluffing the pillows. The room changes immediately. Details, though, are where time bends. A leaf here, a curve there, a little touch-up near the trim, and suddenly an hour has vanished. It is weirdly calming. Repetitive brushwork can feel meditative, especially once you stop chasing perfection and start focusing on flow.
And yes, there is almost always an awkward middle stage. This is normal. In fact, it should probably be framed and hung in the DIY Hall of Fame. During that stage, the mural looks unfinished, off-balance, and mildly suspicious. You may briefly believe you have ruined your wall, your room, and possibly your entire taste level. Keep going. Murals usually click into place during the final third of the project, when the second coat goes on, the edges sharpen up, and the little detail lines start connecting the whole design.
Another thing people do not always expect is how proud they feel afterward. A mural is different from buying art or hanging wallpaper because your hand is visible in the final result. Even the tiny imperfections become part of the charm. The mural has a pulse to it. It feels personal. Visitors notice that immediately. They ask who painted it, and you get to casually say, “Oh, that? I did.” Which is one of the greatest sentences a homeowner or renter-with-permission can ever say.
Most of all, the experience teaches you that a room does not need to be expensive to feel original. A can of paint, a sketch, and a free weekend can do a shocking amount of heavy lifting. So if you are nervous, that is normal. Start anyway. Choose the wall. Tape the lines. Paint the first shape. Your mural does not need to be perfect to be unforgettable. It just needs to be yours.
Conclusion
Learning how to paint a DIY hand painted wall mural is really about combining good prep with a little creative bravery. Choose a manageable design, repair and prime the wall, map the layout carefully, use the right tools, and build the mural one clear layer at a time. You do not need a fine arts degree, a giant budget, or a magical paint wand. You just need a solid plan and the willingness to trust the process, even when your wall spends a few hours looking like abstract chaos.
Done well, a mural can make a room feel more intentional, more personal, and much more memorable. So go ahead and give that blank wall a promotion. It has been waiting for a personality upgrade.
SEO Tags

