
Beauty Tools & Accessories
How to Resize an Image in Adobe Photoshop: 6 Easy Steps
Jun
If you’ve ever tried uploading a photo and gotten hit with “File too large,” “Dimensions not supported,” or the classic “Why does my logo look like it was printed on a waffle?”, welcome. Resizing in Photoshop is easyuntil it isn’t. The good news: once you understand what Photoshop is actually changing (pixels, inches, or just empty space), resizing becomes a repeatable, no-drama process.
This guide walks you through six simple steps to resize images in Adobe Photoshop the right waywhether you’re prepping for web, social media, email, or printplus a final section of real-world resizing stories (a.k.a. “the mistakes that taught me everything”).
Quick Reality Check: “Resize” Can Mean Three Different Things
Before we jump into the steps, let’s avoid the #1 Photoshop resizing faceplant: using the wrong tool for the job. Photoshop gives you three related but different ways to “make something bigger/smaller”:
- Image Size (Image > Image Size): changes the pixel dimensions of the whole document (and often the file size). This is what most people mean by “resize an image.”
- Free Transform (Ctrl+T / Cmd+T): scales a layer or object inside the document. Great for resizing a logo layer or a pasted elementnot for preparing the final output size.
- Canvas Size (Image > Canvas Size): changes the workspace area around the image (adds or crops space) without scaling pixels.
In this article, we’re focusing on Image Size for resizing the full image, with a few smart tips about layers and non-destructive workflows along the way.
Step 1: Open the Image and Set Yourself Up for Non-Destructive Success
Start by opening your image in Photoshop (File > Open). Then do Future-You a favor: duplicate your background layer so you’re not permanently altering your only copy.
- Open the image.
- In the Layers panel, duplicate the layer (right-click > Duplicate Layer) or press Ctrl+J / Cmd+J.
- Optional but highly recommended: convert the working layer to a Smart Object (Layer > Smart Objects > Convert to Smart Object).
Why Smart Objects? Because repeated transforms can degrade quality. A Smart Object preserves the original data so you can scale down, scale up, and experiment without slowly turning your image into a sad mosaic.
Step 2: Decide the Target Use (Web, Social, Email, or Print) Before Touching Any Numbers
Resizing without a destination is like packing for a trip without knowing whether you’re going to Alaska or Aruba. Your target use determines what “correct size” means.
For web and social (pixels matter)
Screens display images in pixels, so you’ll typically resize by pixel dimensions: width and height in px. Examples:
- Website blog image: often 1200–2000 px wide (depends on your layout).
- Hero banner: commonly around 1600–2400 px wide (again: layout-dependent).
- Instagram portrait: a popular size is 1080 × 1350 px.
For print (inches + resolution matter)
Print sizing is about physical dimensions (inches) and resolution (pixels per inch, often shown as PPI). A common print target is 300 PPI. Example:
- 8 × 10 inches at 300 PPI requires roughly 2400 × 3000 pixels.
If your image doesn’t have enough pixels for the print size you want, Photoshop can upscale, but there are limits. (It can’t invent detail that was never thereno matter how confidently you stare at the progress bar.)
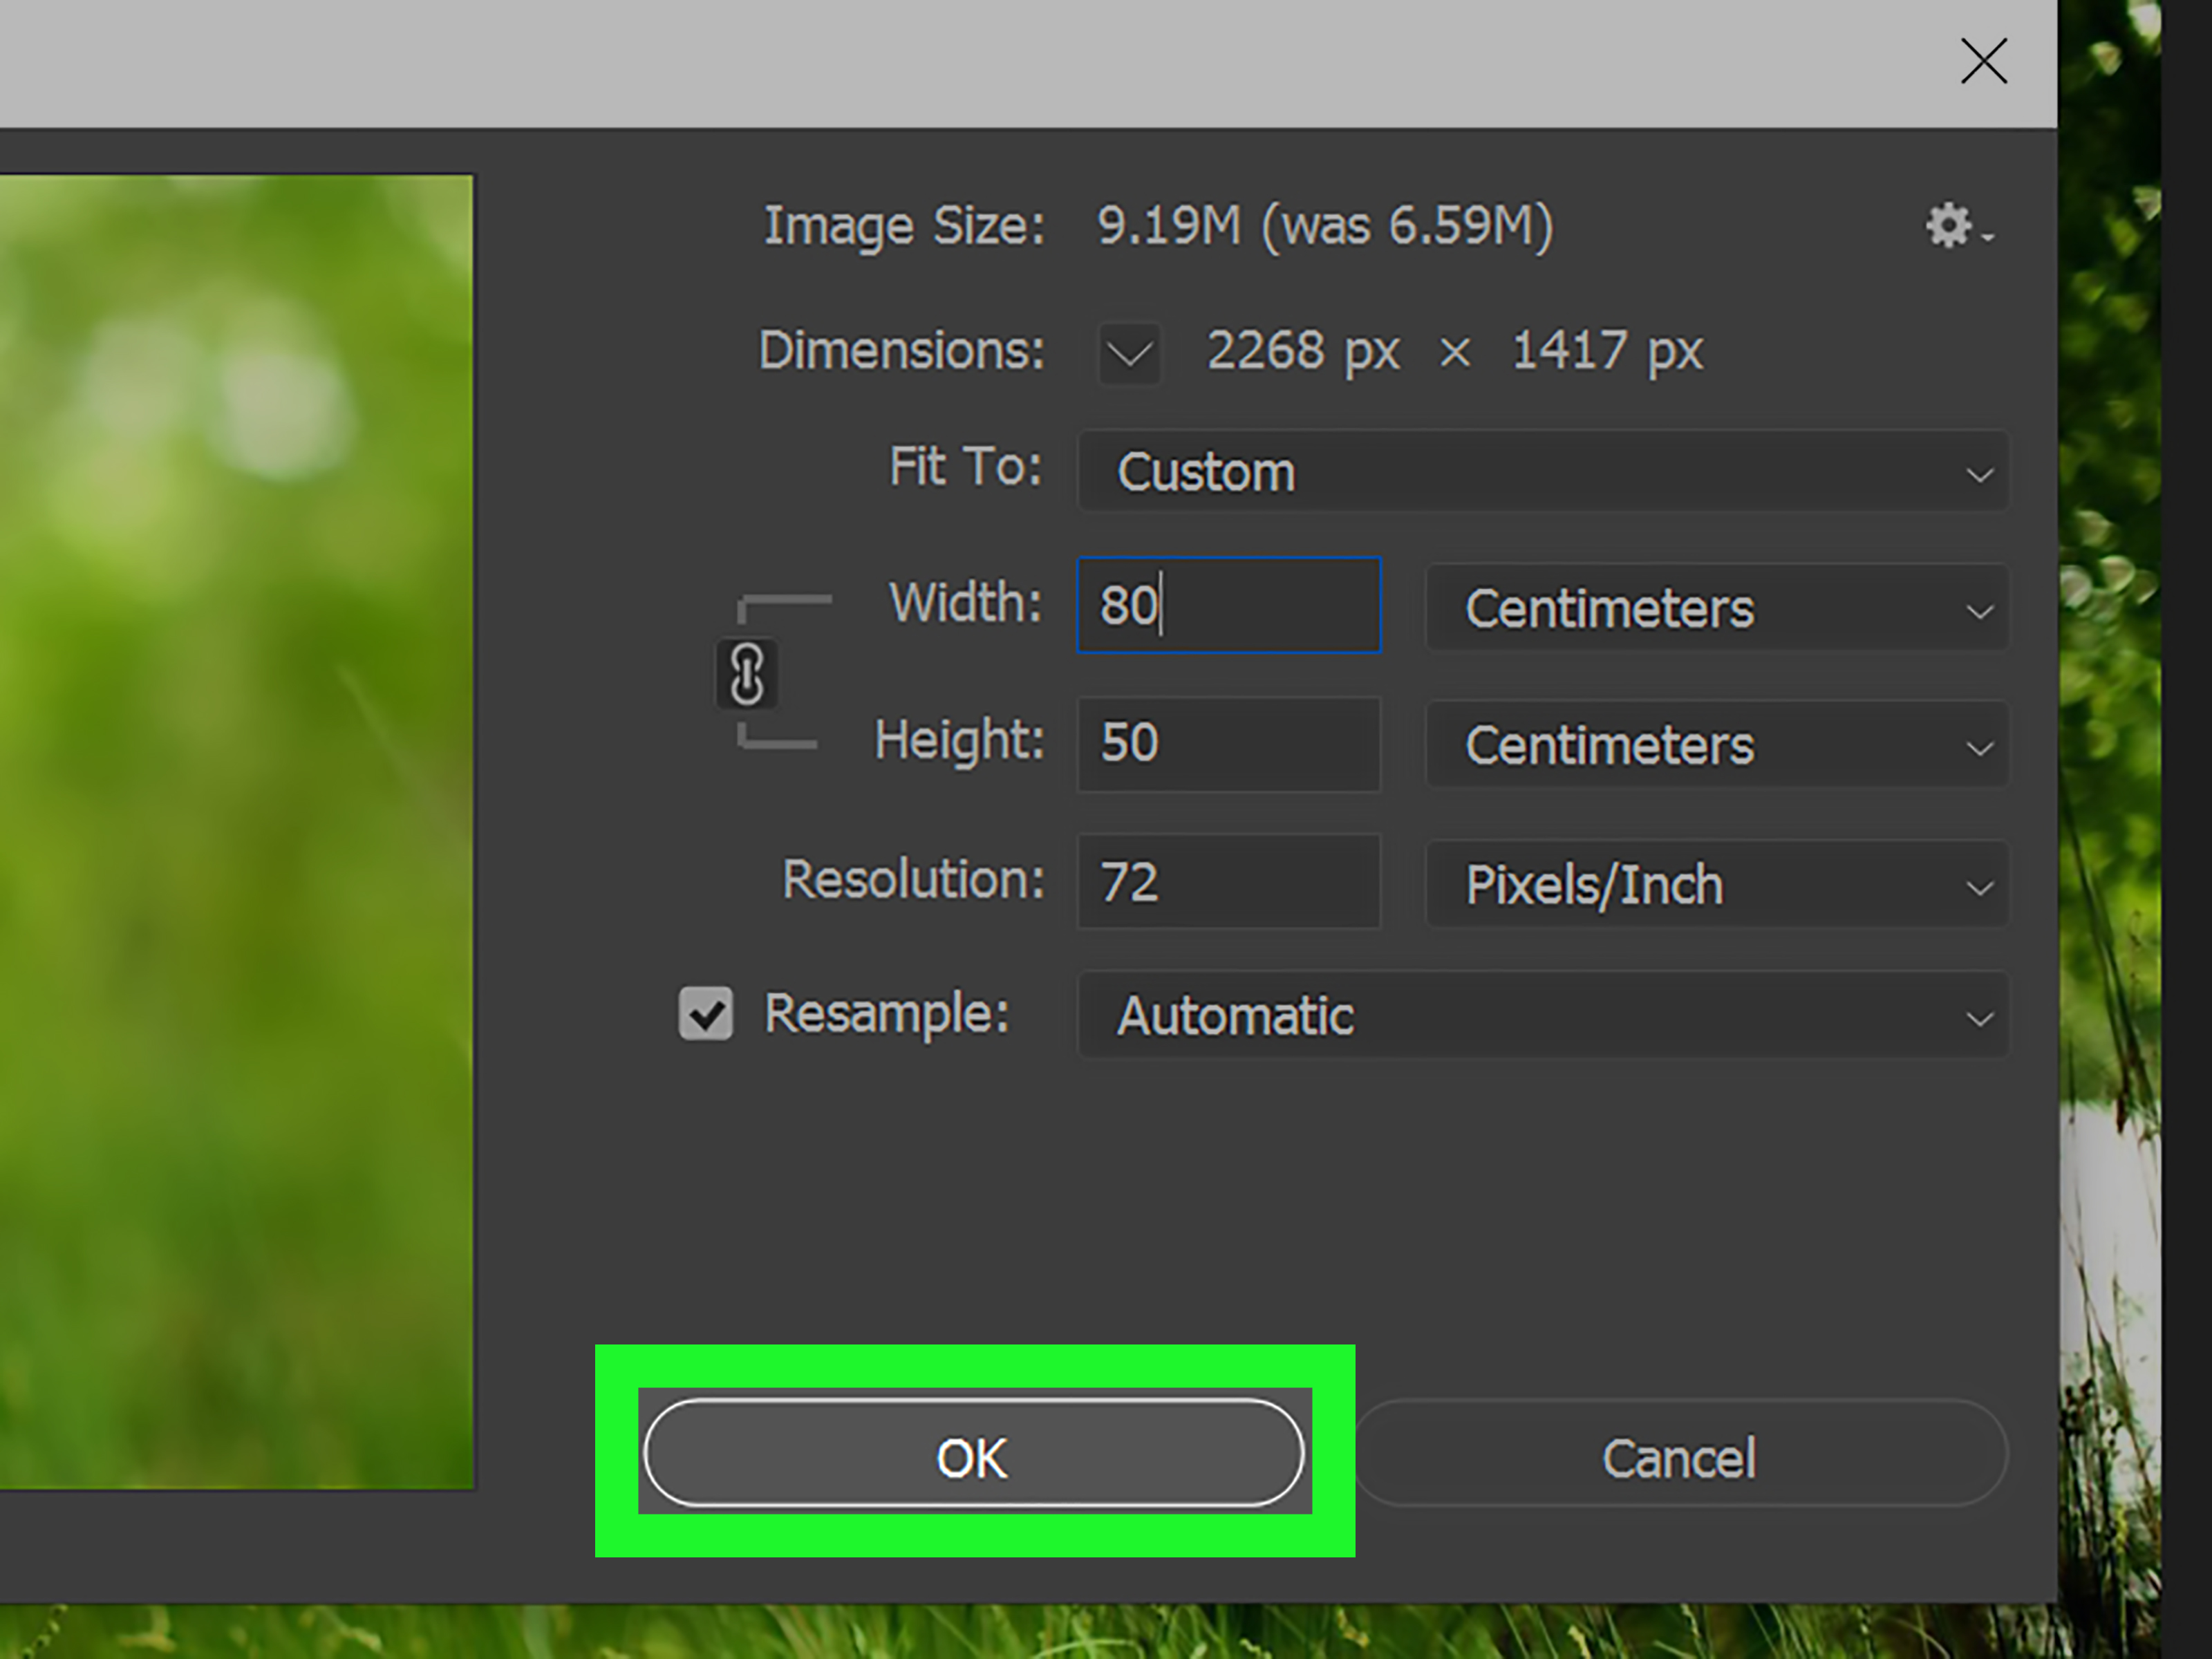
Step 3: Open the Image Size Dialog and Learn What You’re Looking At
Go to Image > Image Size. Shortcut lovers: on Windows it’s often Alt+Ctrl+I, and on Mac Option+Cmd+I (your keyboard may vary, but the menu path never betrays you).
In the Image Size dialog, you’ll typically see:
- Pixel Dimensions: the real “size” of the image for screens.
- Document Size: physical print size (inches/cm) based on resolution.
- Resolution (PPI): how densely pixels are packed when printing.
- Resample: the big switch that decides whether Photoshop adds/removes pixels.
Here’s the key concept: if Resample is ON, changing width/height changes the number of pixels. If Resample is OFF, you’re mostly changing print math (inches vs PPI) while keeping total pixels the same.
Step 4: Lock the Aspect Ratio and Enter Your New Dimensions the Smart Way
Make sure the little link/chain icon between width and height is enabled (sometimes called “Constrain Proportions”). This keeps the aspect ratio intact so your subjects don’t become accidental funhouse versions of themselves.
Resize for web (recommended approach)
- Set units to Pixels.
- Enter the target Width (or Height) in px.
- Leave the other dimension linked so Photoshop updates it automatically.
Pro tip: if you’re unsure what width to choose, start with the maximum display width your site needs. Oversized images slow pages down. Undersized images look soft. The sweet spot is “just big enough.”
Resize for print (recommended approach)
- Set units to Inches (or cm).
- Set Resolution to your print target (often 300 PPI).
- If you already have plenty of pixels, you can sometimes turn Resample OFF and adjust inches/PPI without changing pixel count.
- If you need more pixels to hit the print size, turn Resample ON and upscale carefully.
If print is your goal, pay attention to the pixel numbers. A poster-sized print from a tiny pixel image is like trying to turn a postcard into a billboard. Photoshop will do it. Your eyeballs might file a complaint.
Step 5: Choose the Right Resampling Method (This Is Where Quality Lives or Dies)
When Resample is enabled, Photoshop must decide how to add or remove pixels. That decision happens in the Resample dropdown (names can vary by version, but the ideas are consistent).
If you’re reducing size (downscaling)
Downscaling generally looks good because you’re throwing away pixels (politely). Many creators use options like Bicubic Sharper for reductions, or Photoshop’s Automatic choice, which typically picks a sensible default.
If you’re enlarging (upscaling)
Upscaling is harder. Photoshop has specialized methods like Preserve Details (including versions often referenced as “2.0”) designed to keep edges and texture from turning into mush. Use it when you truly need more pixels.
How to sanity-check quality
- After resizing, zoom to 100% to inspect details. Don’t judge sharpness at “33.3%”that’s Photoshop playing optical illusions.
- If the resized image feels slightly soft (common after downscaling), apply gentle sharpening: Filter > Sharpen > Unsharp Mask or Smart Sharpenlight touch, no over-crispy edges.
- If upscaling introduces artifacts, try a different resampling option or upscale in smaller increments (e.g., 110% twice instead of 220% once).
The goal isn’t “perfect.” The goal is “looks great at the size people will actually see.” That mindset saves hours.
Step 6: Save and Export Like a Pro (So the Size You Chose Is the Size You Get)
Resizing isn’t finished until you export correctly. Different formats and export paths can affect file size, compression, and even whether your image stays sharp.
Best practices for common scenarios
- Web photos: JPEG (quality balanced), or WebP if your workflow supports it. Keep dimensions appropriate; compress enough to load fast without visible artifacts.
- Graphics with transparency: PNG (or a modern web format that supports transparency).
- Print delivery: follow your printer’s specs. Often TIFF or high-quality PDF; sometimes JPEG at max quality. Keep resolution and color profile requirements in mind.
- Working file: save a PSD copy so layers and Smart Objects remain editable.
Finally, do the simplest quality assurance check imaginable: reopen the exported file and confirm Image > Image Size still shows the dimensions you intended. It’s the digital equivalent of checking you brought your passport before you get to the airport.
Common Resizing Problems (and the Fix That Actually Works)
“I changed the resolution but nothing happened to the image.”
You likely changed PPI with Resample OFF. That adjusts print math, not pixel count. For web/screen size changes, use pixels and keep Resample ON.
“My image got blurry after resizing smaller.”
That can happen if you downsized aggressively and then viewed it at odd zoom levels, or if sharpening was lost. Check at 100%. If it’s still soft, apply mild sharpening after the resize.
“I resized bigger and it looks awful.”
Welcome to physics. Upscaling can only do so much. Try a Preserve Details-style resampling method, upscale in smaller steps, and be realistic about final output. If you need huge enlargements regularly, consider specialized upscaling toolsbut even those can’t conjure real detail from nothing.
“I just need one layer bigger, not the whole image.”
Use Free Transform (Ctrl+T / Cmd+T). If you expect to resize that element repeatedly, convert it to a Smart Object first.
Final Takeaway
Resizing in Photoshop is easy once you remember the core rule: Pixels are for screens, inches are for print, and Resample decides whether pixels change. Combine that with a Smart Object workflow and a sensible resampling choice, and you’ll get consistent results without playing “Why does this look weird?” for the rest of your afternoon.
Real-World Resizing Experiences (a.k.a. How I Learned to Stop Worrying and Love the Image Size Dialog)
The first time I “resized for print,” I did what many confident beginners do: I changed the resolution number, saw the inches change, and assumed I had performed professional-grade wizardry. I proudly sent the file off, and the printer (politely) asked why my “poster” contained approximately seven pixels and a dream. That’s when the difference between changing PPI and adding pixels stopped being theoretical.
Another memorable moment: a client wanted a product photo for a website banner. I exported a gigantic filesomething like “large enough to be seen from space”because I thought bigger meant better. The page loaded like it was dragging a couch through mud. The image looked fine, but the performance was tragic. That day I learned that web resizing is a balancing act: you want the image only as large as it needs to be, then compressed just enough to load fast without turning gradients into crunchy confetti.
Social media taught me its own special lesson: aspect ratios are unforgiving. I once resized a square image to fit a portrait layout by manually typing in both width and height. The result made the subject look like they’d been gently stretched on a taffy machine. The fix was simple (keep the chain icon on), but the embarrassment was permanent. Now, my rule is: lock proportions first, then adjust one dimension at a time. If the platform demands a different aspect ratio, I crop intentionally instead of pretending distortion is a creative choice.
The most useful habit I’ve built is checking images at 100% after resizing. Not “Fit on Screen,” not “Looks okay at 66.7%,” but true 100%. I can’t count the number of times an image looked razor sharp at an odd zoom level and mysteriously soft at 100%. That’s not Photoshop being petty; it’s just how screen sampling works. If it looks good at 100% at the final pixel dimensions, it’s usually going to look good where it’s published.
Smart Objects were another turning point. I used to resize a logo layer down, then later decide it should be bigger, then smaller again, then bigger againlike I was auditioning for a “Design Indecision Olympics.” Each time, quality slipped a little. Converting that layer to a Smart Object made the whole process calmer. It didn’t magically improve a low-res logo, but it stopped the “death by a thousand transforms” problem when I was iterating.
Finally, I learned to respect the difference between “image size” and “canvas size.” When someone asks for “more space around the subject,” you don’t want to resample and shrink the whole photo unless you mean to. Often you just need extra canvas for text or margins. Canvas Size (or cropping outward with content-aware techniques in other workflows) is the right move. That distinction alone has saved me from accidentally making a perfectly sharp photo unnecessarily smaller.
If there’s one theme across all these resizing stories, it’s this: Photoshop isn’t hardambiguity is hard. When you decide the destination first (web, print, social, or email), the correct resizing choices become obvious. And when you get it wrong, Photoshop is still forgivingas long as you kept a PSD, worked non-destructively, and didn’t flatten everything in a moment of panic.
