
Makeup
3 Ways to Do Stucco
Jun
Stucco is one of those exterior finishes that looks simple from the sidewalk and suddenly becomes very serious the second you pick up a trowel. It is basically a cement-based plaster made with sand, cement, lime, and water, but the real magic is in the layers, timing, moisture control, and finishing technique. Done well, stucco can give a home a clean Mediterranean look, a modern textured wall, or a rugged Southwestern finish that laughs politely at heat, sun, and everyday wear. Done badly, it can crack, trap moisture, and become the construction version of a bad haircut: technically attached, but emotionally difficult to look at.
This guide explains 3 ways to do stucco: the classic three-coat method, the two-coat method for masonry surfaces, and the one-coat or repair-style approach for smaller projects and approved systems. Each method has its place. The best choice depends on the wall surface, local climate, building code, budget, and how much patience you have for curing times. Spoiler: stucco rewards patience. It does not appreciate being rushed like microwave popcorn.
Before You Start: What Stucco Needs to Succeed
Before choosing a stucco method, understand the basics. Stucco needs a stable base, proper water management, good bonding, and enough curing time. On framed walls, it usually needs a water-resistive barrier, flashing, and metal lath. On masonry, such as concrete block or poured concrete, stucco can often bond more directly after the surface is cleaned and dampened. In wet or marine climates, drainage behind stucco becomes especially important because water must have a way to escape instead of camping behind the wall like an unwanted houseguest.
Basic tools and materials
- Stucco mix or separate Portland cement, lime, and clean plaster sand
- Water-resistive barrier, flashing, and weep screed for framed exterior walls
- Galvanized metal lath or self-furring lath where required
- Hawk, trowel, darby, float, straightedge, and scratching tool
- Bucket, drill mixer, mortar box, or wheelbarrow
- Sprayer or hose for dampening and curing
- Gloves, eye protection, dust mask, and long sleeves
Stucco is alkaline and abrasive, so protect your skin and eyes. Also check local building codes before starting exterior work. Stucco details vary by region, especially around drainage, flashing, climate zone, and wall assemblies. A small garden wall is one thing; the exterior of an entire house is another. That second one is where professionals earn their coffee.
Way 1: Classic Three-Coat Stucco Over Framed Walls
The three-coat stucco system is the traditional heavyweight. It is commonly used over wood or steel framing with sheathing, water-resistive barrier, metal lath, and three layers of plaster: scratch coat, brown coat, and finish coat. This method is durable, time-tested, and forgiving in the sense that each layer has a clear job. It is not forgiving if you skip prep, ignore flashing, or decide “close enough” is a construction strategy.
Step 1: Prepare the wall assembly
Start by making sure the sheathing is sound, flat, and dry. Install flashing around windows, doors, roof intersections, and penetrations before the stucco goes on. Then apply the required water-resistive barrier according to local code and manufacturer instructions. In many exterior framed-wall applications, a drainage layer or bond-break layer is used behind stucco so incidental moisture can move down and out.
Next, fasten galvanized metal lath securely. The lath should be tight enough to avoid sagging but not smashed flat against the wall if self-furring space is required. Proper overlap matters. Corners, openings, and transitions need extra attention because cracks love weak spots the way toddlers love markers and white sofas.
Step 2: Apply the scratch coat
The scratch coat is the first base coat. It is pressed firmly into the lath so the plaster keys through and locks in place. A common target thickness is about 3/8 inch, though exact requirements depend on the system and code. Once applied, the surface is scratched horizontally with a scarifier or notched tool. Those grooves give the next coat something to grip.
The scratch coat should be moist-cured. That usually means misting it periodically so it cures slowly instead of drying too fast. Rapid drying can weaken the coat and encourage cracking. Think of curing stucco like baking bread: heat and timing matter, and impatience produces disappointing results.
Step 3: Apply the brown coat
The brown coat builds thickness, straightens the wall, and creates the flat plane that the finish coat will show off. Before applying it, lightly dampen the scratch coat without soaking it. Trowel the brown coat to the required thickness, then use a straightedge or darby to level high and low spots. Once the surface loses its wet shine, float it to compact and even it out.
This is the coat where walls become honest. If the brown coat is wavy, the finish coat will not magically become straight. Stucco is many things, but it is not a magician with a union card.
Step 4: Apply the finish coat
The finish coat is the visible layer. It may be smooth, sand, dash, lace, skip trowel, or another texture. It can also be integrally colored or painted after curing. Apply the finish coat consistently across each wall section to avoid visible color or texture changes. Work from natural break to natural break, such as corner to corner.
The three-coat method is best for full exterior walls, new construction, and projects where long-term durability matters. It takes more time, but it gives the wall depth, strength, and a traditional stucco look that feels substantial.
Way 2: Two-Coat Stucco Over Masonry or Concrete
The two-coat method is often used over stable masonry surfaces such as concrete block, brick, or poured concrete. Because masonry already provides a solid base, the wall may not need metal lath in the same way a framed wall does. The typical approach uses a base coat and a finish coat, although exact methods depend on the substrate and product system.
Step 1: Clean and evaluate the surface
Stucco bonds best to clean, rough, absorbent masonry. Remove paint, loose mortar, dirt, oil, efflorescence, algae, and anything else that would interfere with adhesion. A wall that feels dusty or chalky is not ready. If the surface is too smooth, it may need mechanical roughening or a bonding agent approved for the stucco system.
Repair cracks, loose blocks, and damaged mortar before applying stucco. Stucco is a finish, not a structural therapist. If the wall underneath is moving, cracked, or wet, the stucco will eventually report the problem in the form of cracks and stains.
Step 2: Dampen the masonry
Before applying the base coat, dampen the wall so it does not suck moisture out of the fresh stucco too quickly. The surface should be damp but not dripping. This helps the stucco cure properly and improves bond. Dry masonry can rob water from the mix faster than a teenager drains a phone battery.
Step 3: Apply the base coat
Trowel the base coat onto the masonry, pressing firmly to ensure contact. Depending on the system, this coat may be scratched or floated. Keep the thickness consistent. Use a straightedge to flatten large wall areas and avoid ridges that will telegraph through the finish.
Let the base coat cure as directed by the product manufacturer. Mist curing may be needed, especially in hot, dry, or windy weather. Protect fresh stucco from freezing, direct harsh sun, and heavy rain.
Step 4: Finish with texture and color
Once the base coat has cured enough, apply the finish coat. This is where the style comes alive. A sand finish gives a subtle, even texture. A lace finish hides minor irregularities and fits many traditional homes. A smooth finish looks modern but demands more skill because every trowel mark wants to become famous.
The two-coat method is practical for masonry walls, garden walls, block foundations, and exterior surfaces that are already stable. It uses fewer layers than three-coat stucco, but the prep must still be careful. Masonry may be strong, but poor bonding will still cause peeling or delamination.
Way 3: One-Coat Stucco, Patch Stucco, or Decorative Stucco Finishes
The third way to do stucco is using a one-coat stucco system, a repair mix, or a decorative stucco finish. These approaches are popular for smaller projects, patches, architectural details, and approved modern systems. The important word is approved. One-coat stucco is not simply “three-coat stucco, but we got tired.” It is a specific system with compatible materials, reinforcement, substrate requirements, and installation instructions.
When one-coat stucco makes sense
One-coat systems can work well for residential and light commercial projects when installed according to manufacturer specifications and local code. Many include fibers or polymer modifiers to improve performance. They may reduce labor time compared with traditional three-coat stucco, but they still require proper flashing, drainage, lath, curing, and finish coat procedures.
This method is not a shortcut for ignoring wall science. If water gets behind the stucco and cannot drain, the wall can fail no matter how fancy the bag label looks.
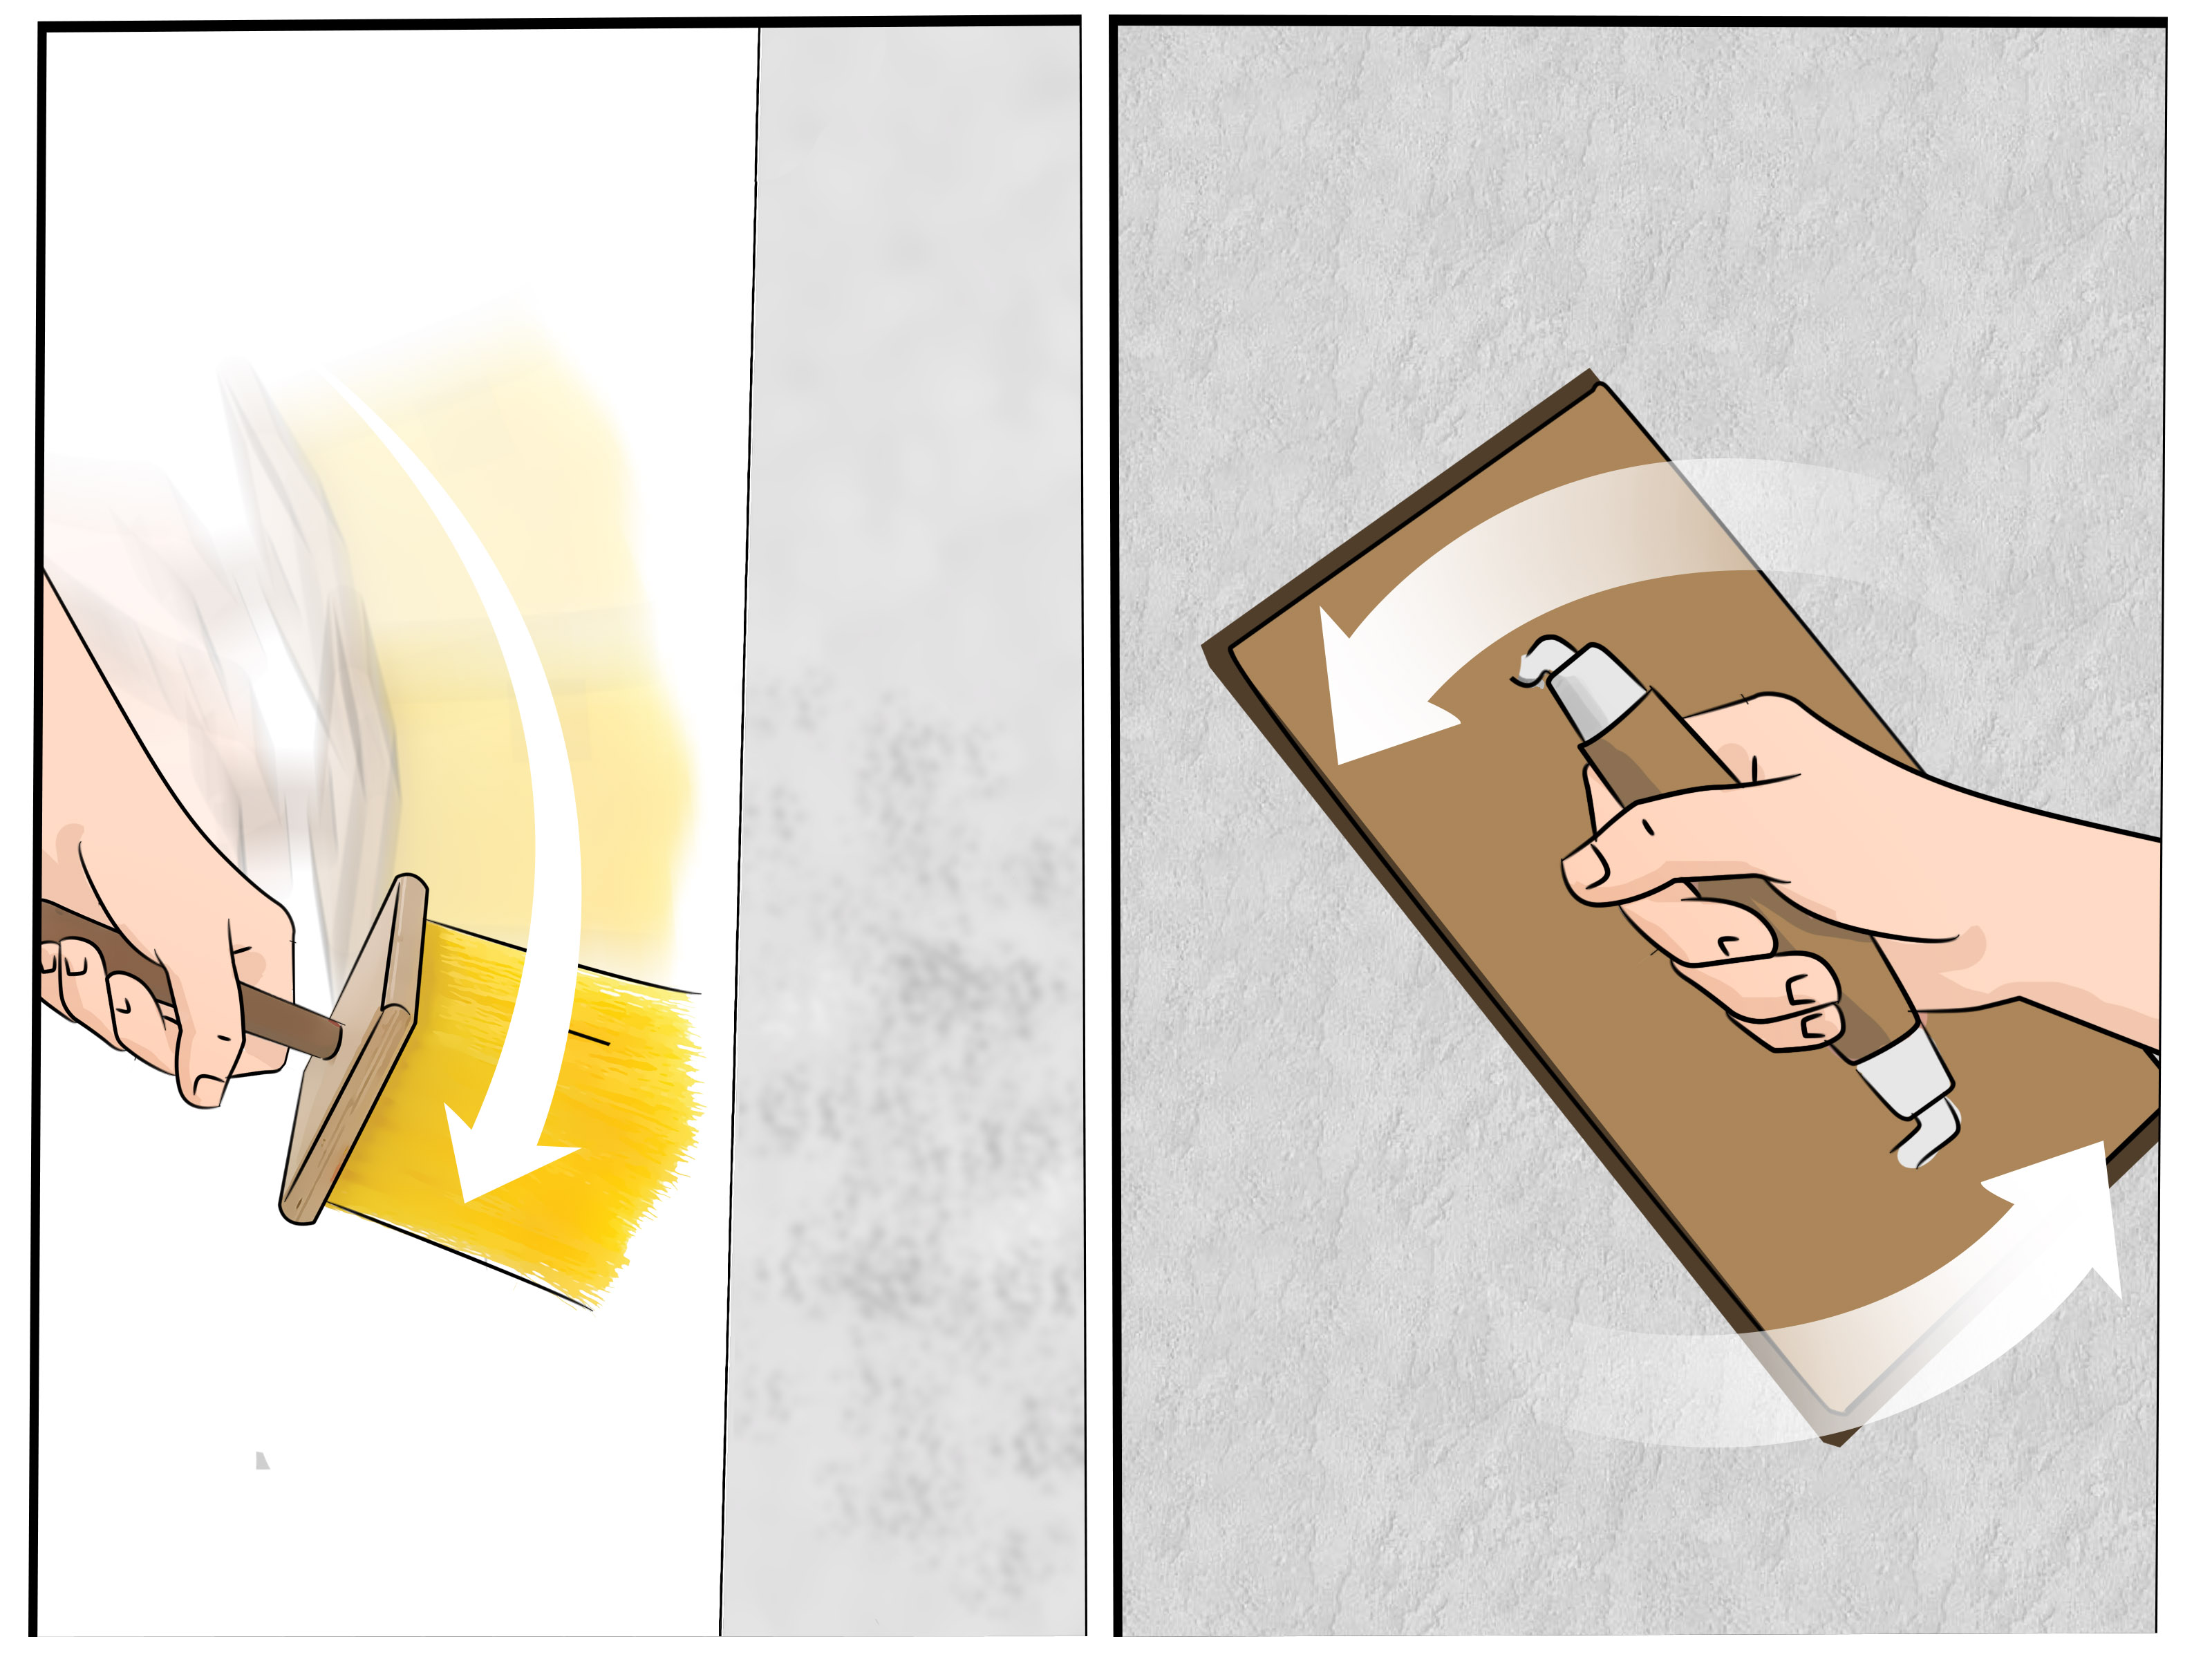
Using stucco patch for repairs
For cracks, chips, and small damaged areas, use a stucco patching compound or compatible stucco mix. Start by removing loose material. Undercut or square the edges slightly so the patch has something to hold onto. Clean the area, dampen it, then apply patch material in layers rather than gobbing it on like peanut butter during a midnight snack.
For deeper repairs, build the patch with a base layer and leave room for the finish texture. Matching texture is often harder than filling the hole. Practice on scrap board first. For large repairs, historic stucco, or damage caused by leaks, consult a stucco professional. The visible crack may be the symptom, not the disease.
Decorative interior stucco finishes
Stucco-inspired decorative finishes can also be used indoors on accent walls, fireplaces, or feature niches. These are often thinner and more design-focused than exterior Portland-cement stucco. Surface prep is still everything. The wall must be clean, sound, and properly primed. Interior stucco finishes can create a soft plaster look, a rustic Mediterranean surface, or a polished modern backdrop.
This version is great for homeowners who want texture without covering the whole house. It is also safer for beginners because an interior accent wall is easier to manage than a second-story exterior elevation. Your ladder will thank you.
Common Stucco Mistakes to Avoid
Skipping water management
Stucco is durable, but it is not waterproof armor. Exterior walls need flashing, weep screeds, water-resistive barriers, and drainage details. Many stucco failures start as moisture failures. If water gets in and cannot get out, cracks, stains, rot, mold, and delamination may follow.
Applying coats too thick or too fast
Stucco should be built in controlled layers. Thick, rushed applications can shrink, crack, or fail to bond. Follow product instructions for thickness, curing, and timing between coats.
Working in bad weather
Hot sun, high wind, freezing temperatures, and heavy rain can all damage fresh stucco. Work in mild conditions whenever possible. Shade the wall if needed, mist cure carefully, and protect new work from sudden weather changes.
Expecting paint to fix cracks
Paint can refresh stucco, but it cannot solve movement, poor drainage, bad substrate prep, or active cracking. Fix the cause before covering the symptom. Otherwise, the crack will return with dramatic confidence.
How to Choose the Best Stucco Method
Choose three-coat stucco for traditional framed exterior walls, new construction, and long-term durability. Choose two-coat stucco for stable masonry or concrete surfaces that can accept direct plaster. Choose one-coat or patch stucco for approved systems, smaller repairs, or decorative finishes where the product is designed for that use.
If your project involves structural cracks, repeated water stains, soft sheathing, historic stucco, or a full house exterior, bring in a professional. Stucco is part art, part building science, and part timing. The wall may look quiet, but it is secretly judging every layer.
Field Experience: Practical Lessons From Doing Stucco
The first lesson of stucco work is that the wall remembers everything. If you rush the prep, the finish coat will tell on you. Dust left on masonry becomes a weak bond. Loose lath becomes a hollow sound later. A poorly flashed window becomes a stain that appears right when you are trying to impress guests. The best stucco jobs often look boring at the preparation stage because everything is straight, clean, overlapped, fastened, and planned before any mix hits the wall.
Another real-world lesson is to mix smaller batches than your confidence suggests. Fresh stucco has a working time, and beginners almost always overestimate how fast they can trowel. A smaller batch lets you control texture, thickness, and cleanup. Once stucco starts stiffening, adding extra water to “wake it back up” is a bad habit. It weakens the mix and can cause color or surface problems. Mix what you can apply properly, then mix more.
Texture matching is also humbling. A sand finish may sound easy until you realize that pressure, float type, timing, and sand size all affect the look. Lace and skip-trowel finishes are more forgiving, but even they need practice. The smartest move is to create a test panel. Use the same mix, same tool, same water amount, and same curing conditions. A test panel is cheaper than explaining to your family why one wall looks like “historic villa” and the patch looks like “oatmeal with ambition.”
Curing is where many DIY stucco jobs lose quality. People finish troweling, admire the wall, clean the tools, and forget that cement-based materials need moisture to gain strength. Light misting helps the stucco cure instead of drying too fast. This is especially important in hot, dry, or windy conditions. However, soaking the wall is not the answer either. Gentle moisture is the goal, not recreating a tropical storm.
Finally, the cleanest stucco work usually comes from thinking in wall sections. Start and stop at corners, control joints, trim breaks, or natural architectural lines. Keep a wet edge when applying finish coat so color and texture remain consistent. Cover nearby windows, doors, plants, walkways, and fixtures before mixing. Stucco splatter has a gift for landing exactly where it is most annoying. Tape and plastic are not glamorous, but neither is scraping hardened cement dots off a window at sunset.
In short, stucco rewards planning, patience, and practice. The three best habits are simple: prepare the surface like a professional, respect the curing process, and test the finish before committing to the wall. Do those three things, and your stucco project has a much better chance of looking intentional, durable, and proudly un-weird.
Conclusion
Learning how to do stucco starts with choosing the right method. The three-coat system is the classic choice for framed exterior walls. The two-coat method works well on solid masonry or concrete. One-coat systems and patch products can be useful for approved applications, small repairs, and decorative projects. No matter which path you choose, the keys are the same: prepare the surface, manage moisture, apply consistent layers, cure properly, and do not let enthusiasm outrun technique.
Stucco can be beautiful, tough, and long-lasting, but it is not a slap-it-on-and-hope material. Treat it like a system, not just a surface. When in doubt, check local code, follow product instructions, and call a qualified stucco contractor for large or complicated work. Your walls deserve better than guesswork with a trowel.
